UR8600 / English Instruction Manual
1
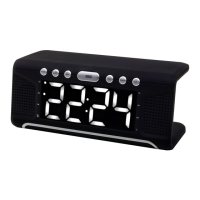
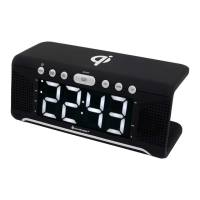
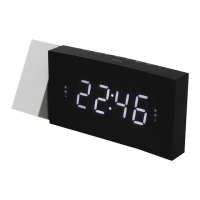
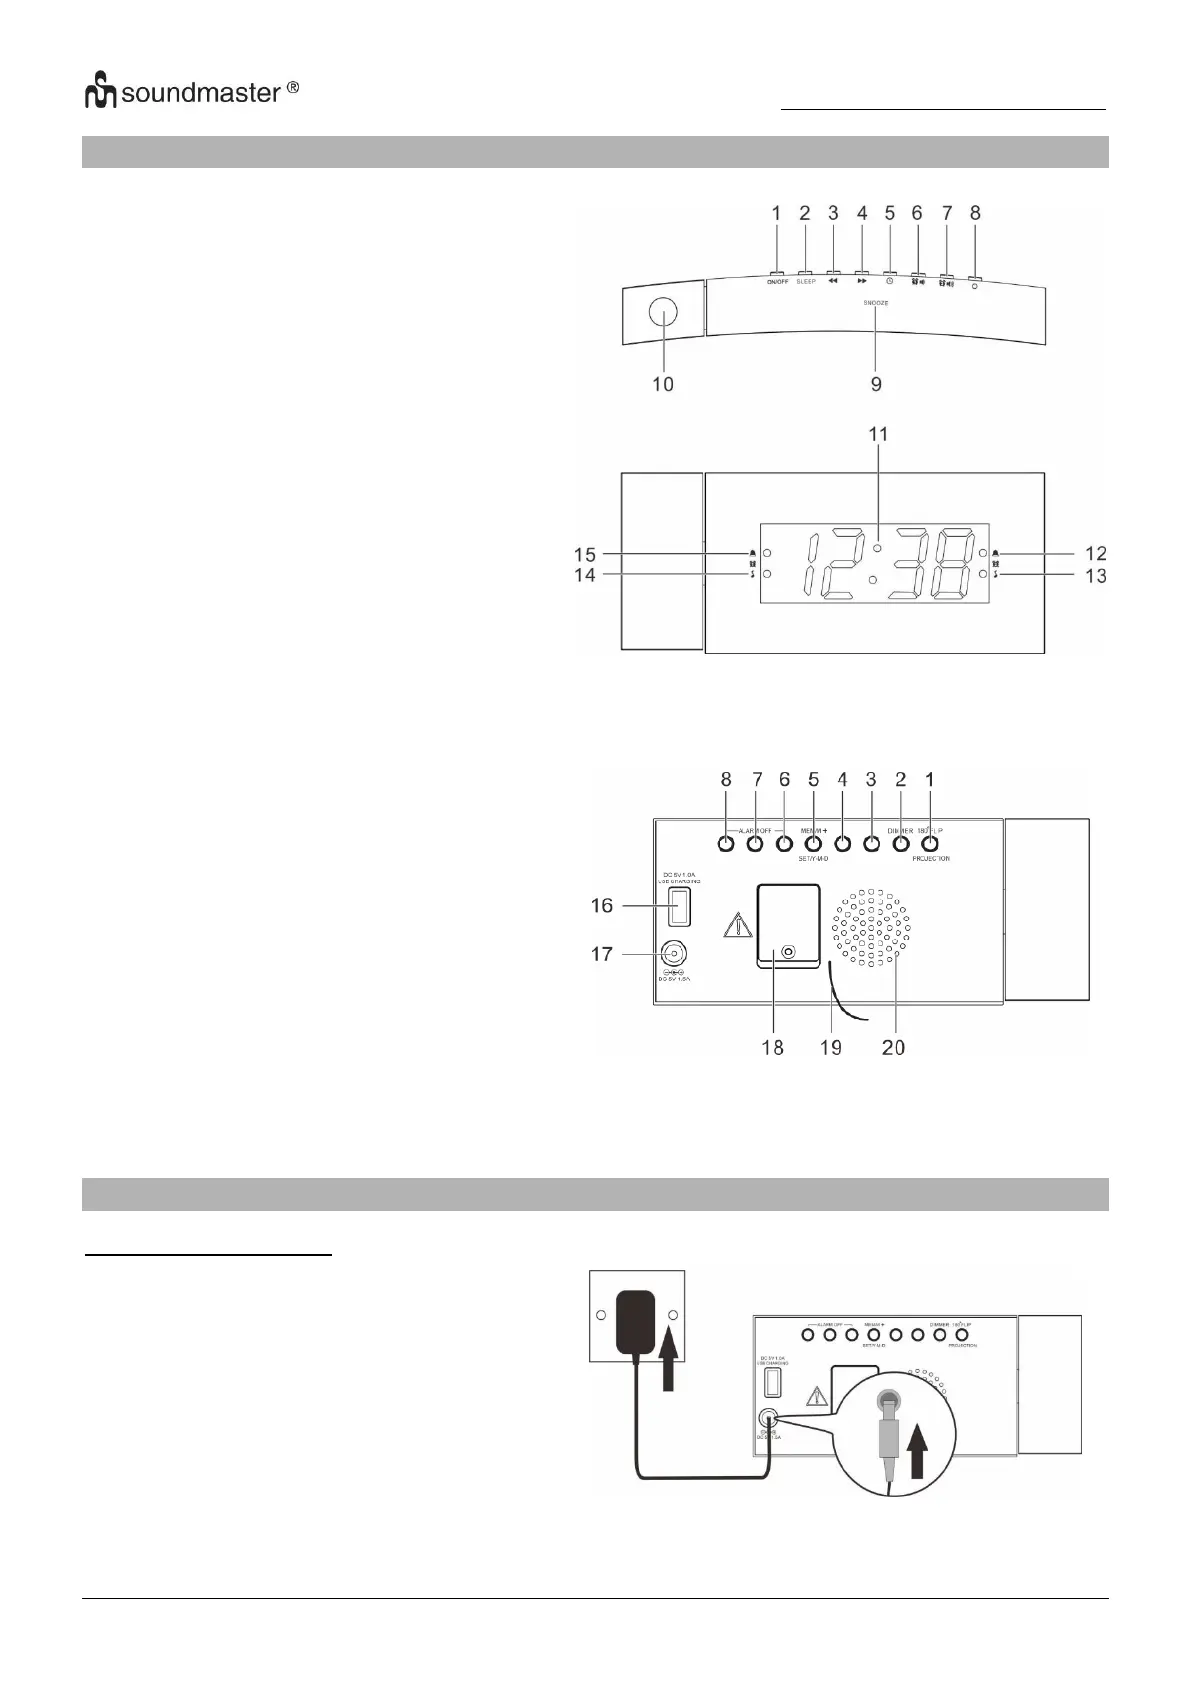
LOCATIONS OF CONTROLS
1. PROJECTOR ON/OFF / 180° FLIP
button
5. CLOCK / MEM/M+ / SET / Y-M-D
button
6. ALARM 1 / VOL DOWN ALARM OFF
button
7. ALARM 2 / VOL UP ALARM OFF
button
8. POWER / ALARM OFF button
12. Alarm 2 indicator (alarm)
13. Alarm 2 indicator (radio)
14. Alarm 1 indicator (radio)
15. Alarm 1 indicator (alarm)
18. Backup battery compartment
GETTING STARTED
Connecting to power
1. Connect the cord of the power adapter
to the “DC IN” jack (17) of the radio.
2. Connect the plug of the power adapter
to a wall socket.
The radio is powered and in standby
mode when you see the display is
switched on.