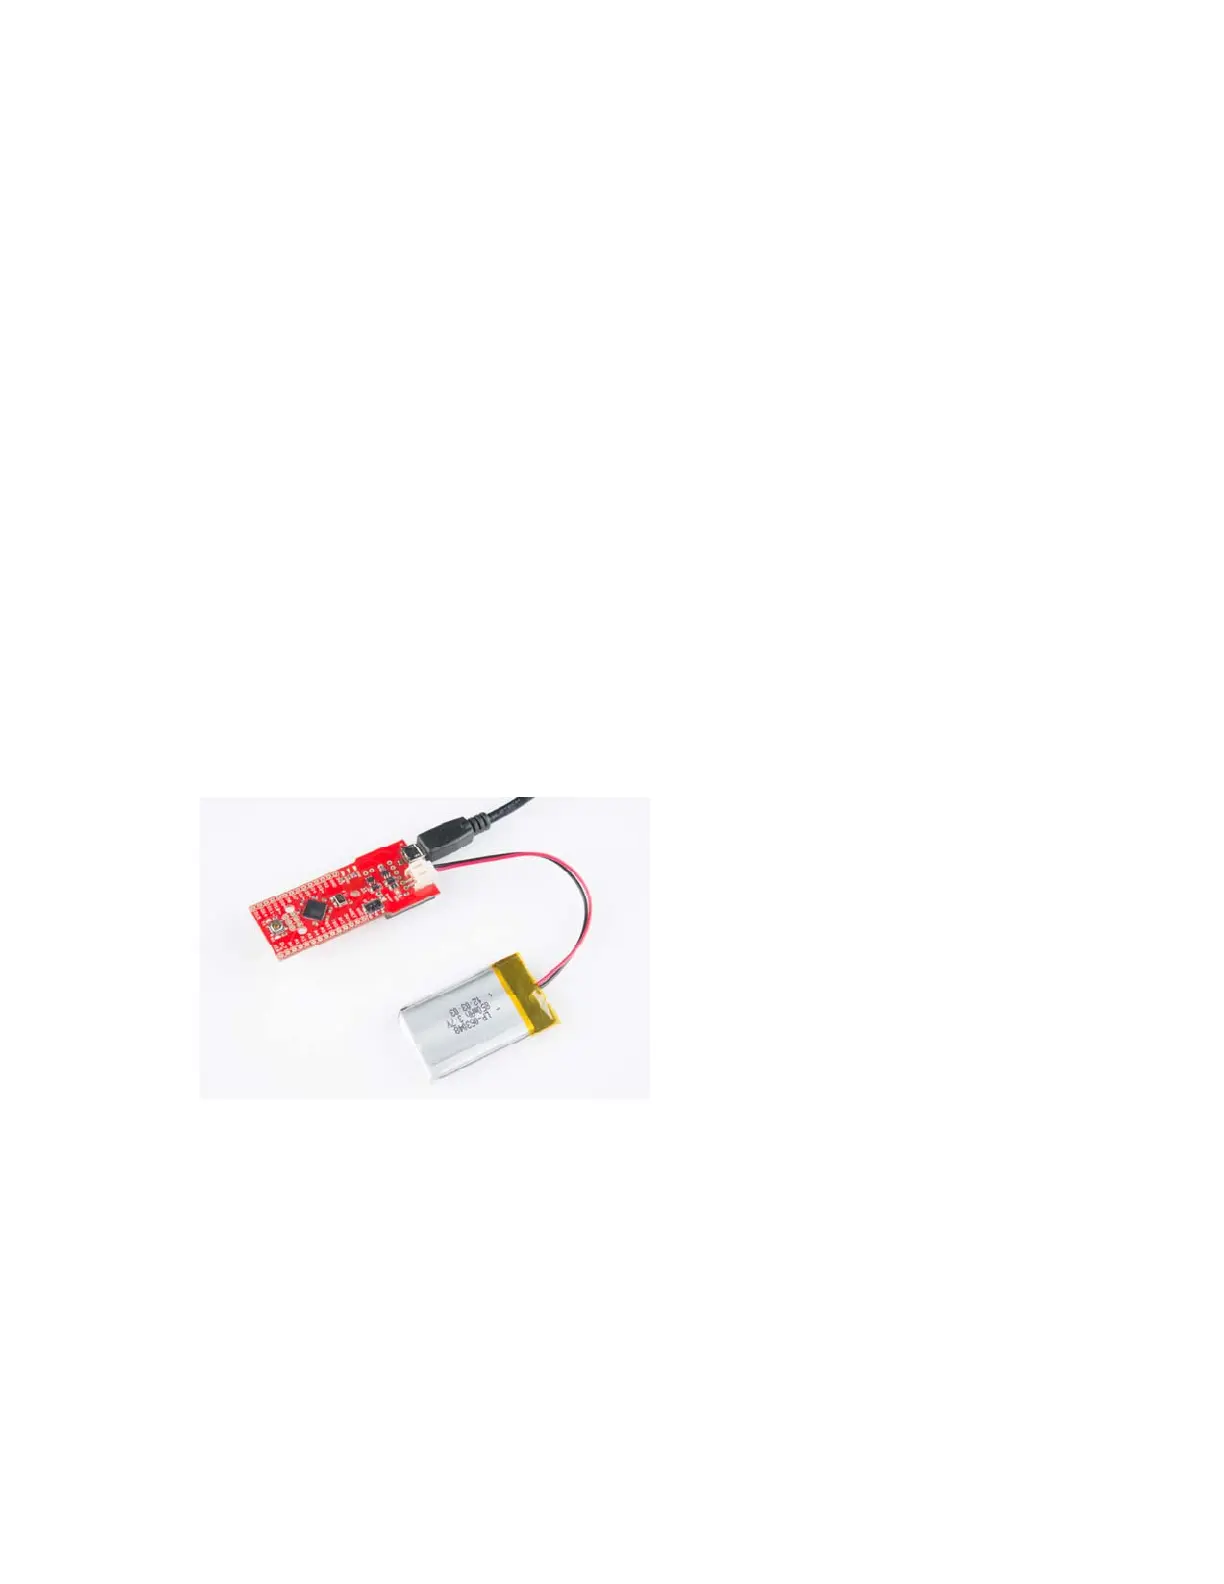
Finally, there’s a yellow LED labeled ‘CHG’ which indicates if an attached
lithium polymer battery is charging. If a battery is not connected to the Fio,
the LED will be in an undefined state, and most likely be illuminated.
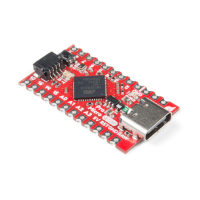
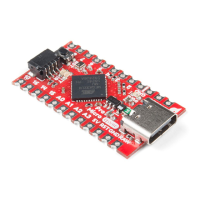
How to Power the Fio v3
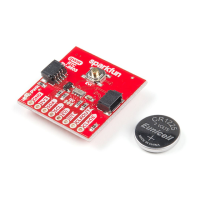
The suggested power supply for the Fio v3 is any single-cell lithium
polymer (LiPo) battery. These batteries have a nominal voltage of 3.7V,
which is perfect for supplying power to the 3.3V-operating Fio. LiPos are
awesome, because they’re rechargeable and still pack a lot of power into a
tiny space. Any of our single cell LiPos with JST terminators can connect
directly to the Fio’s onboard JST connector.
As an (immobile) alternative to batteries, the Fio can be powered directly
through the USB connector.
Using the LiPo Charger
The Fio v3 has a LiPo charge management circuit (based around the
MCP73831) built onto it, which handles the signal conditioning required to
safely charge a single-cell LiPo battery.
To use the charge circuit, you’ll obviously need a single-cell LiPo battery
plugged into the Fio. Then connect the board up via USB, so the charge
circuit has a primary voltage source to supply charge to the battery.
The ‘CHG’ LED will indicate the status of the battery charge. If it’s on, the
battery is still charging. Once the ‘CHG’ LED goes off, the battery is fully
charged.
The charge circuit is programmed to charge the battery at 500mA, so, to be
safe, the battery should be no smaller than 500mAH in capacity.
Connecting An XBee
The XBee-footprint connectors on the bottom of the Fio v3 are what make it
so unique. This product is designed to provide a simple interface between
Arduino and XBee, as such a few of the XBee pins come wired up to the
Page 8 of 2