TRAVELING WITH THE
SHARPENER
To watch the How-To video, visit sparxhockey.com/travel.
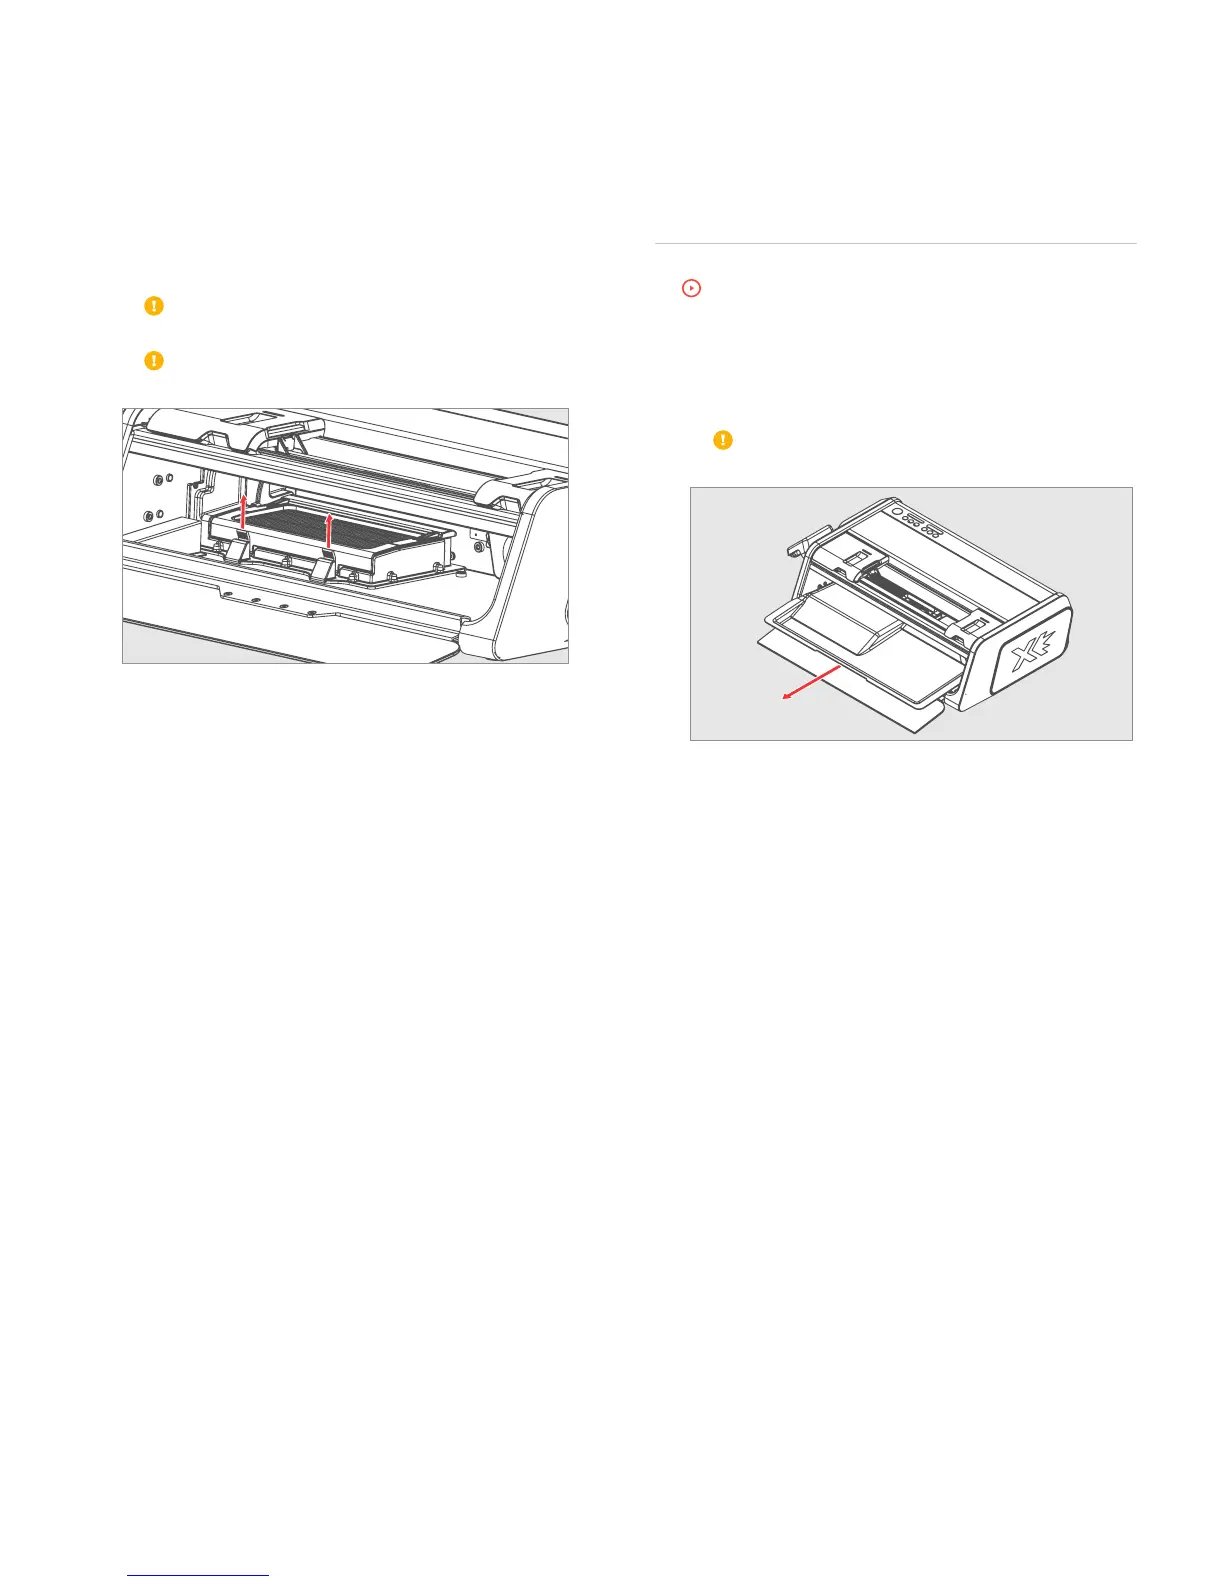
1 REMOVE AND EMPTY THE DUST TRAY
Open the Glass Door and remove the Dust Tray. To empty Dust
Tray—wipe completely clean with a damp cloth (water).
Do not use any solvents or cleaning chemicals in and
around the Skate Sharpener.
2 VACUUM SHARPENER
Without removing the Air Filter, vacuum the top of and around
the Air Filter Housing. We recommend using a HEPA certified
vacuum.
3 REPLACE THE DUST TRAY
Slide the Dust Tray back into the machine. Close
the Glass Door.
4 INSTALL THE TRAVEL GUARD
Open the Skate Clamp by pressing and holding down the
Clamp Lever. Install the Travel Guard by placing the claw of the
Travel Guard behind the Grinding Ring Shaft’s impeller as
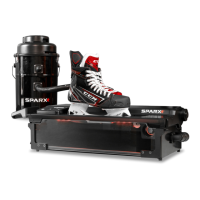
3 REMOVE THE AIR FILTER
Open the top lid of the Air Filter Housing until it clicks into the
open position. Keeping it horizontal, carefully remove the Air
Filter. Vacuum remaining dust from the Filter Housing area.
On removal do not tip the Filter and let dust
particles fall into the empty Filter Housing.
Take care not to damage the Filter Seal inside the
Filter Housing when cleaning or vacuuming.
4 INSTALL NEW AIR FILTER
Insert the new Air Filter into the filter housing. The Air Filter
label will indicate installation direction which side to install up.
5 RESET THE AIR FILTER BUTTON
Once your filter has been replaced, hold down the
f
Air Filter
Button for two seconds until an audible tone is heard to reset
the system and extinguish the
f
Air Filter Button.