Ready to Print
Printing
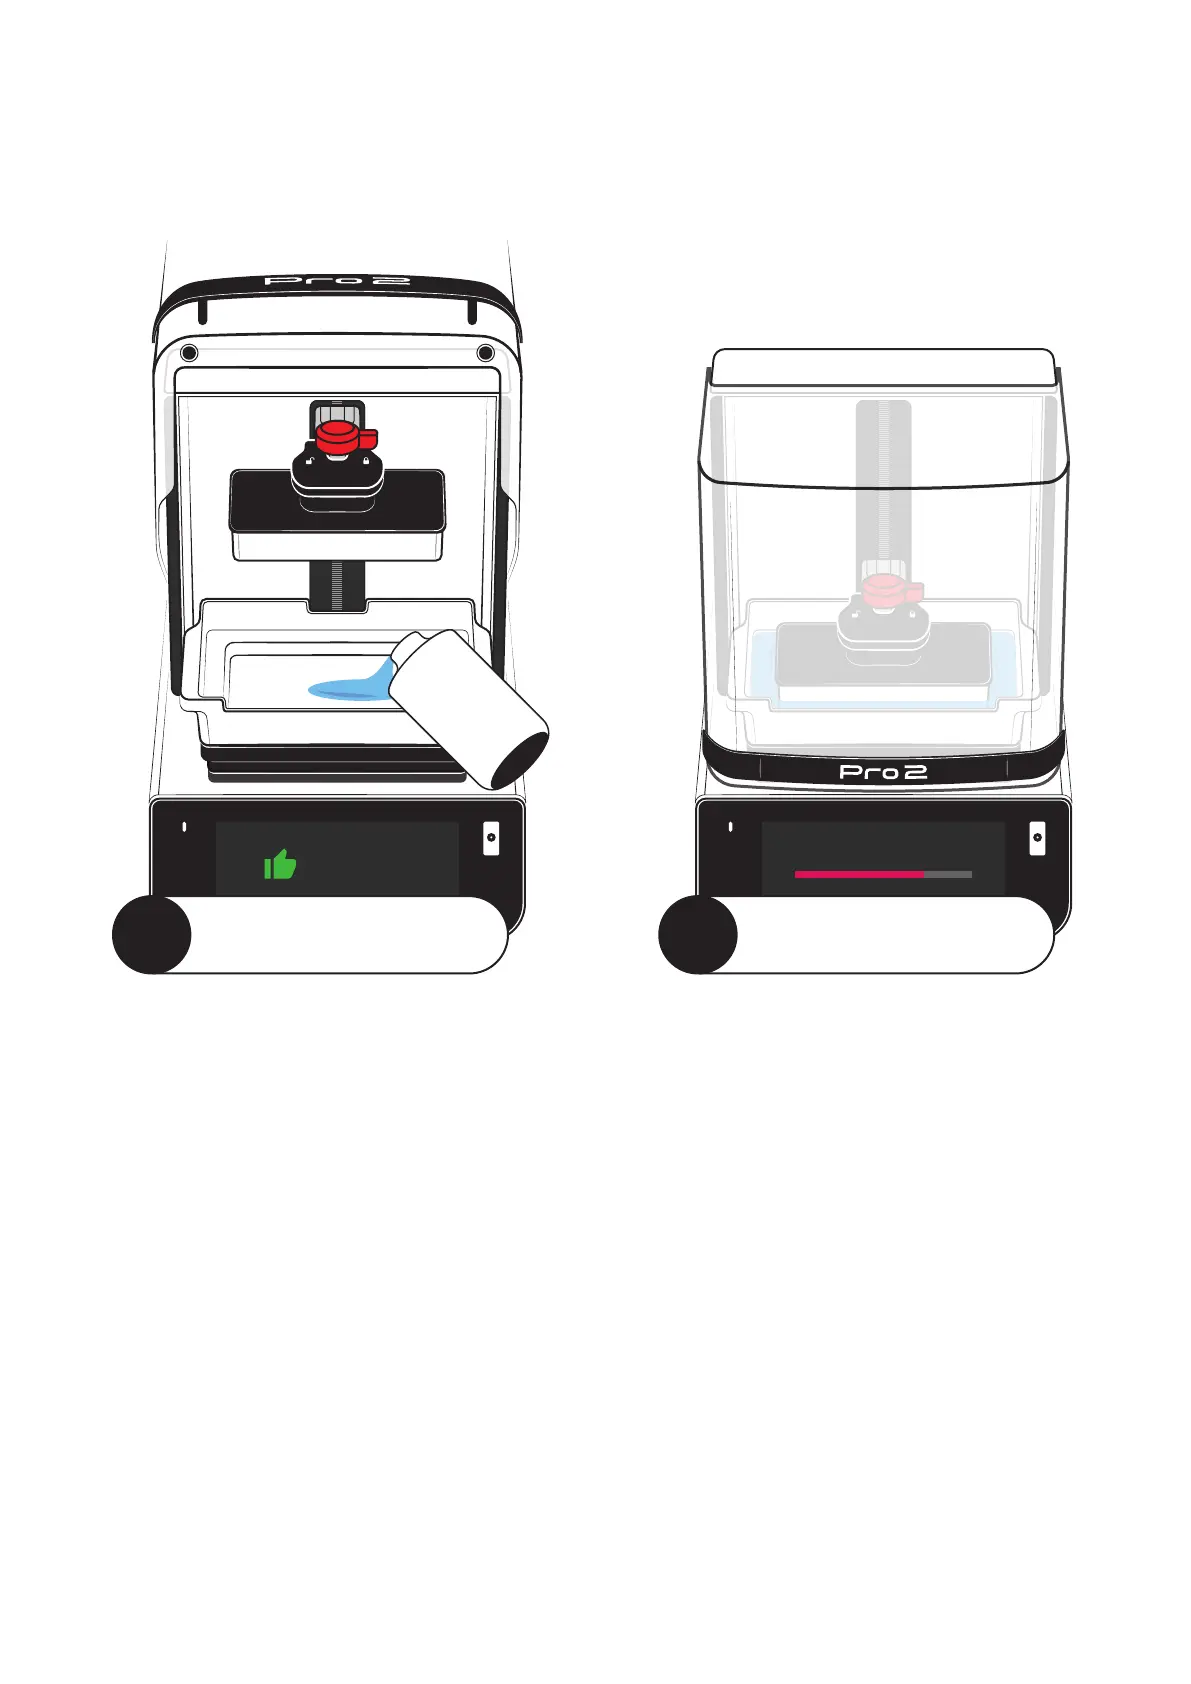
Add Resin and Stir
Install a resin tank that contains the material you’d like to
print with. Make sure it is filled between the ‘Min’ and ‘Max’
lines in the tank.
Use the provided squeegee to mix the resin and make sure
there is no hardened resin in the tank.
Check the Build Platform
Take off the build platform and run the scraper along the
surface to remove any bits of uncured resin. Reinstall the
platform and make sure it is locked into place.
Close the UV Lid
Keep the red hood closed when you’re not directly accessing
the build area.
Send Files to Printer
The best way to send print jobs to your Pro 2 is
through SprintRay Cloud. You can build your own
jobs with RayWare or directly print designs ordered
through our Cloud Design service.
Visit account.sprintray.com to see your options.
Once you’ve sent a job, check the printer
touchscreen for further instructions.
Start the Print Job
Use the touchscreen to find or build the print job
you’d like to run, then follow the onscreen
instructions to complete the final checks.
Once you start the print job, the lid will lock and the
platform will begin to heat the resin. You can follow
the progress on the touchscreen.
The 3D Printing Workflow
This guide provides a general overview of the printing workflow, but the best way to learn
is by doing. When you first boot up your printer, you’ll be prompted to complete the
first-time print, which will take you through each step in detail.
1
Prepare the Printer
2
Start a Print Job