21
G
B
5. ASSEMBLY AND STARTING
Warning!
You must fully assemble the appliance before
usingitforthersttime.
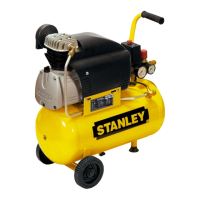
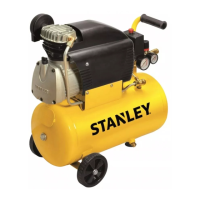
5.1 Fitting the wheels (Fig. 4 ÷ 5)
Fitthesuppliedwheelsasshowninfigures4&5:
● Fig.4a&4b:Assemblyofwheelkit-versionA
● Fig.5a&5b:Assemblyofwheelkit-versionB
5.2 Fitting the supporting foot (4)
FitthesuppliedrubberstopperasshowninFig.6.
5.3 Fittingtheairlter(1)
Remove the transportation stop with a screwdriver
orsimilarandscrewtheairlter(1)securelytothe
equipment.(Fig.7)
5.4 Replacing the oil sealing plug
(14)
Removethetransportationcoverfromtheoilller
opening with a screwdriver and insert the supplied
oildipstick(14)intotheoillleropening(Fig.8).
5.5 Voltage
The compressor is equipped with a mains cable
withshock-proofplug.Thiscanbeconnectedtoany
230V~50Hzshock-proofsocketwhichisprotected
bya16Afuse.Beforeyouusethemachine,make
sure that the mains voltage complies with the speci-
cations on the rating plate. Long supply cables,
extensions,cablereelsetc.causeadropinvoltage
andcanimpedemotorstart-up.Inthecaseoflow
temperaturesbelow+5°C,motorstart-upisjeopard-
izedasaresultofstiffness.
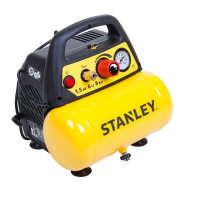
5.6 On/Off switch (8)
Toswitchonthecompressor,pullouttheredknob
(8).
Toswitchoffthecompressor,presstheredknob(8)
inagain(Fig.2a&2b).
5.7 Adjusting the pressure (Fig. 1)
● You can adjust the pressure on the pressure
gauge(6)usingthepressureregulator(7).
● Thesetpressurecanbetakenfromthequicklock
coupling(5).
5.8 Setting the pressure switch
Thepressureswitchissetatthefactory.
5.8.1
D 210/8/6 - D 210/8/24 - D 210/8/50
Switch-onpressure: 6 bar
Switch-offpressure: 8 bar
5.8.2
D 240/10/24 - D 240/10/50 - D 250/10/24
D 250/10/50 - D 260/10/24 - D 260/10/50
DV2 400/10/24P - DV4 400/10/24P
Switch-onpressure: 8 bar
Switch-offpressure: 10 bar
6. CLEANING AND MAINTENANCE
Warning!
Pull the power plug before doing any cleaning
and maintenance work on the appliance.
Warning!
Wait until the compressor has completely cooled
down. Risk of burns!
Warning!
Always depressurize the tank before carrying
out any cleaning and maintenance work.
6.1 Cleaning
● Keep the safety devices free of dirt and dust as
faraspossible.Wipetheequipmentwithaclean
cloth or blow it with compressed air at low pres-
sure.
● We recommend that you clean the appliance im-
mediatelyafteryouuseit.
● Clean the appliance regularly with a damp cloth
andsomesoftsoap.Donotusecleaningagents
or solvents; these may be aggressive to the plas-
ticparts inthe appliance.Ensure that nowater
cangetintotheinterioroftheappliance.
● You must disconnect the hose and any spraying
tools from the compressor before cleaning. Do
not clean the compressor with water, solvents or
thelike.
 Loading...