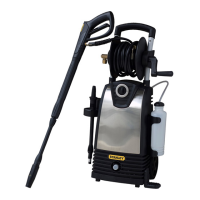
PREPARATION& ASSEMBLY- Model P1750S,P1750S-CAN,P1800S,P1800S-BB,P1800S-CAN
Assembly Time: 5 minutes
Tools Required: 17mm or Adjustable Wrench
SurfacePreparation
• Beforestartinganycleaningtask,it is importantto inspectthe area
for objectswhichcouldcreatea hazard.
• Removeanyobjectsfromthework areawhichcouldbetripped
over,suchastoysor outdoorfurniture.
• Ensurethat all doorsandwindows areclosedtightly.
Step 1
• Removeorpeeloff blueprotectivefilm ontile front ofthe pressure
washerandonthewands(if applicable).Also, removeanybubble
wrap. Discardblueprotectivefilm andbubblewrap.
Step 2
• Attachtile QuickConnectInletcouplingto watersupplyinlet on
pressurewasherasshownin Figurebelow.
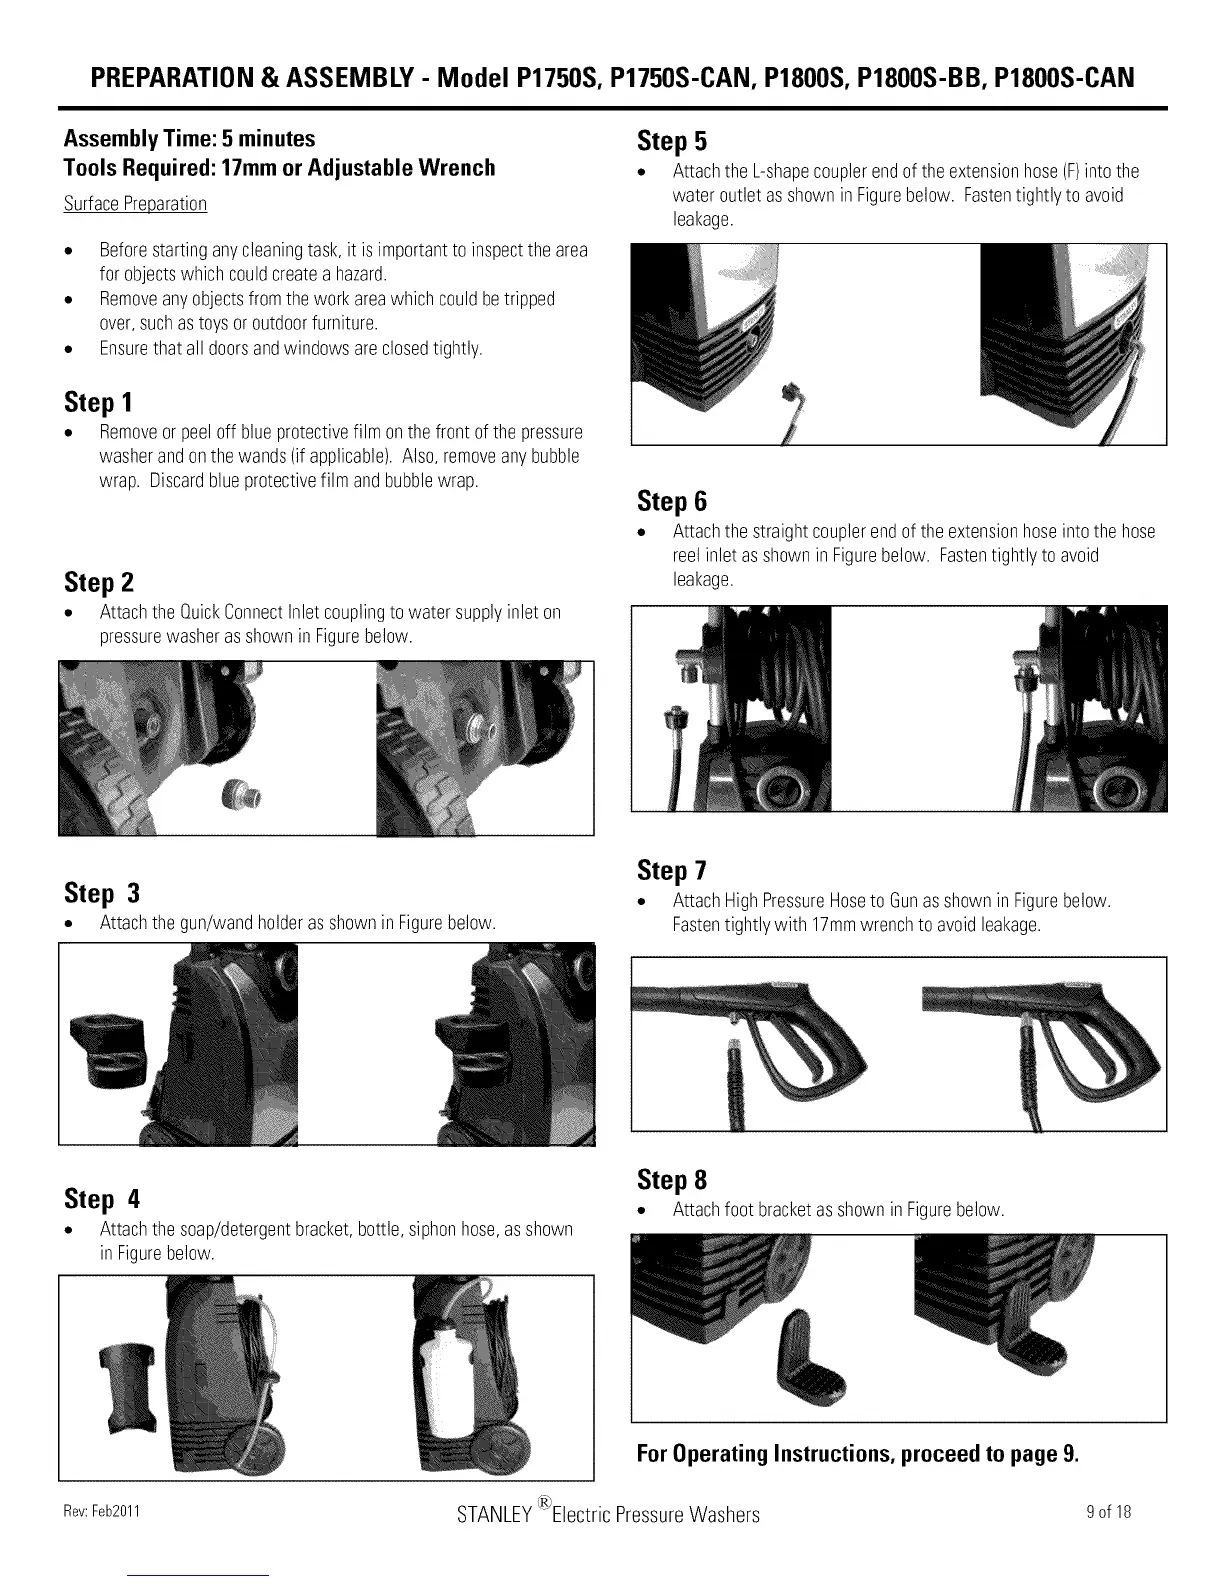
Step 5
• Attachtile L-shapecouplerendoftile extensionhose(F)intothe
wateroutlet asshowninFigurebelow. Fastentightlyto avoid
leakage.
Step 6
• Attachtile straightcouplerendof tile extensionhoseinto tile hose
reelinletas shownin Figurebelow. Fastentightlyto avoid
leakage.
Step 3
• Attachtile gun/wandholderas shownin Figurebelow.
Step 7
• AttachHighPressureHoseto Gunasshownin Figurebelow.
Fastentightlywith 17mmwrenchto avoidleakage.
Step 4
• Attachtile soap/detergentbracket,bottle,siphonhose,asshown
in Figurebelow.
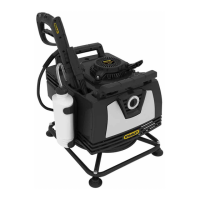
Step 8
• Attachfoot bracketasshownin Figurebelow.
For Operating Instructions, proceed to page 9.
{m
STANLEY i Electric PressureWashers
Rev:Feb2011 9 of 18
 Loading...