22
STORAGE RECOMMENDATIONS
1. The best storage place is one that is cool and dry away
from direct sunlight and excess heat or cold.
2. Long storage will not harm the battery pack or charger
PERSONAL SAFETY
♦ No children or pregnant women should enter the work
rea where the paint sanding is being done until all
cleanup is completed.
♦ A dust mask or respirator should be worn by all persons
entering the work area. The filter should be replaced
daily or whenever the wearer has difficulty breathing.
Note: only those dust masks suitable for working with lead
paint dust and fumes should be used. Ordinary painting
masks do not offer this protection. See your local hardware
dealer for the NIOSH approved proper mask.
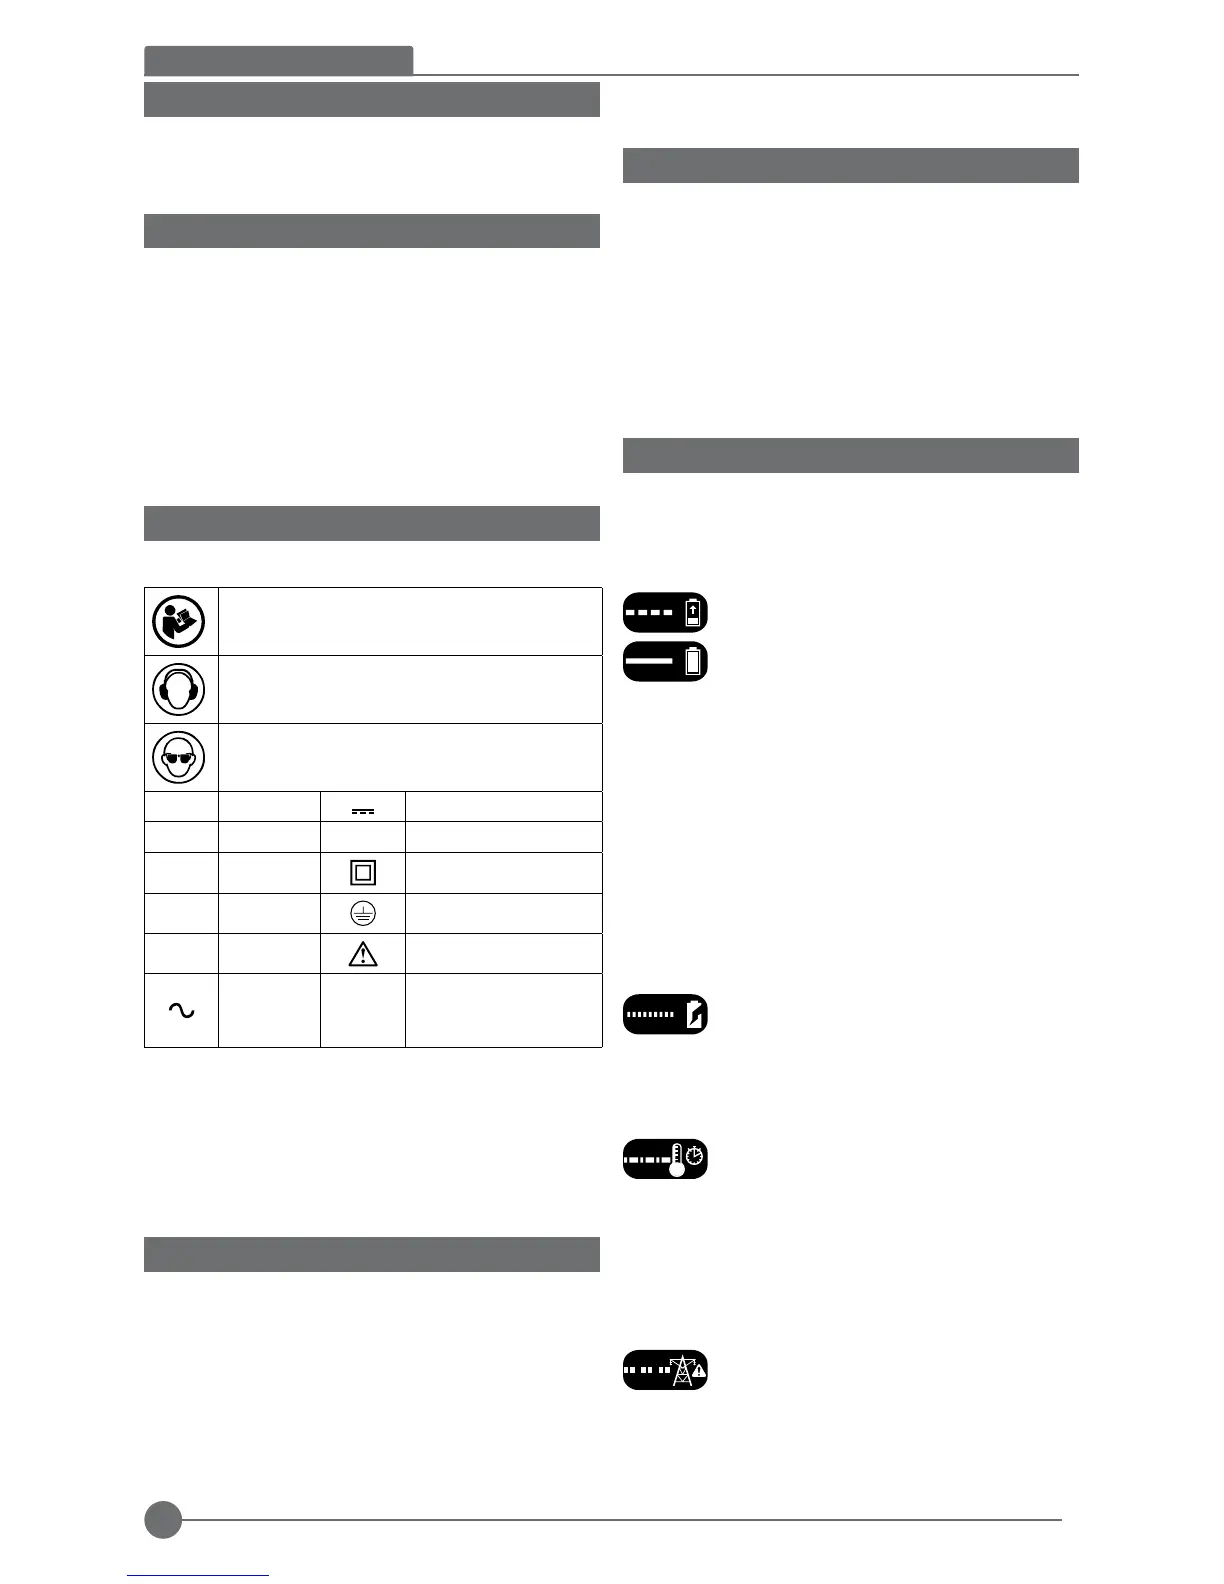
LABELS ON TOOL
The label on your tool may include the following symbols:
WARNING! To reduce the risk of injury, the user
must read the instruction manual before use.
Wear ear protection.
Wear safety glasses or goggles.
V Volts
Direct Current
A Amperes n
0
No-Load Speed
Hz Hertz
Class II Construction
W Watts
Earthing Terminal
min minutes
Safety Alert Symbol
Alternating
Current
/min.
Revolutions or
Reciprocation per
minute
Position of Date Code (Fig. A)
The Date Code, which also includes the year of manufacture,
is printed into the housing.
Example:
2017 XX JN
Year of manufacturing
PACKAGE CONTENTS
The package contains:
1 Lithium-Ion Cordless Hammer Drill
1 20V Max Lithium-Ion Battery
1 20V Max Charger
1 Instruction Manual
♦ Check for damage to the tool, parts or accessories
which may have occurred during transport.
♦ Take the time to thoroughly read and understand this
manual prior to operation.
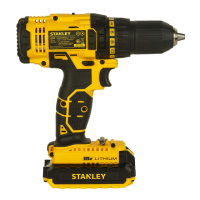
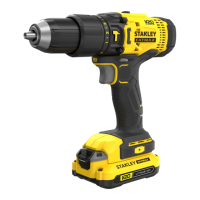
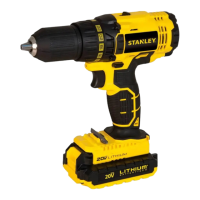
FEATURES (FIG. A)
This appliance includes some or all of the following features.
1. Trigger Switch
2. Forward/Reverse Button
3. Torque Adjust Collar
4. Dual Range Gear Selector 5. Keyless Chuck
6. Battery
7. Battery Release Button
8. LED Work Light
9. Bit Tip Holder
CHARGING PROCEDURE
STANLEY chargers are designed to charge STANLEY
battery packs.
1. Plug the charger into an appropriate outlet before
inserting the battery pack.
2. Insert the battery pack into the charger.
3. The led will flash indicating that the battery
is being charged.
4. The completion of charge is indicated by
the led remaining on continuously. The
pack is fully charged and may be used at
this time or left on the charger.
Recharge discharged batteries as soon as possible
after use or battery life may be greatly diminished. for
longest battery life, do not discharge batteries fully. It
is recommended that the batteries be recharged after each
use.
CHARGER DIAGNOSTICS
This charger is designed to detect certain problems that can
arise with the battery packs or the power source. Problems
are indicated by one LED flashing in different patterns.
Bad battery
The charger can detect a weak or damaged
battery. The LED flashes in the pattern
indicated on the label. If you see this bad
battery blink pattern, do not continue to charge the battery.
Return it to a service center or a collection site for recycling.
Hot/Cold pack delay
When the charger detects a battery that is
excessively hot or excessively cold, it
automatically starts a Hot/Cold Pack Delay,
suspending charging until the battery has normalized. After
this happens, the charger automatically switches to the
Pack Charging mode. This feature ensures maximum
battery life. The light flashes in the pattern indicated on the
label.
Problem power line
When the charger is used with some portable
power sources such generators or sources that
convert DC to AC, the charger may temporarily suspend
operation. The LED flashes in the pattern indicated on the
label. This indicates that the power source is out of limits.
 Loading...