a wooden mallet, as shown. Tighten the screw once again by
turning in a counterclockwise direction.
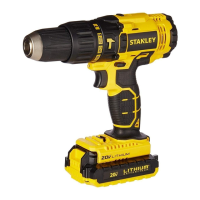
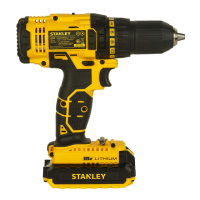
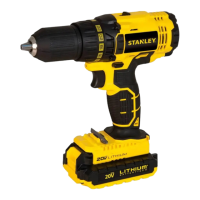
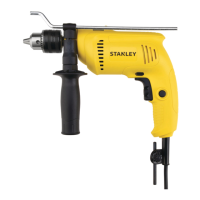
Drill Operation
WARNING: To reduce the risk of serious personal injury,
turn tool off and disconnect tool from power source
before making any adjustments or removing/installing
attachments or accessories.
WARNING: To reduce the risk of personal injury,
ALWAYS ensure workpiece is anchored or clamped
firmly. If drilling thin material, use a wood “back-up” block
to prevent damage to the material.
Turn the collar to the drill bit symbol for drilling. Select the desired
speed/torque range using the gear shifter to match the speed and
torque to the planned operation.
• Use sharp drill bits only. For WOOD, use twist drill bits, spade
bits, or hole saws. For METAL, use high-speed steel (HHS) twist
drill bits or hole saws.
• Always apply pressure in a straight line with the bit. Use enough
pressure to keep drill biting, but do not push hard enough to stall
the motor or deflect the bit.
• Hold tool firmly with both hands to control the twisting action
of the drill.
WARNING: The drill may stall if overloaded causing
a sudden twist. Always expect the stall. Grip the drill
firmly with both hands to control the twisting action and
avoid injury.
•IFDRILLSTALLS,itisusuallybecauseitisbeingoverloaded
or improperly used. RELEASE TRIGGER IMMEDIATELY,
remove drill bit from work, and determine cause of stalling.
DO NOT CLICK TRIGGER ON AND OFF IN AN ATTEMPT
TO START A STALLED DRILL — THIS CAN DAMAGE THE
DRILL.
• To minimize stalling or breaking through the material, reduce
pressure on drill and ease the bit through the last fractional part
of the hole.
• Keep the motor running when pulling the bit back out of a drilled
hole. This will help prevent jamming.
• With variable speed drills there is no need to center punch
the point to be drilled. Use a slow speed to start the hole and
accelerate by squeezing the trigger harder when the hole is deep
enough to drill without the bit skipping out.
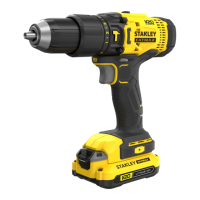
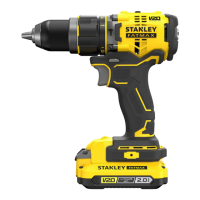
Hammerdrilloperation(Fig.D)
1. Turn the collar (9) to the hammer drill symbol.
2. Select the high speed setting by sliding the selector forward
(towards the chuck). Important: Use carbide tipped or masonry
bits only.
3. Drill with just enough force on the hammer to keep it from
bouncing excessively or “rising” off the bit. Too much force will
cause slower drilling speeds, overheating and lower drilling rate.
4. Drill straight, keeping the bit at a right angle to the work. Do
not exert side pressure on the bit when drilling as this will cause
clogging of the bit flutes and a slower drilling speed.
5. When drilling deep holes, if the hammer speed starts to drop
off, pull the bit partially out of the hole with tool still running to help
clear debris from the hole.
NOTE: A smooth, even flow of dust from the hole indicates proper
drilling rate.
Operation as a Screwdriver
Select the desired speed/torque range using the dual range gear
shifter on the top of tool to match the speed and torque to the
planned operation.
Insert the desired fastener accessory into the chuck as you would
any drill bit. Make a few practice runs in scrap or unseen areas to
determine the proper position of the clutch collar.
MAINTENANCE
Your STANLEY power tool has been designed to operate over a
long period of time with a minimum of maintenance. Continuous
satisfactory operation depends upon proper tool care and regular
cleaning.
WARNING: To reduce the risk of serious personal
injury, place the forward/reverse button in the lock-
off position or turn tool off and disconnect battery
pack before making any adjustments or removing/installing
attachments or accessories. An accidental start-up can cause
injury.
The charger and battery pack are not serviceable. There are no
serviceable parts inside.
Lubrication
Your power tool requires no additional lubrication.
Cleaning
WARNING: Blow dirt and dust out of the main housing
with dry air as often as dirt is seen collecting in and
around the air vents. Wear approved eye protection and
approved dust mask when performing this procedure.
WARNING: Never use solvents or other harsh chemicals
for cleaning the non-metallic parts of the tool. These
chemicals may weaken the materials used in these
parts. Use a cloth dampened only with water and mild soap.