5
(Original instructions) ENGLISH
Example:
2015 XX ZY
Year of manufacturing
Electrical safety
This tool is double insulated; therefore no earth
wire is required. Always check that the power
supply corresponds to the voltage on the rating
plate.
• If the supply cord is damaged, it must be replaced by the
manufacturer or an authorised STANLEY Service Centre
in order to avoid a hazard.
Using an extension cable
• Always use an approved extension cable suitable for the
power input of this tool (see technical data). Before use,
inspect the extension cable for signs of damage, wear
and ageing. Replace the extension cable if damaged or
defective. When using a cable reel, always unwind the
cable completely. Use of an extension cable not suitable
for the power input of the tool or which is damaged or
defective may result in a risk of fire and electric shock.
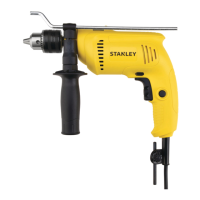
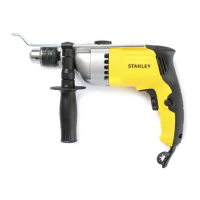
Features
This tool includes some or all of the following features.
1. Variable speed switch
2. Lock-on button
3. Forward/reverse button
4. Drilling mode selector
5. Chuck
6. Depth stop
7. Side handle
Assembly
Warning! Before assembly, make sure that the
tool is switched off and unplugged.
Fitting the side handle and depth stop
(fig.A,B)
• Turn the grip counter clockwise until you can slide the
side handle (7) onto the front of the tool as shown (fig.A).
• Rotate the side handle into the desired position.
• Insert the depth stop(6) into the mounting hole as shown
(fig.B).
• Set the drilling depth as described below.
• Tighten the side handle by turning the grip clockwise.
Fitting a drill bit (fig.C)
• Open the chuck by turning the sleeve (5) counter
clockwise.
• Insert the bit shaft (9) into the chuck (drill bit not
included).
• Insert the chuck key(10) into each hole (8) in the side of
the chuck and turn clockwise until it is tight.
Removing and refitting the chuck (fig.D)
• Open the chuck as far as possible.
• Remove the chuck retaining screw, located in the chuck,
by turning it clockwise using a screwdriver.
• Tighten an Allen key into the chuck and strike it with a
Impact as shown.
• Remove the Allen key. Remove the chuck by turning it
counter clockwise.
• To refit the chuck, screw it onto the spindle and secure it
with the chuck retaining screw.
Use
Warning! Let the tool work at its own pace.Do not
overload.
Warning! Before drilling into walls, floors or
ceilings, check for the location of wiring and
pipes.
Selecting the direction of rotation (fig.E)
For drilling and for tightening screws, use forward
(clockwise) rotation For loosening screws or removing a
jammed drill bit, use reverse (counter clockwise) rotation.
• To select forward rotation, push the forward/reverse
button (3) to the left position.
• To select reverse rotation, push the forward/reverse
button (3) to the right. Warning! Never change the
direction of rotation while the motor is running.
Selecting the drilling mode
• For drilling in masonry, set the drilling mode selector (4)
to the position.
• For drilling in other materials and for screwdriving, set
the drilling mode selector to the position.