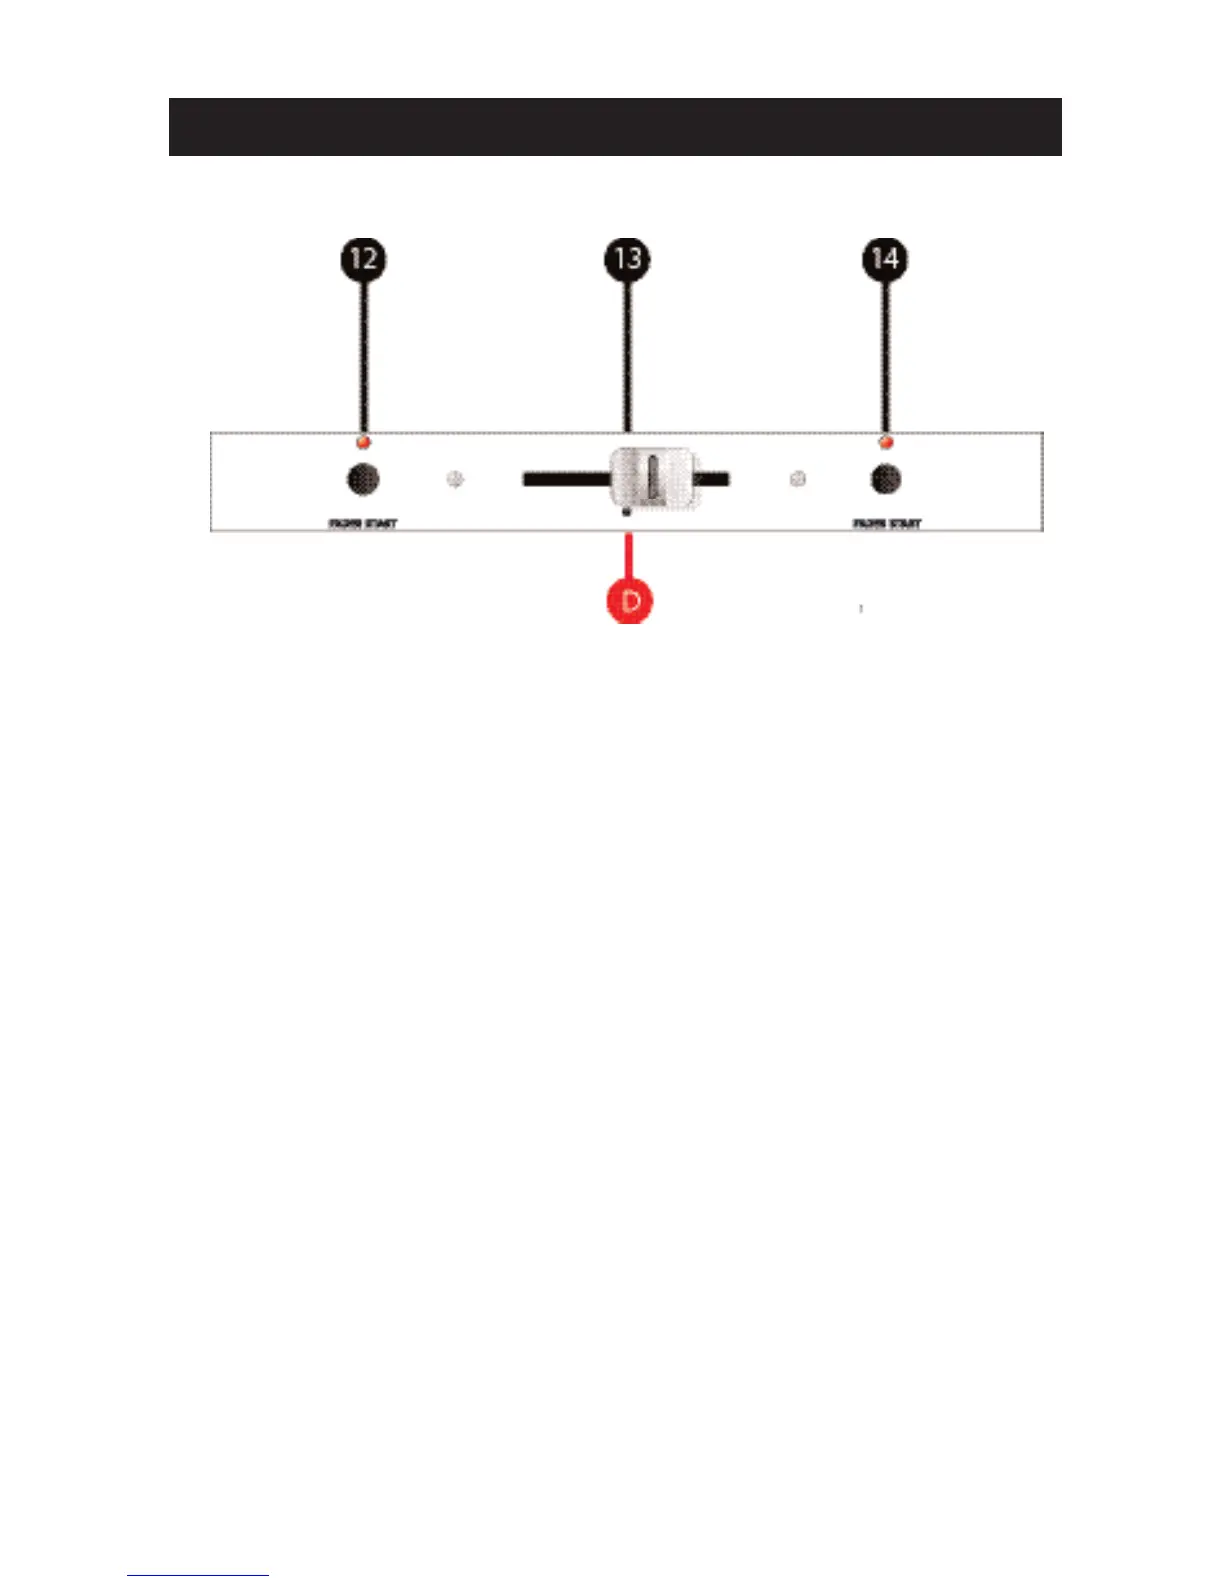
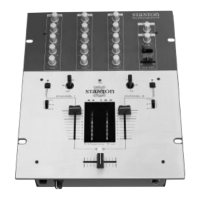
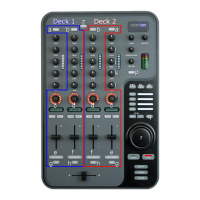
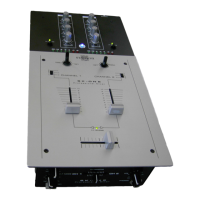
RM.404 Top Panel (FUNCTIONS)
Section D: Crossfader Controls
12. Fader Start (A): Activates this side (A) of the Crossfader (#13) for use
with components with the Fader Start feature. Moving the crossfader away
from the left-most position will cause the device (CD / Turntable) to start play-
ing. This allows DJs to activate a device by using the fader as if they were
pressing Play. [Fader Start compatible device (CD / Turntable) is required.
Fader Start cables need to be connected between the device and the appro-
priate input channel on the rear of the mixer].
13. Crossfader: Controls the audio signal that is sent to the Outputs (Section
B.) When the Crossfader is in the left-most position (A), only the channel(s)
set to (A) on their Crossfader Assign switch (#31) will be sent to the Outputs.
When the Crossfader is in the right-most position (B), only the channel(s) set
to (B) on their Crossfader Assign switch (#31) will be sent to the Outputs.
This allows DJs to fade (mix) or cut (scratch) between different audio signals.
When the Crossfader is somewhere in between the two extremes, a “blend”
or “mix” between two signals occurs. [Note: if NO line channel(s) have been
set to either A or B (using #31) then the Crossfader is bypassed. Also, if the
appropriate Channel Fader (Line Fader) (#30) is set to zero, no sound will be
output.]
14. Fader Start (B): Activates this side (B) of the Crossfader (#13) for use
with components with the Fader Start feature. Moving the crossfader away
from the right-most position will cause the device (CD / Turntable) to start
playing. This allows DJs to activate a device by using the fader as if they
were pressing Play. [Fader Start compatible device (CD / Turntable) is
required. Fader start cables need to be connected between the device and
the appropriate input channel on the rear of the mixer].