14
“Z” Balance
Balancing from Scratch II: Pre-adjusting the Caliper Hinge
If your camera weighs approximately a pound (450g) set the Caliper Hinge to about
10 inches (25cm).
If your camera weighs more than two pounds (1kg), preset the Caliper Hinge so that
it’s almost fully open at 12 inches (30cm), so you will need fewer weights. This will
keep the mass of the entire unit as low as possible.
Lay the Merlin on its side on the table. Using a tape
measure, open or close the Caliper as needed to set the
suggested distance from the lower weight to the top of the
Stage.
Now hold the Merlin vertical and lock both Locking Knobs
tightly to prevent vibration.
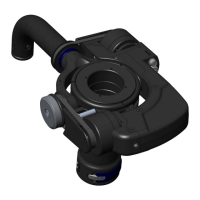
3. Adjusting the Guide Ring
The finest adjustment of bottom heaviness is obtained by rotating the threaded Guide Ring to raise or
lower the Gimbal, closer or farther from the underside of the Stage.
Identify the Guide Ring, for vertical (“Z”) axis balance adjustment. (The X axis is fore-and-aft
and the Y axis is side-to-side). Don’t adjust the Guide Ring until directed to do so.
• Rotating the Guide Ring
clockwise screws in the ring
and raises the Gimbal closer
to the Stage.
• Rotating counterclockwise
unscrews the Guide Ring
and lowers the Gimbal away
from the Stage.
Consult the Online Cookbook and note
the Guide Ring setting for your camera
here: turns. (Number of Z turns
counterclockwise = number of threads
showing above the Guide Ring.)
With the unit unfolded and open in Flying
Mode, turn it sideways and examine the
Guide Ring above the Gimbal.
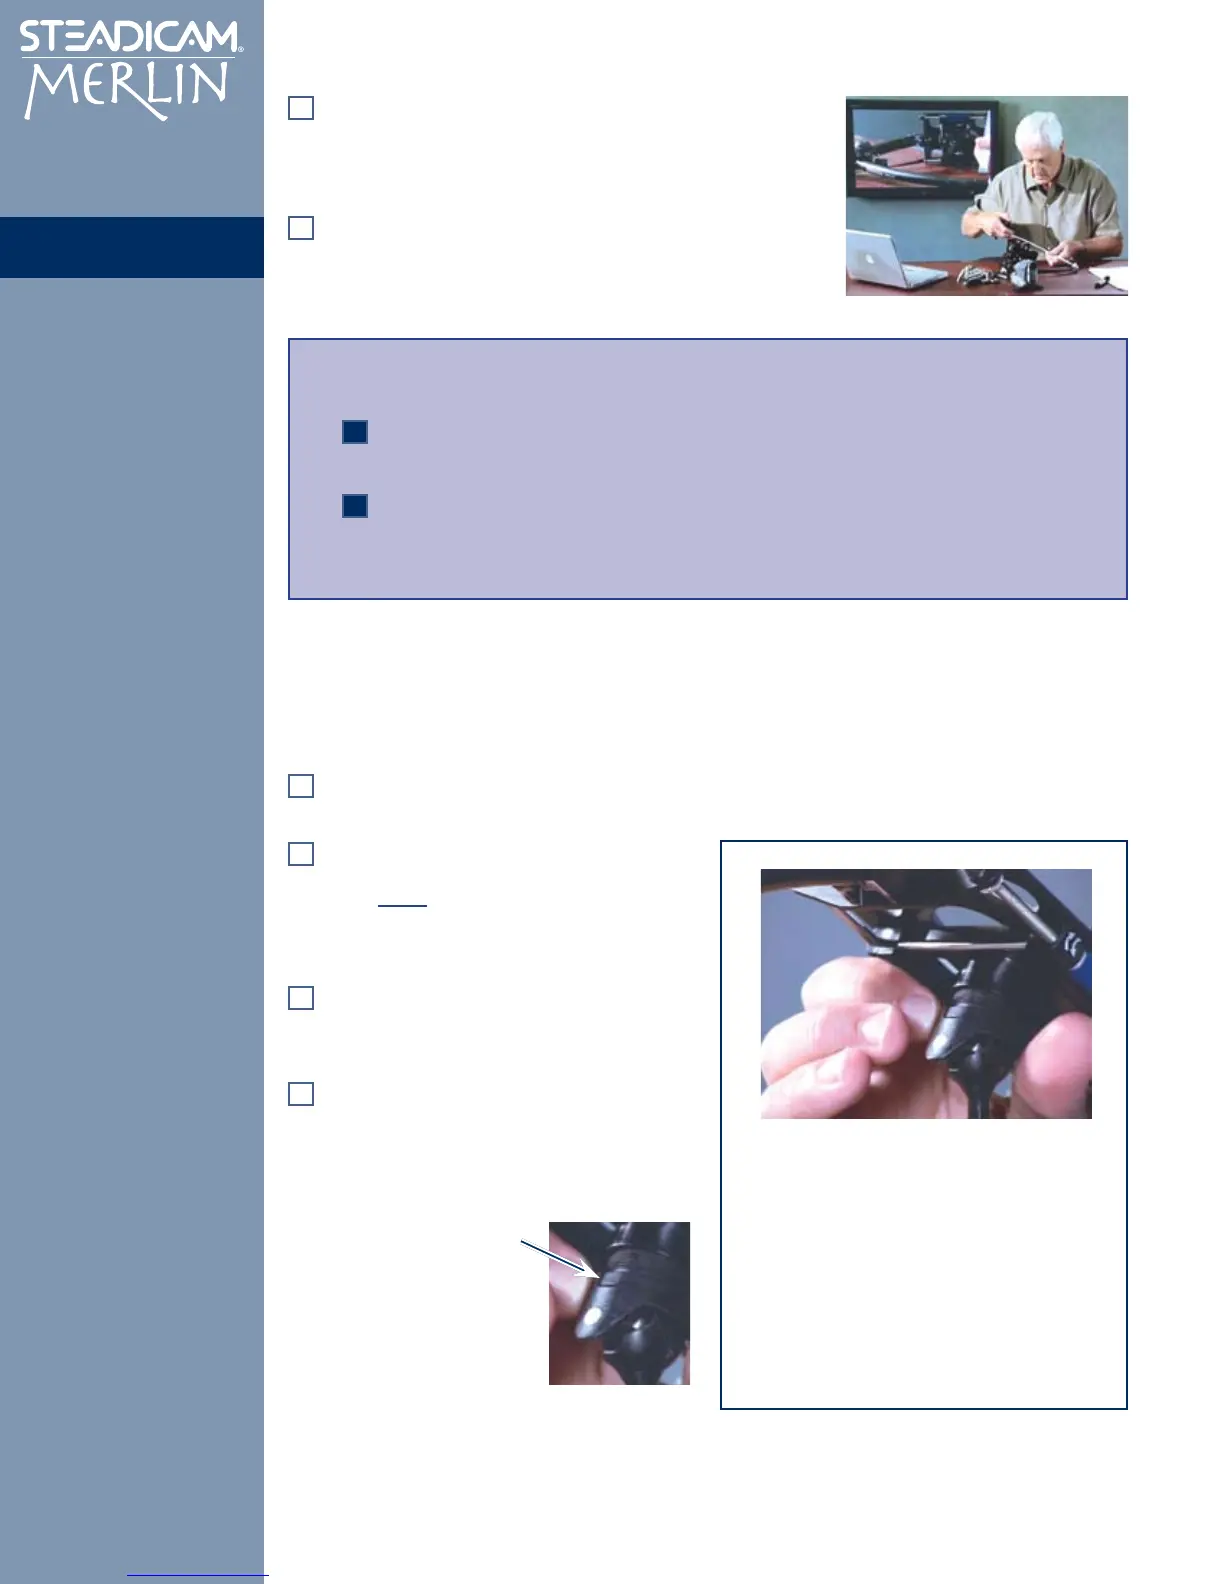
Identify the Guide Latch Button at the
front of the ring that keeps the ring from
rotating. If this button is depressed with
a fingernail or the back of a pencil (it’s
purposely stiff) the Guide Ring can be
rotated one full turn
before the Latch snaps
back to lock it in the
correct position. But
read the next several
paragraphs, including
the warning before you
try it!