4. INSTALLATION
(1) Make sure when you unpack it there is no defect in its external appearance when you receive your
Steaklocker.
(2) Open the door and check to see that the inside is complete (walls, shelves, hinges, Control panel, etc.)
(3) Place your Steak Locker in its operating location after going through the previous steps checking. Ensure the
the following requirements below:
A. Allow at least 3-5 inches between the back and sides of the Steak Locker; and leave a minimum space of
3-5 inches between the back cabinet and the wall.
B. Place your Steak Locker on a floor that is strong enough to support it when it is fully loaded. Adjust the four
adjustable legs to ensure proper leveling of your Steak Locker.
(4)Locate your Steak Locker away from direct sunlight and sources of heat and high humidity areas, such as
hot garages, patios, laundry room and bathroom, etc.
(5)Do not tilt the Steaklocker at an angle of more than 45° when moving it. Allow a minimum 10 minutes
interval between transit and re-starting.
(6)PleaseensureplentyofnaturalventilationaroundyourSteakLocker, otherwise, it will reduce the
effect of usage.
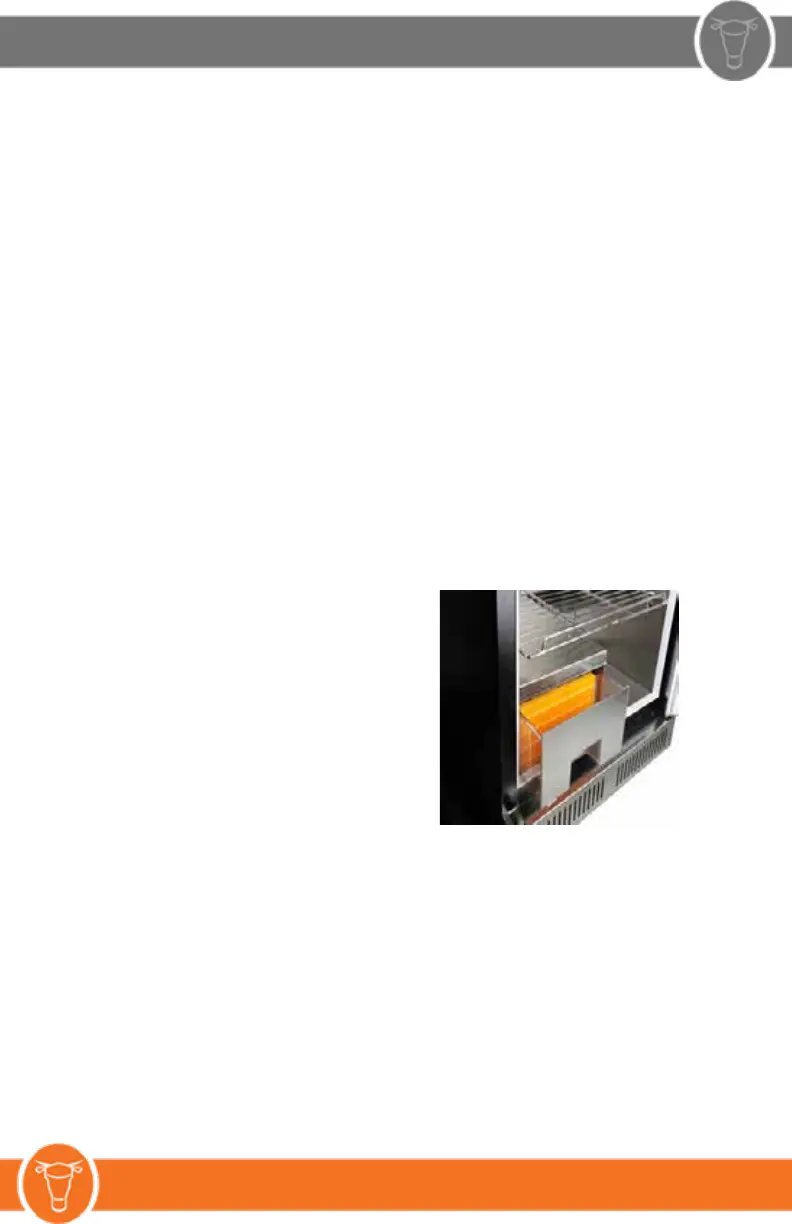
(7) Water Reservoir:
Prior to Powering On SL Unit;
- add DISTILLED water to the reservoir
drawer at least two thirds full.
- avoid opening the drawer past the
orange filter (approximately 4 inches)
- remove plastic from filter prior to use.
When low on water, an audible alarm
will sound and the code E6 will
display in the digital window.
Add more water at that time.