×°ÔÚÁÜÔ¡ÕßÈÝÒ×¾-
ÕßµÄΣÏÕ¡£
Òâ
:
!
Õô
°²×°ÔÚÁÜÔ¡ÕßÈÝÒ×¾-
³£
ÓÃÕßµÄΣÏÕ¡£
×¢
Òâ
:
!
Installation of pipeline
The installation of all the pipes should be done
by
a qualified
licensed plumber.
Warning:
Attention:
Atte ntion:
Attention :
User Manual
DO NOT HEAT AUTO FILL / DRAIN VALVES WITH TORCH DURING INSTALLATION.
This will cause damage to the plastic solenoid valve which will cause malfuction or leakage.
WATER SUPPLY LINE (1/2" WITH SHUT OFF VALVE)
1. Connect cold water supply with a shut off valve that is located in a that makes it
easily operated in an emergency.
2. Make sure the water supply line is clean before attaching to steam generator intake solenoid.
It is recommended that a 3/8 inch braided hose is used to supply water to the steam generator.
3. The water pressure should be between 15-20 psi. If necessary, decrease the pressure accordingly. Excess
pressure may cause leakage or malfunction of parts. The water flow rate should be aprox 8 gpm.
4. If necessary, install equipment to prevent water hammer noise. Also install an approved backflow preventer
as required by local codes. It is suggested that a thread on braided hose (3/8") with a rubber washer be used
for the water supply line attachment to the intake solenoid. Create a tight seal between the two fittings.
STEAM LINE PIPE (PIPE DIAMETER: 3/4" PER STEAM LINE - NO LESS!)
1. Do NOT install any valves in the steam line pipes. The steam should never be obstructed.
2. Steam generators up to 9KW require (1) 3/4 inch diameter steam line, 10.5 KW and higher steam generators
require (2) 3/4 inch diameter steam lines. Do NOT use or install steam lines in any configuration, in any less diameter
pipe, or connect them together.
3. The steam lines must be 3/4 inch diameter, the steam heads (nozzles) are 3/4 inch threaded. Steam lines must be
copper or brass material. Do NOT use ABS, galvanized, or PVC pipe. Use threaded unions to install all components
of the steam generator.
4. If steam lines are insulated, the insulating materials should be resistant to a temperature of no less then 250F.
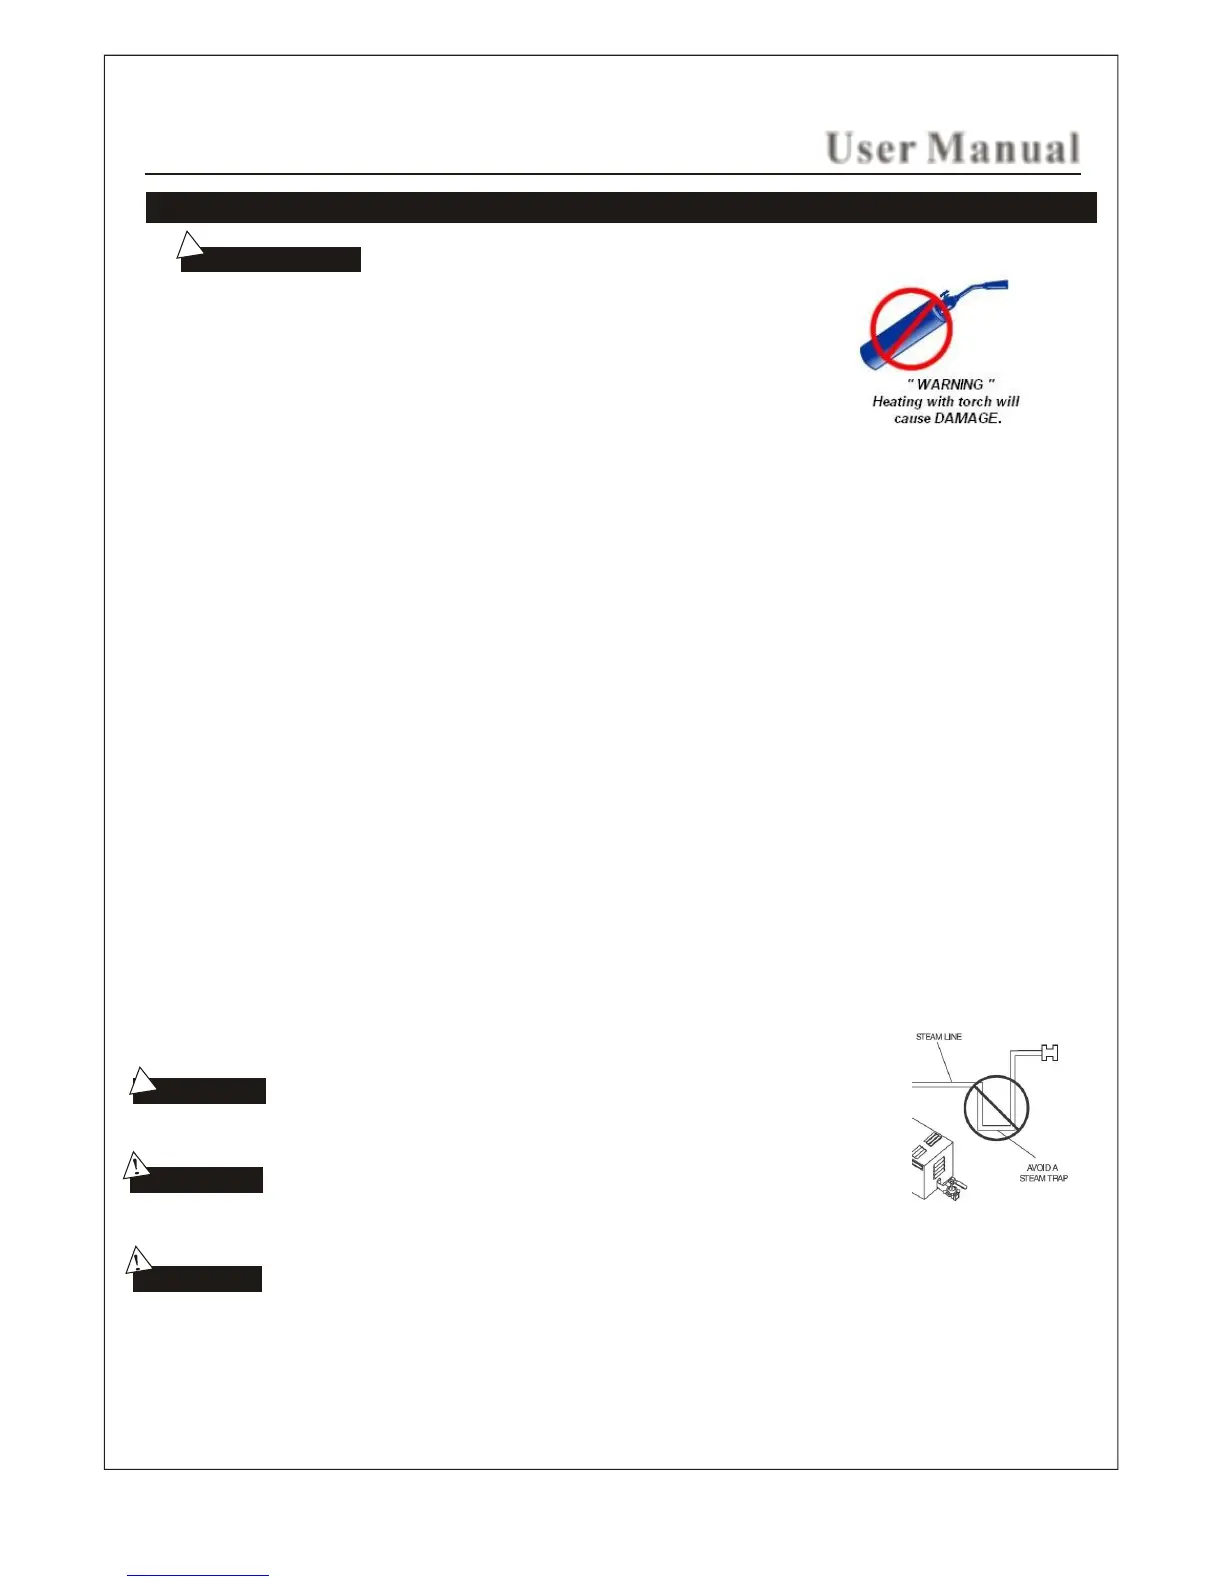
5. The steam lines should be installed horizontally with a slight incline to allow condensate to run off. Incline can be towards
the steam room or the steam generator. Do NOT allow steam pipe to sag, or create any sort of trap that will allow condensate
to build up and block steam flow within the steam lines.
6. The shorter the steam lines, the better performance of the steam genarator. Keep the number of elbows and abrupt turns in
the steam lines to a minimal. Do NOT combine the steam lines if the generator has more then one steam line, do NOT attach
the steam line(s) to the pressure reducer valve line, or drain line.
Do NOT install steam line in an upper or lower direction repeatedly. This will
affect the output of steam and can create a blockage to the flow of steam.
Avoid installing the steam heads (nozzles) in an area that will come into contact
with any body parts or bathers traffic. Add appropriate protection to avoid bodily
injury or burns. It is VERY HOT in the vicintiy of the steam heads outlets.
The steam nozzles should be installed between 10 - 12 inches high from the finished floor. If
the steam bath is within a bath tub enclosure, the steam nozzles should be minimum 6 inches above
the bath tub. If the steam shower materials is acrylic or non-heat-resistance material, install
additional heat insulators.
The steam nozzles need to be intalled so the steam outlet escapes down towards the floor.
Do NOT install with any wrench or tool that will damage it finish. Best to hand tighten and
silicone to the wall finish. Do NOT use corrosive materials to clean the steam nozzle(s) or any
harsh cleaning products.
Flush water supply line before connection to eliminate sediments.
If necessary, install a Hydro pneumatic device which reduces pressure spikes.
Steam nozzles need to be a minimum of 6 inches from a corner.
3
 Loading...