Do you have a question about the Steelcase Amia 482 Series and is the answer not in the manual?
Procedure to locate the quick release tab and slide the seat forward.
Align the new seat with the chair control and slide it backward.
Remove two screws on each arm to detach the old arms.
Install new arms and secure with two screws each, torqued to 25-35 in-lbs.
Remove four screws to detach the arm cap from the arm.
Align ribs and tighten screws to 6-10 in-lbs for arm cap installation.
Peel the j-channel and flip the chair to lift the back cushion off.
Slide back cushion starting at the bottom, working upwards into clips.
Procedure for removing and installing the chair's lumbar support.
Procedure for removing and installing the chair's back shell.
Remove four screws, push bottom out, and pull up the Amia Air Back Shell.
Align top bosses and lower tabs, compress shell, and slide down.
Rotate handle, shift gap, and unsnap lumbar from pad to remove.
Slide lumbar into back shell slot, ensuring only handle snaps protrude.
Turn chair over, remove four back assembly bolts, then detach assembly and cover.
Install back angle rear cover and back assembly, securing with four bolts.
Procedure for removing and installing the chair's base.
Instructions for prying off and pressing on the base cap.
Procedure for twisting off and installing the chair's footring.
Use removal tool and hammer hits to detach the pneumatic cylinder.
Install cylinder into chair control and adjust for 1/4" free vertical movement.
Follow steps to remove seat, arms, base, footring, cylinder, then unsnap engine cover.
Reverse removal steps to install the new chair control and components.
Slide bumper onto mechanism frame and force top flange through the hole.
| Category | Indoor Furnishing |
|---|---|
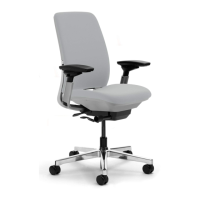
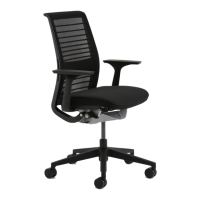
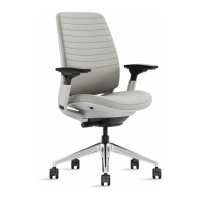
| Type | Office Chair |
| Manufacturer | Steelcase |
| Model | Amia 482 Series |
| Adjustable Seat Height | Yes |
| Backrest Height Adjustment | Yes |
| Adjustable Lumbar | Yes |
| Adjustable Arms | Yes |
| Weight Capacity | 300 lbs |
| Pneumatic Seat Height Adjustment | Yes |
| Tilt Lock | Yes |
| Tilt Tension Adjustment | Yes |
| Seat Material | Fabric |
| Base Material | Plastic |
| Material | Fabric, Plastic, Metal |