SteFly Canopy Flasher Manual Version 1.2 9
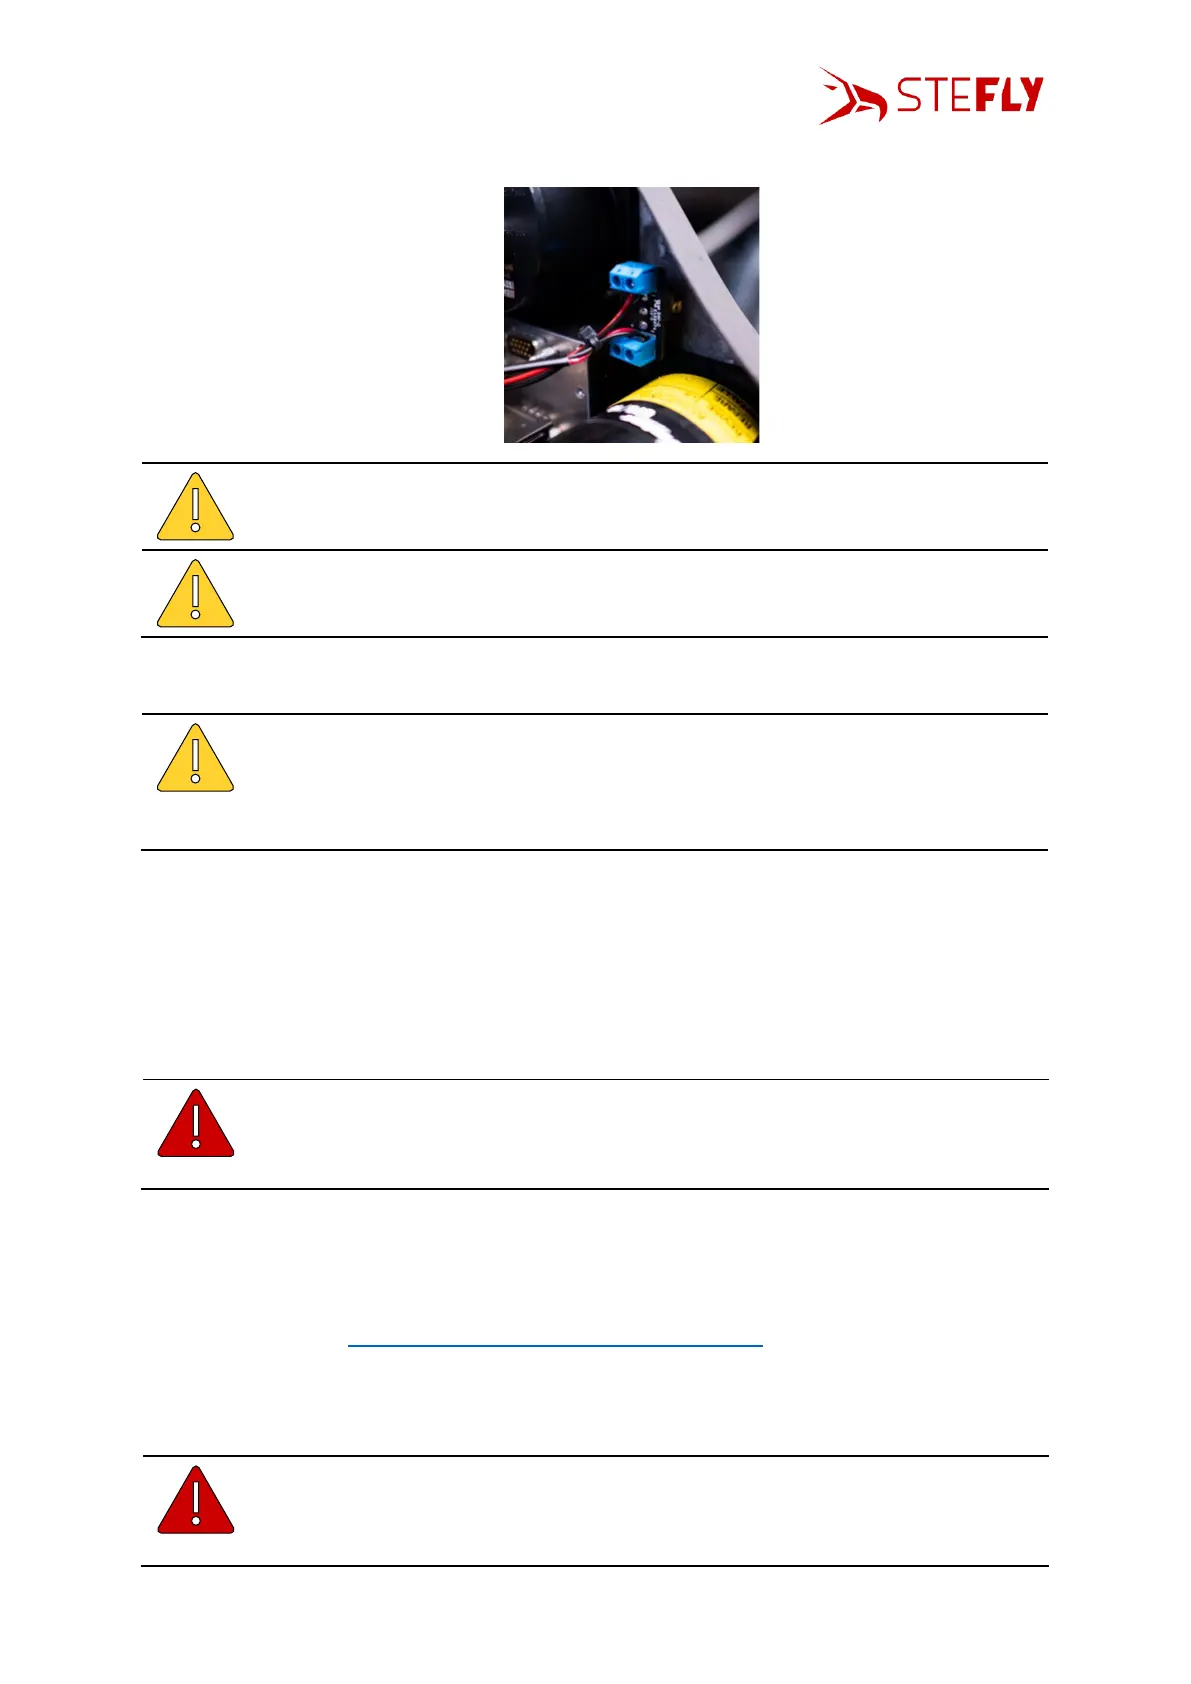
• Plug in the cables and connect the cables to the screw terminals of the on/off switch
Please make sure to connect the right end of the cable with the corresponding
device. Non-observance may result in damage of all corresponding devices.
Cables for power supply are typically red for +9 to 15 V DC and blue (or black) for
the ground connection. Power supply cables for the control box should be minimum
AWG 20 (included in scope of delivery).
• Use zip ties or other appropriate fasteners to place cables permanently and prevent from
movement.
When selecting the connectors, we made sure that they separate automatically
with little force in event of canopy jettison. Therefore, you must not use zip ties to
secure the plugged-in connectors and bind them together! Secure only the
connector that comes from the control box, as this will remain connected to the
aircraft, even during canopy jettison.
4.3
Function Test
Test the correct function by switching on the canopy flasher after having completed the installation.
When the switch is toggled on the ground, the canopy flasher will flash twice with less intensity.
Flashing with strong intensity during a dangerous situation is simulated and triggered by the
FLARM® simulator app, if Power-FLARM® Fusion is installed.
Make absolutely sure that nobody is looking directly into the canopy flasher or into
the reflected beam in nearer vicinity when the LEDs of the canopy flasher are
emitting light! This could possibly damage the retina temporarily or even
permanently.
In case of another FLARM-solution than Power-FLARM® Fusion is installed: to verify that the Control
Box is set up correctly, please check status LED1. Make sure that FLARM receives GPS signals (glider is
located outside of the hangar), then LED1 should be on. If not make sure that the baud rate is set up
correctly. (see chapter Change of Baud Rate / Update the Control Box)
5 Operation
5.1
Before Switching On the Canopy Flasher
Make absolutely sure that nobody is looking directly into the canopy flasher or into
the reflected beam in nearer vicinity, before toggling the on-off switch to “ACL”. The
powerful LEDs of the canopy flasher could possibly damage the retina temporarily
or even permanently.