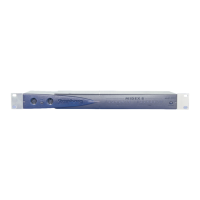
MIDEX-8
English – 10
Connecting and Setting Up
❐
Please install all necessary drivers and other software before connecting
the MIDEX-8 to your computer! Especially when installing it on a Macintosh
computer it is important to follow a certain order to prevent installation er-
rors. Please do carefully read the Software Installation chapters!
Positioning the MIDEX-8
• Position the MIDEX-8 interface in a convenient spot near your computer.
If you have a 19" rack, you can of course also install your MIDEX-8 in that. The
MIDEX-8 provides the necessary holes for the mounting screws.
If the distance between the MIDEX-8 and the computer is too big, you
might need to buy a USB extension cable. This is available in computer
shops. The cable should support the “USB Full Speed Mode”.
Connecting MIDEX-8 and Computer
When you have installed all necessary software, proceed as follows to
connect the MIDEX-8 to the computer:
1. Switch off the computer.
2. Use the USB standard cable that came with your MIDEX-8 to connect the
USB port on the rear of your computer to the USB port of the MIDEX-8.
Your computer’s USB port is a small (1/8 inch x 3/8 inch) rectangular socket.
Desktop computers often have two, Laptop computers mostly have one such
socket. The USB socket on your MIDEX-8 can easily be identified by its label.
3. If you are sure that all necessary software has been installed, you can
switch on your computer.
❐
We assume that you have properly connected the MIDEX-8 to your com-
puter’s USB bus so that it gets the necessary power, and that the computer
is switched on.