WORKSHOP MANUAL
T...102/122 - TC...102/122
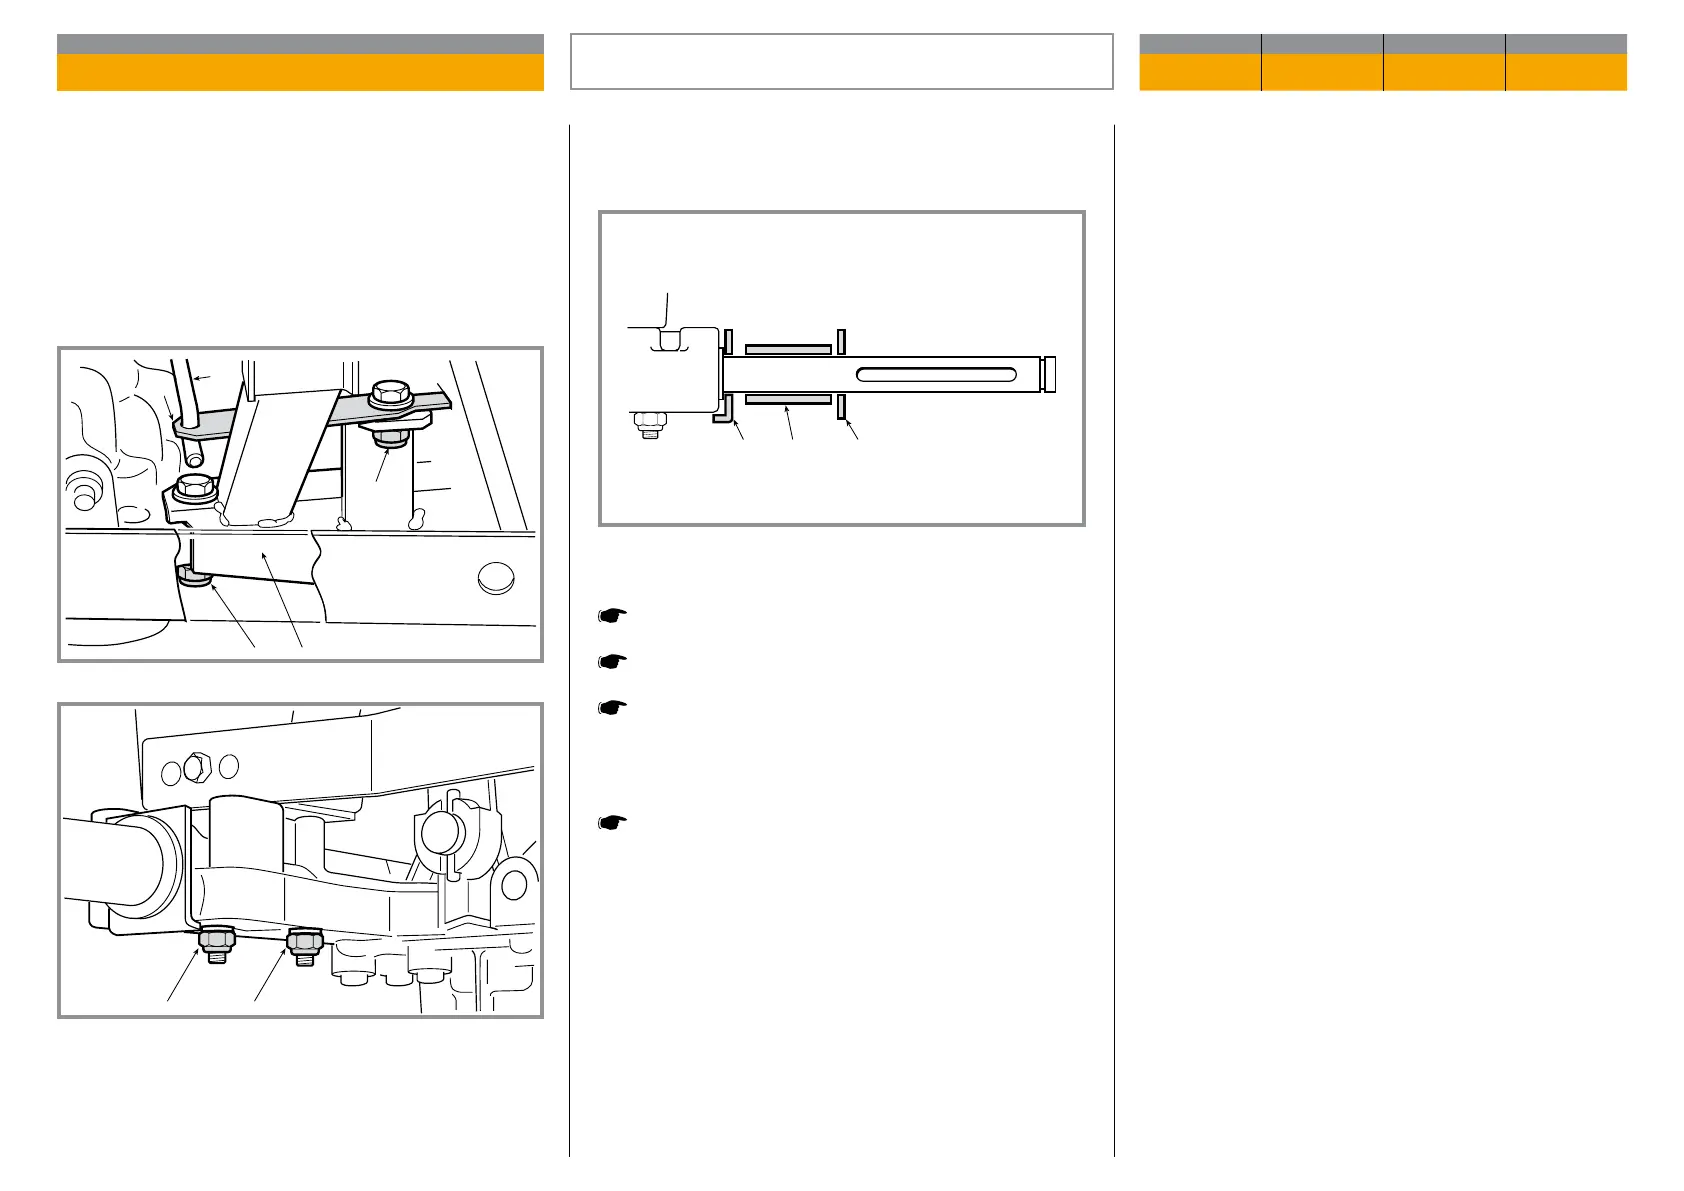
The unit is held up by a support (19) and fastened to
it by a screw with a nut (20), and it is attached to the
fra me by four screws (21).
Undo the nut (20) and then carefully undo the four lo-
wer screws (21), holding up the unit so that it does
not fall.
Repeat the above operations in reverse for re as sem-
bly, avoiding to fully tighten the nut (16), so that cor-
rect movement of lever (18) is guaranteed.
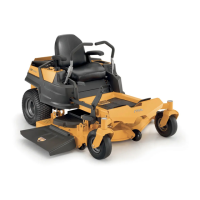
REMOVAL OF THE REAR AXLE
(Tu Torq K46F)
CHAPTER REVISION FROM ... PAGE
5.6 0 2018 2 of 2
Check that the spacers (31 - 32 - 33) are correctly t-
ted to the shafts, in the sequence given.
Reattach all the connections, and then …
Check the brake.
Ret the collector channel.
Ret the rear wheels.
If the control rod has been replaced or completely
pulled down:
Adjust the travel and the position of “neutral” for
the pedal.

 Loading...