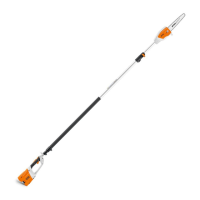
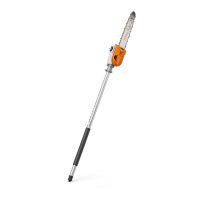
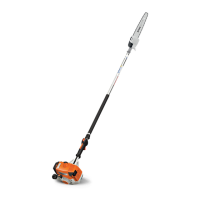
HTA 65, HTA 85
English
18
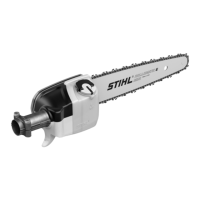
N Fit the guide bar over the screw (3)
and engage peg of tensioner slide in
the hole (4) – place the chain over
the sprocket (5) at the same time.
N Turn the tensioning screw (1)
clockwise until there is very little
chain sag on the underside of the
bar – and the drive link tangs are
engaged in the bar groove.
N Refit the cover and screw on the nut
fingertight.
N Go to chapter on "Tensioning the
Chain".
To adjust chain tension:
N Always switch off the power tool, set
the retaining latch to ƒ and remove
the battery.
N Loosen the nut.
N Hold the bar nose up.
N Use a screwdriver to turn the
tensioning screw (1) clockwise until
the chain fits snugly against the
underside of the bar.
N While still holding the bar nose up,
tighten down the nut firmly.
N Go to "Checking Chain Tension".
A new chain has to be retensioned more
often than one that has been in use for
some time.
N Check chain tension frequently –
see chapter on "Operating
Instructions".
N Always switch off the power tool,
move the retaining latch to ƒ and
remove the battery.
N Wear work gloves to protect your
hands.
N The chain must fit snugly against
the underside of the bar, and it must
still be possible to pull the chain
along the bar by hand.
N If necessary, re-tension the chain.
A new chain has to be re-tensioned
more often than one that has been in
use for some time.
N Check chain tension frequently –
see chapter on "Operating
Instructions".
1
3
4
5
0022BA013 AS
Tensioning the Chain
1
0022BA014 AS
Checking Chain Tension
0022BA015 AS