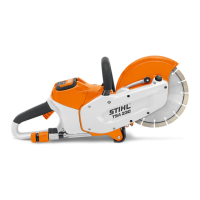
TSA 230
English
29
N Press and hold the spindle locking
mechanism (1)
N Turn the shaft with the combination
wrench until the shaft is blocked
N Tighten the hexagon head screw
with the combination wrench – if
using a torque wrench, refer to the
"Specifications" for the tightening
torque
WARNING
Never use two abrasive wheels at the
same time. The uneven wear creates a
risk of breaking and an injury hazard!
Power supply (mains) voltage and
operating voltage must be the same.
N Insert the plug (1) in the wall
outlet (2).
A self test is performed after the charger
is connected to the power supply. During
this process, the light emitting diode (1)
on the charger lights up green for about
1 second, then red and goes off again.
A factory-new battery is not fully
charged.
Recommendation: Fully charge the
battery before using it for the first time.
N Connect the charger to the power
supply – mains voltage and
operating voltage of the charger
must be the same – see
"Connecting Charger to Power
Supply".
Operate the charger only in enclosed
and dry rooms at ambient temperatures
between +5°C to +40°C (+41°F to
+104°F)
Only charge dry batteries. Allow a damp
battery to dry before charging.
N Push the battery (1) into the
charger (2) until noticeable
resistance is felt – then push it as far
as stop.
Connecting Charger to
Power Supply
Charging the Battery

 Loading...