ASSEMBLY AND MOUNTING
3
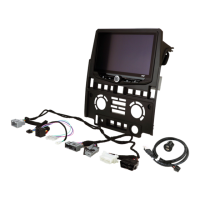
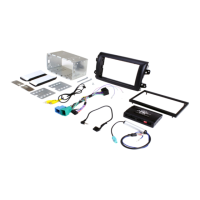
Using Double DIN Dash Kit
6
Display Adjustment:
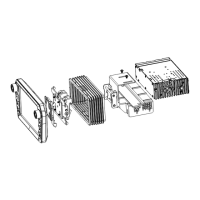
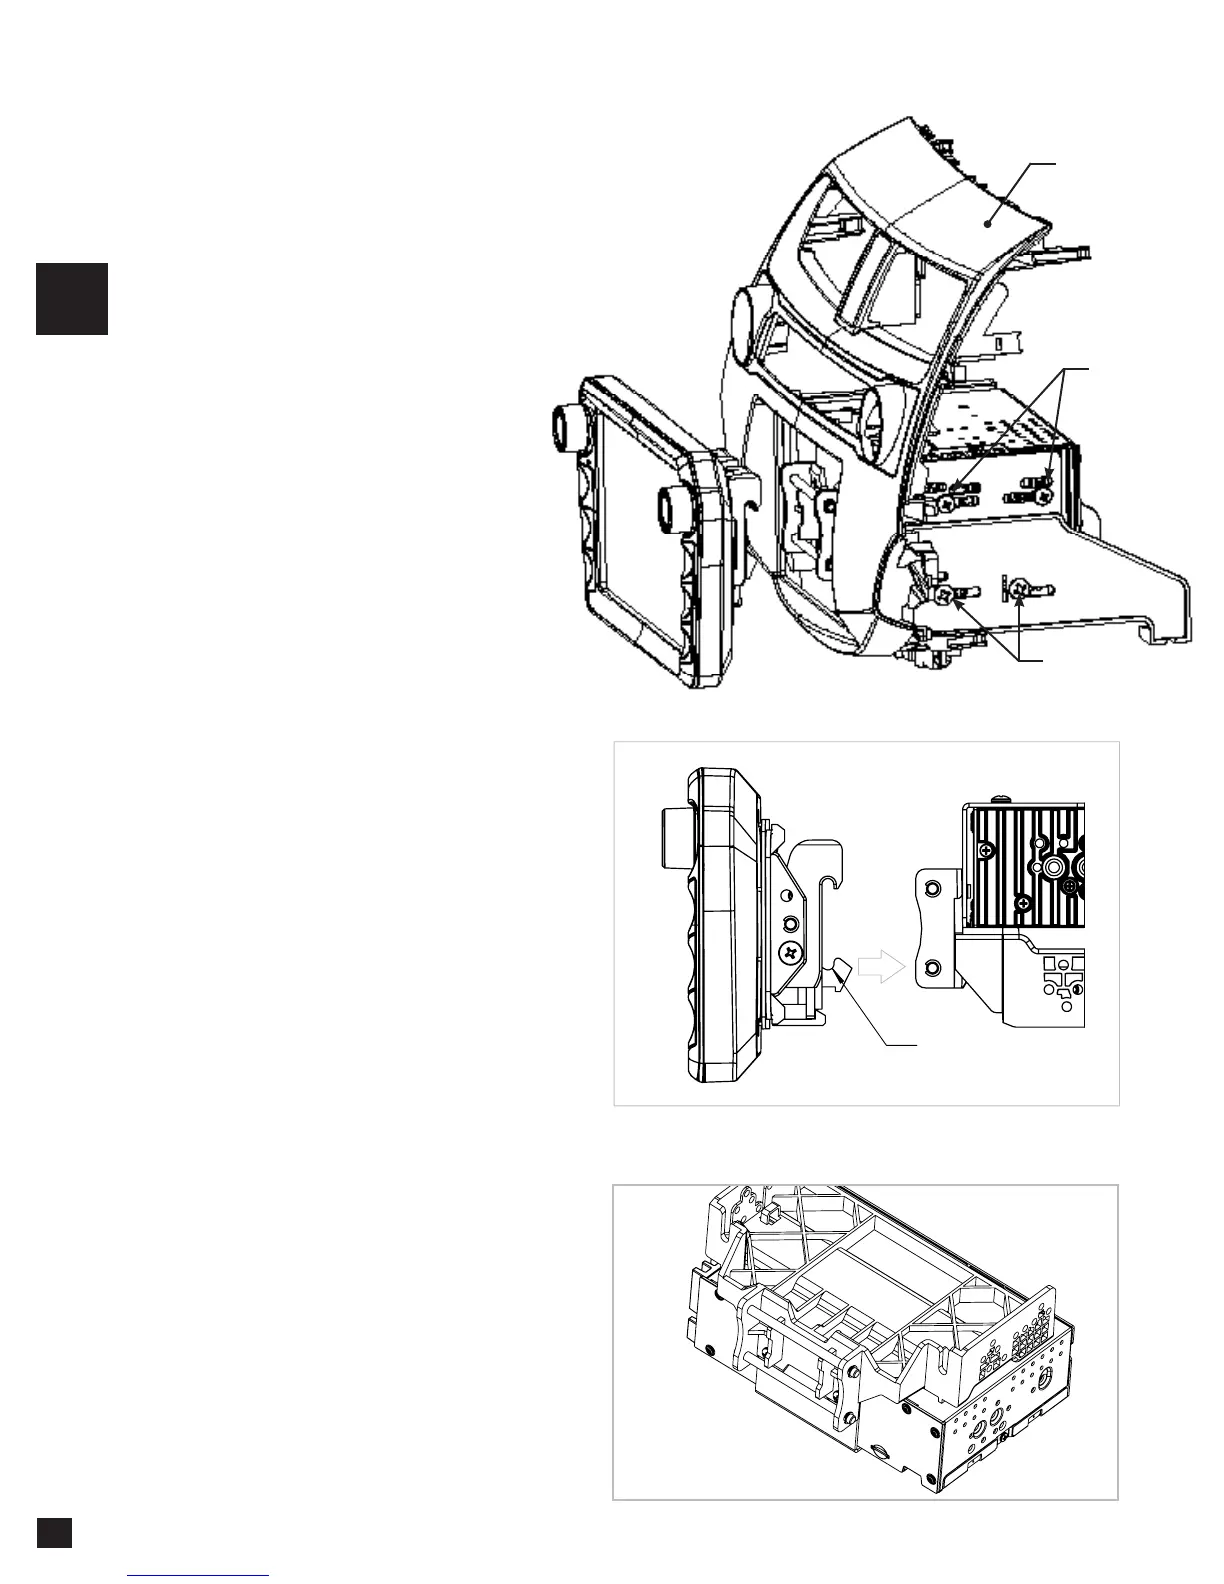
Loosely attach the radio module and
mounting bracket assembly to the
side brackets of an aftermarket dash
mounting kit using #10 X 3/8 screws
for the bottom locations and the M5 X
10 screws for the top locations (radio
chassis), do not tighten (FIG. A).
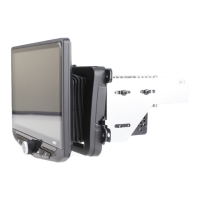
Temporarily attach the display to the
bracket assembly (FIG. B).
Using the main frame of the dash kit as
a guide, slide radio assembly forward
or backward to desired position. Tilt
the display vertically and determine if
the display should be flat or tilted up. If
display needs to move up or down,
refer to Step 2.
Once in the desired position, tighten
screws to the radio chassis (top) and
mounting bracket assembly (bottom).
Remove the display from the bracket
assembly by lifting upward and
unhooking.
Note: There are multiple mounting
holes on the mounting bracket to allow
adjusting the mounting depth.
Note: If you encounter a depth issue with
the radio module in the top position, you
may move it to the bottom location by
inverting the mounting bracket assembly.
(FIG. C)
Note: The boot is not required if display
sits very close to the dash/dash kit and
no large gap is seen.
HOOK BOTTOM
FIRST, THEN TOP
#10 X 3/8
M5 X 10
AFTERMARKET
DASH KIT
(NOT INCLUDED)
NOTE: BOOT AND DASH KIT (NOT SHOWN)
FIG. C
FIG. B
FIG. A