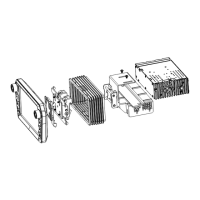
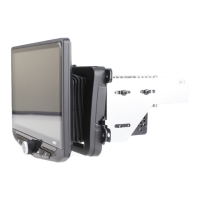
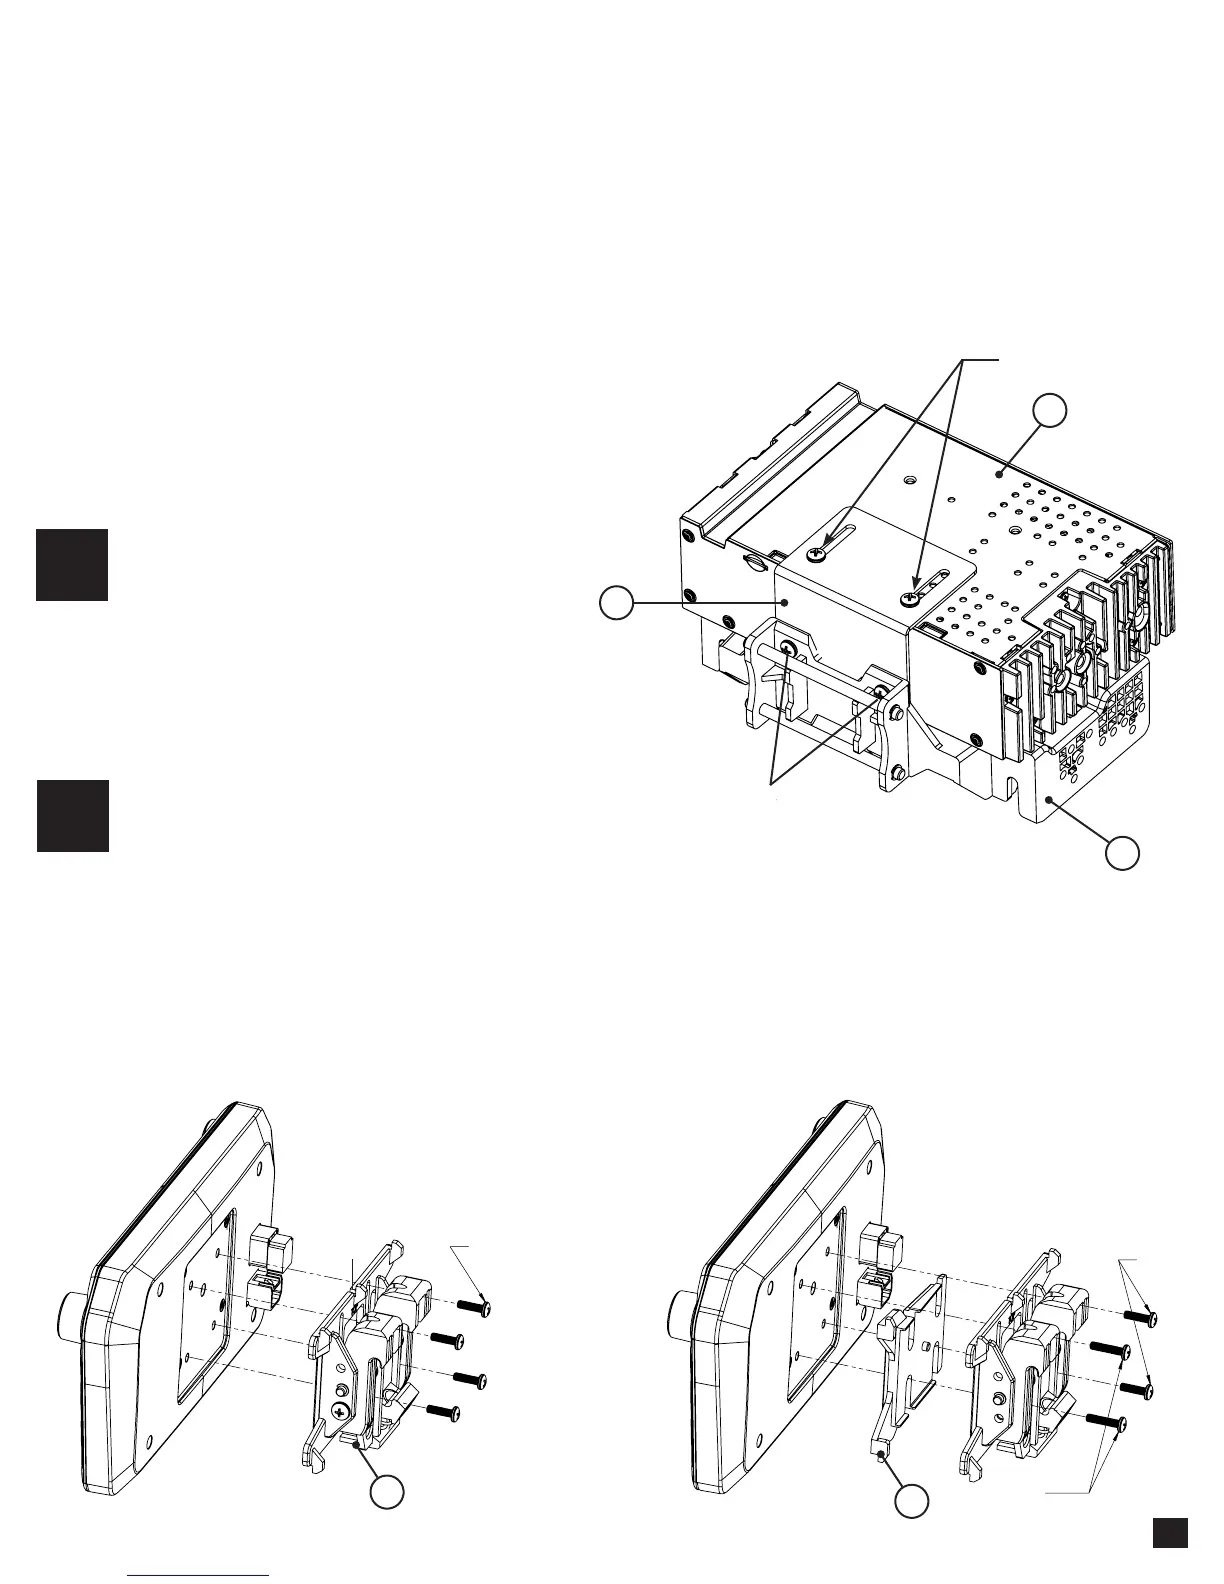
Attach metal bracket (1) to the plastic
dash mounting bracket (2) using M4 X 6
screws. Attach metal bracket and plastic
dash mounting bracket assembly to the
radio module (3) using M4 X 6 screws.
The display can be installed FLAT or ANGLED
towards the driver. For flat mounting, attach the
clamp assembly (6) to the display using M4 X 14
screws (FIG. A). If a horizontal angle is desired,
insert the angle plate (7) in between the clamp and
display and replace 2 of the M4 X 14 screws with
M4 X 18 screws on the thicker side of the angle
plate (FIG. B). Center the bracket on the back of the
display as a starting point, and if needed you can
adjust up or down.
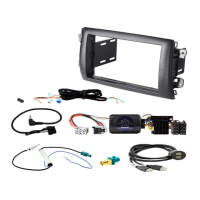
ASSEMBLY AND MOUNTING
MULTIPLE MOUNTING OPTIONS...
5
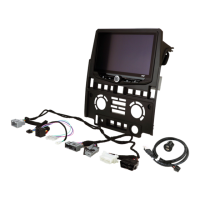
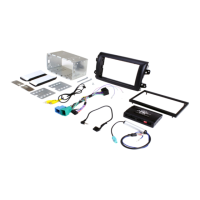
ELEV8 can be configured for different mounting applications:
• Using a Double DIN Dash Kit
• Using Factory Radio Mounting Brackets
• Using a Single DIN Dash Kit
• Custom Mounting Applications
This installation guide will cover using a Double DIN Dash Kit
1
3
2
M4 X 18
(2X)
M4 X 14
(2X)
M4 X 14
(4X)
FIG. A
FIG. B
7
6
1
2
Using Double DIN Dash Kit
M4 X 6
M4 X 6
TOP