9
MODEL: SO69S | PRODUCT CODE: 54288 | 08/2016
Installation
Unpacking the appliance
• This product has been packaged to protect it against transportation damage. Unpack the appliance and
remove all packaging materials from around the oven and from inside the oven cavity. If you need to
transport the oven at a later date, please ensure it is packaged appropriately to prevent damage.
• Keep all packaging materials until you have made sure your new oven is undamaged and in good working
order. The carton is recyclable. Whenever possible, reuse the carton and recycle it when disposing of the
packaging materials.
• Plastic wrapping can be a suffocation hazard for babies and young children, so ensure all packaging
materials are out of their reach, and dispose of them safely.
Note: If you sell or transfer ownership of this product, pass on these instructions to the new owner.
WARNING!
This oven must be correctly installed by an appropriately quali ed electrician in accordance with all applicable
rules and regulations and following the instructions in this manual.
Do not try to install the oven yourself; doing so will expose you to danger and void the warranty. Improper
installation, adjustment, alteration or service can cause injury or damage. We decline any responsibility for
injury or damage, to persons or property, as a result of improper use or installation.
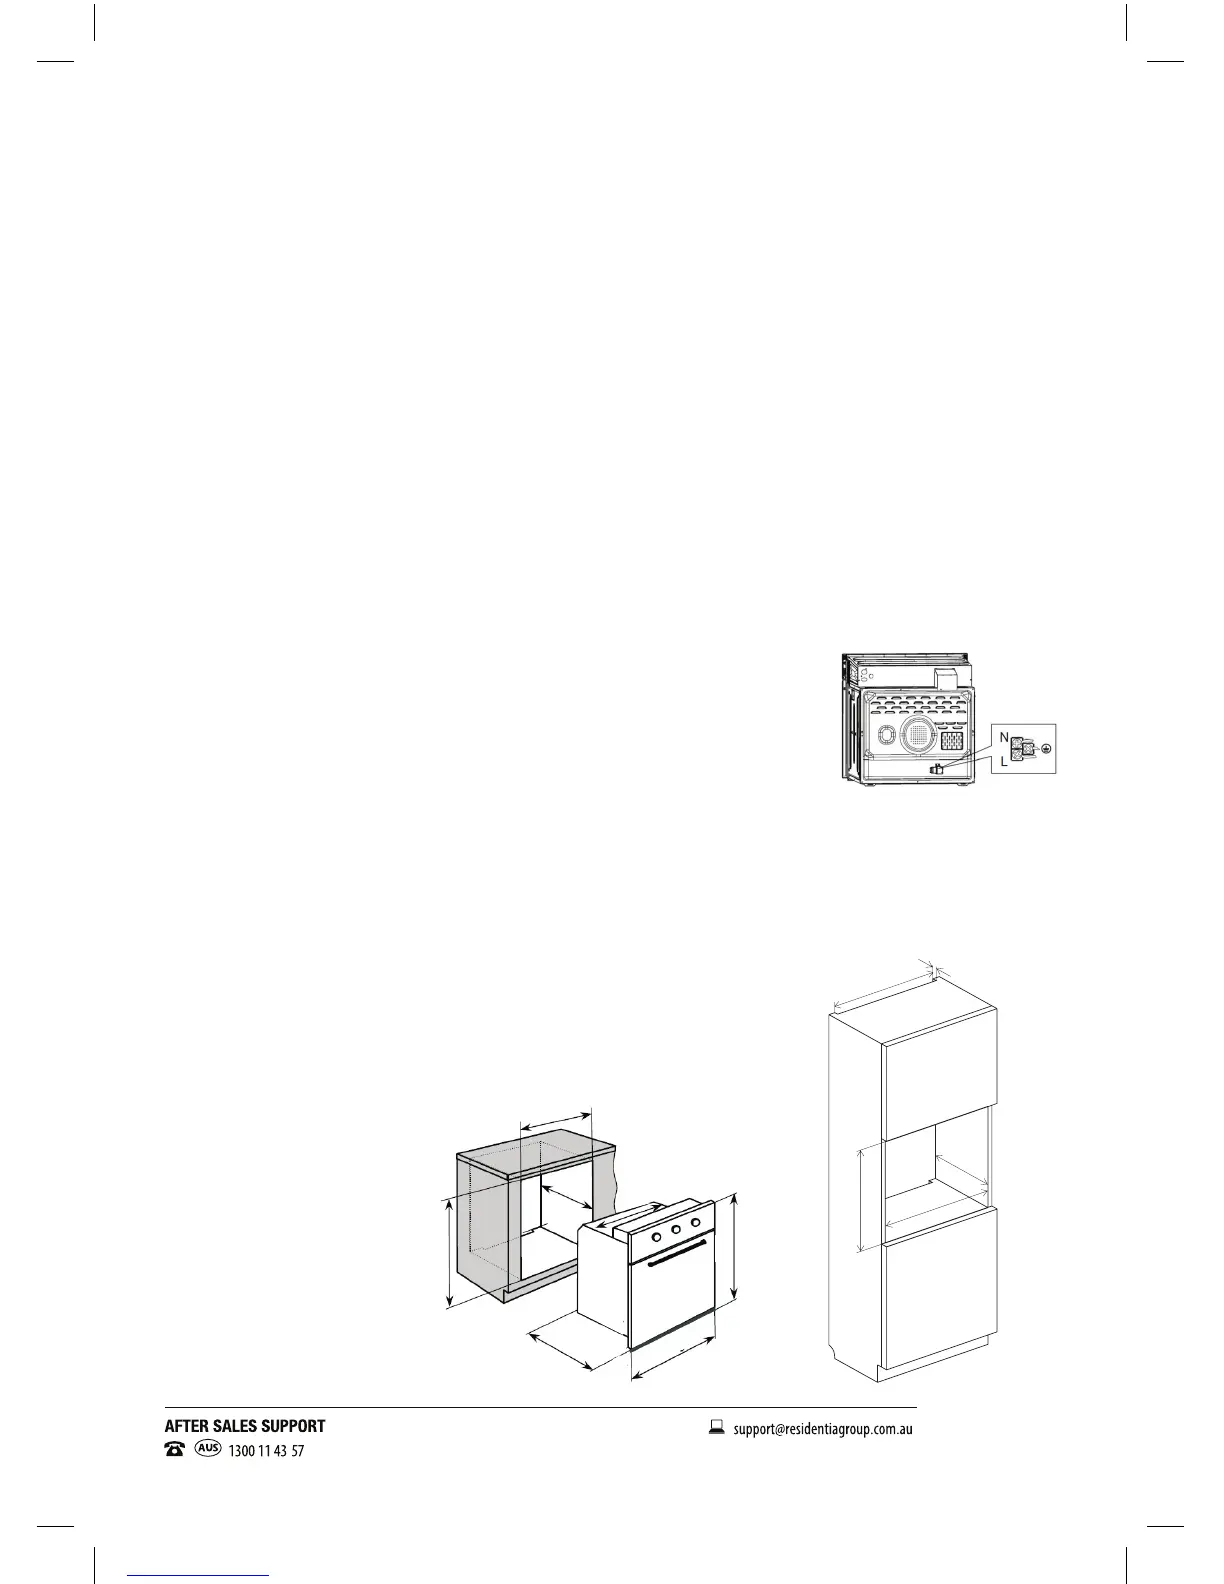
Important advice for the installer
• Before connecting the appliance, make sure that the supply voltage marked
on the Rating Plate corresponds with your mains supply voltage.
• WARNING: This appliance must be earthed.
• A suitable isolating switch providing full disconnection from the mains power
supply must be incorporated in the permanent wiring. The switch must be
mounted and positioned to comply with the local wiring rules and regulations.
The isolating switch must be of an approved type and provide a 3 mm air gap
contact separation in all poles (or in all active [phase] conductors if the local
wiring rules allow for this variation of the requirements). The isolating switch
will be easily accessible to the customer with the oven installed.
• The oven must not be installed behind a decorative door to prevent overheating.
Dimensions & Ventilation Requirements
Note. It is a requirement for a ventilation gap to be cut into the
oven cabinet as per the diagrams below.
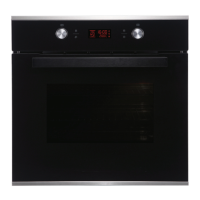
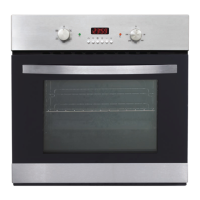
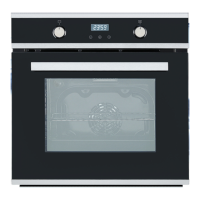
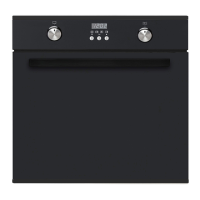
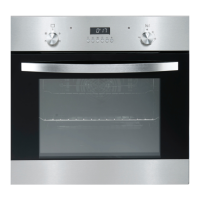
Oven dimensions
Height: 595mm
Front Width: 595mm
Depth: 575mm
Rear Width: 560mm
590-59 5
56 0
560
500
40
600
560
40
570
560
600
600
560
560
595
595
575
Fig. 1
Fig. 2