EXTRACTING THE SWITCH ASSEMBLY
1. Unscrew the head from the flashlight barrel.
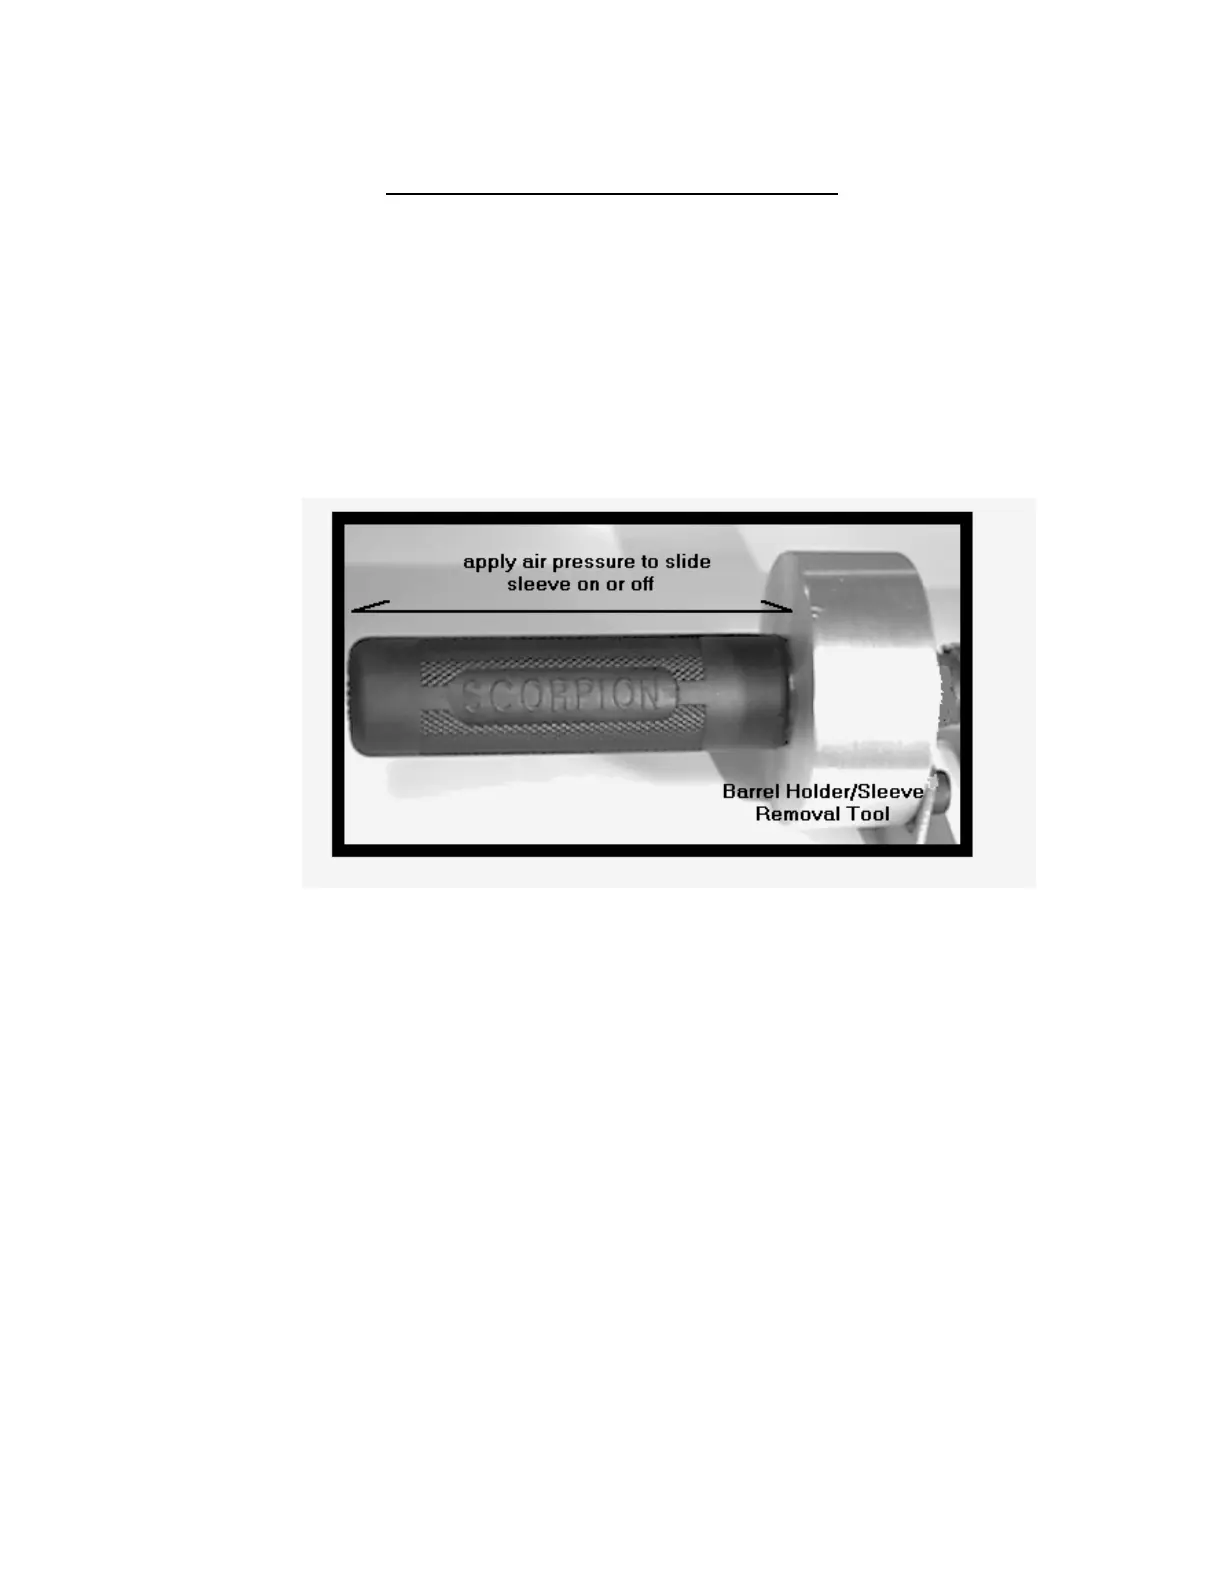
2. Remove the rubber barrel sleeve:
(See page 8 If no Service Kit is available.)
a. Screw the threaded end of the barrel into the barrel holder/sleeve tool (P/N:850166).
b. Place one hand on the rubber sleeve and slowly apply air pressure to the barrel
holder/sleeve tool. (If using a Service Kit Compressor the push-button switch is used
to regulate the air pressure.)
CAUTION: STAND CLEAR WHEN REMOVING THE BARREL SLEEVE. A
SUDDEN BUILD-UP OF AIR PRESSURE CAN CAUSE THE SLEEVE
TO SLIDE FREE OF THE BARREL WITH UNEXPECTED FORCE.
c. Slowly guide the sleeve from the barrel. Retain the sleeve.
d. Unscrew the barrel from the barrel holder/sleeve tool.
3. Place the barrel over the mounting board and post assembly (P/N:850167) with the
threaded end of the barrel down and the switch end up.
4. Insert the tips of the switch removal pliers (P/N:850169) into the cupped retaining clips
on either side of the switch.
a. Apply pressure to the handles of the switch removal pliers to draw the retaining clips
toward the center of the switch. (See illustration next page.)
- 7 -