20
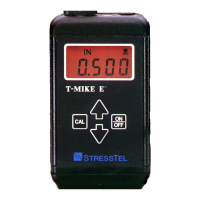
D. TO PROGRAM FROM A T-MIKE E
Set the T-Mike E in the desired mode by holding down the CAL key while turning on the power. Now calibrate
the sound velocity of the T-Mike E to the desired sound velocity. Turn off both gauges. Connect the special
cable between the two data/charger ports. Turn on the T-Mike E; press the CAL key twice and the LCD will
indicate the velocity. Now turn on the T-Mike B. The T-Mike B should display CAL, followed by the new velocity
and then will go into the measurement mode. Be sure this new velocity matches with the sound velocity in the
T-Mike E.
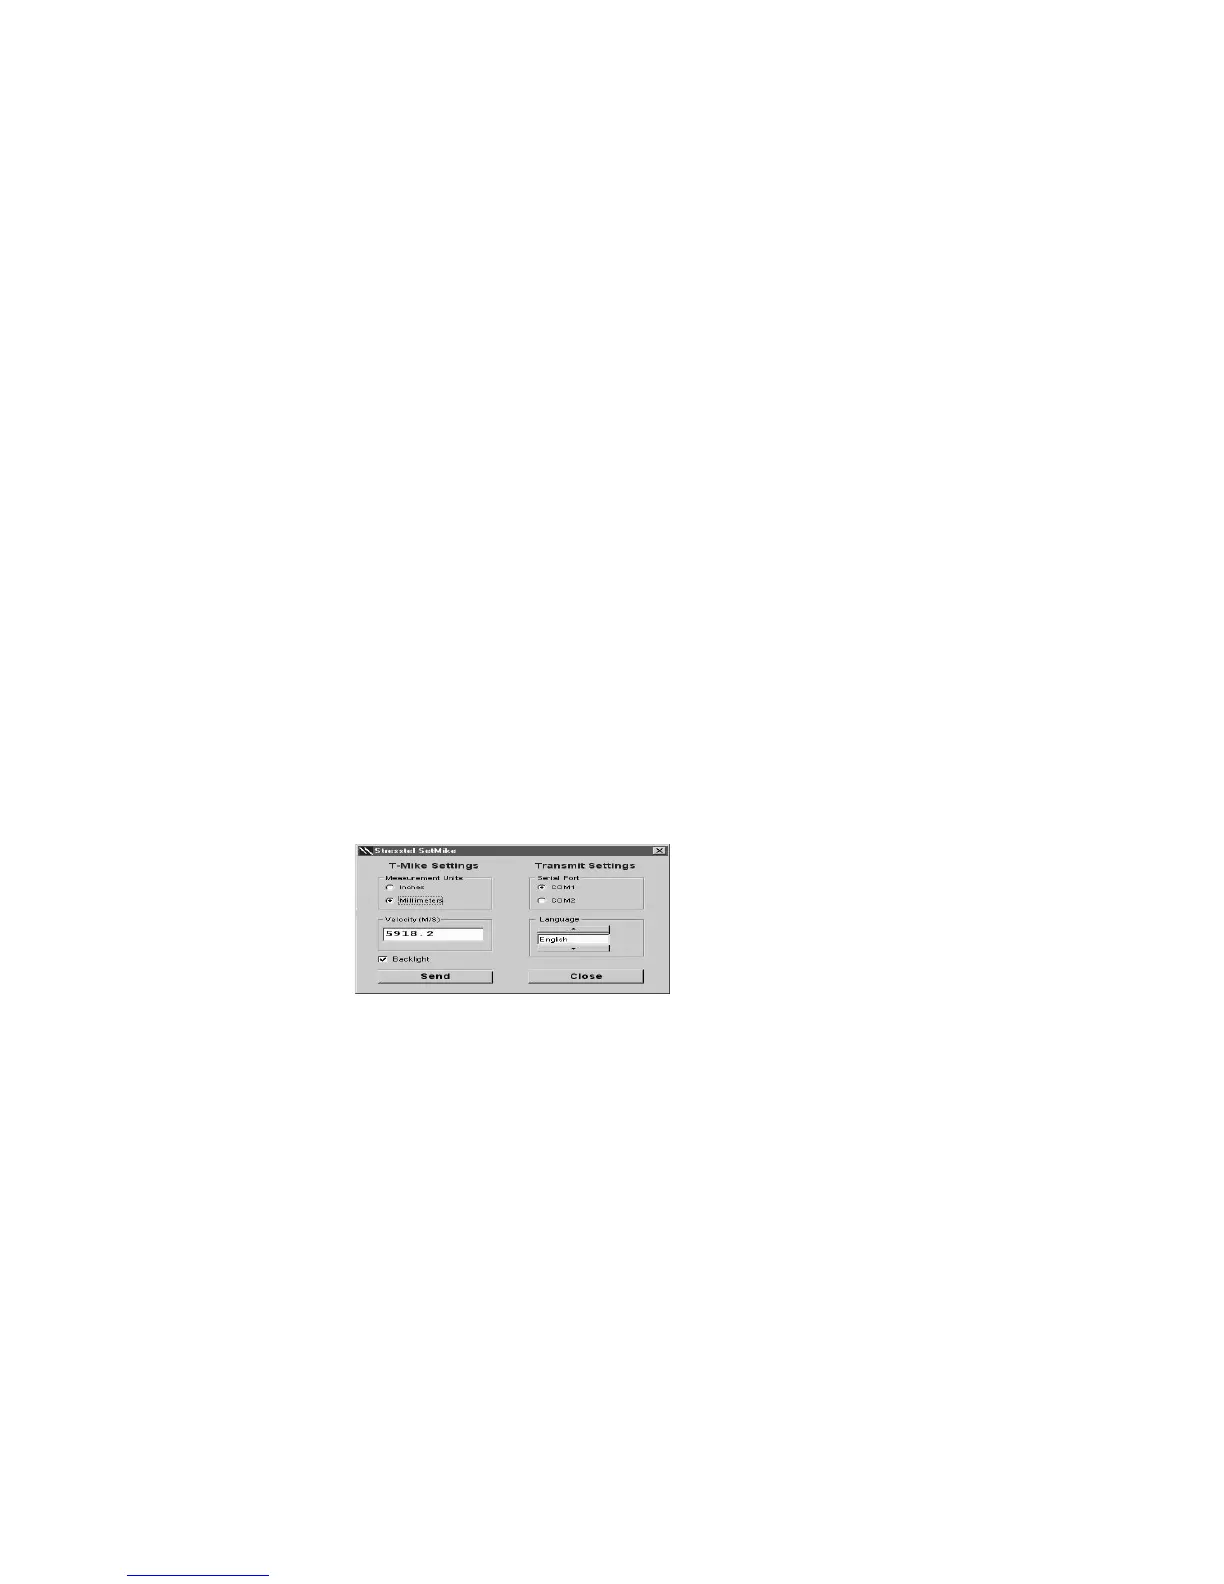
E. TO PROGRAM FROM AN IBM COMPATIBLE PC
Remove rubber plug from the serial port of the T-Mike and insert the LEMO connector of the T-Mike serial cable
(Part Number 022-506-783). Connect the serial cable to COM1 or COM2 of the PC. Run SETMIKE from
Start/Programs/Stresstel or from the appropriate installation directory. Select Measurement Unit: Inches or
Millimeters. Enter sound velocity in inches/uS or M/S. Press Enter to accept new velocity. Check Backlight to
illuminate T-Mike reading. Select Serial Port: COM1 or COM2.
Use the Tab key to cycle
through the SETMIKE
W indows application
controls.
When you turn off the T-Mike B, it will display the EPROM software version. When you turn on the T-Mike B,
it will display the active material. Press MAT again to display the sound velocity. Test the T-Mike B on a
material sample to verify that it reads the correct thickness.
Press SEND to initiate update of the T-Mike. Turn on the T-Mike. If the T-Mike was already on, turn it off
and turn on again.