12 BA_560_A4_180619_en
3.4.3
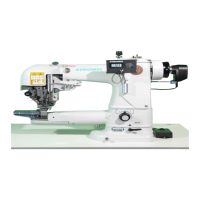
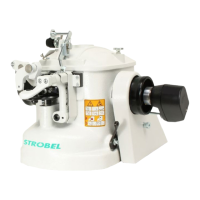
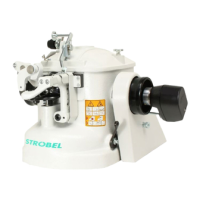
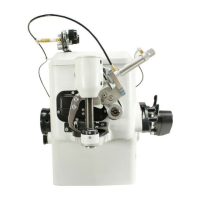
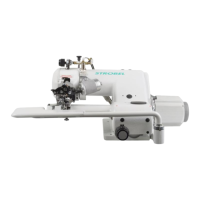
Positioning the machine (Fig. 4)
CAUTION! Danger of injury!
Danger of pulling in parts of clothing and of hair and danger
of crushing fingers and stitching fingers with needles!
When checking positions with switched-on machine keep
fingers and hands away from moving parts.
Machine with or without thread cutter:
The machine requires a needle position and depending on the sewing drive,
possibly also a reference position.
Reference position:
The reference position must be set in such a way, that during the right
insertion, the point of the needle closes with the inner edge of the needle
slide plate.
Needle position (during stop in the seam and outside the seam):
The needle position must be set in such a way, that during the right stitch
exit, with the looper (1) stopped and with swivelling of the movable cutter (2),
a distance of 1 to 1.5 mm is between both of them (Fig. 4).
Notes for sewing drives which have two needle positions:
The above mentioned needle position is position 2 at the sewing drive.
It is essential that position 1 is set at the sewing drive in such a way, that the
position lies approx. 100 degrees or increments behind position 2.
Position 2 has been set with the sewing machine as follows:
Position 2: P2E = 250 P2A = 275 (250 + 25)
From this follows for position 1:
Position 1: P1E = 350 P1A = 015 (350 + 25)
It is essential that you also consult the operating instructions of the relevant
sewing drive.
Fig. 4