22
DELIVERING THE POWER
STROM LIMITED
INSTALLATION GUIDE
CONTROLLER COMMISSIONING
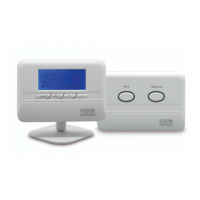
Once you are happy that the receiver has been tted and wired in
accordance with this installation manual you will need to commision the
controller, test pairing and ensure the following has been completed:
1. Power has been restored to the receiver.
2. Ensure the controller is powering on and responding to user input.
3. Check the pairing between the control and receiver.
4. Ensure the date and time is correct and ammend as required, see
page 22.
5. Set the backlight settings as required, see page 22.
6. Set the correct heating schedule for the user in accordance with
page 11, and ensure that the custom heating schedule template is
completed on page 9.
7. Leave the “FUNCTION SLIDER” set to “AUTO”.
8. Leave a copy of these instructions with the controller for the
homeowner.
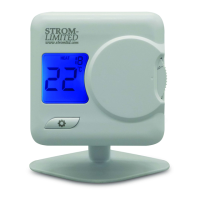
Setting the time and date is really easy to do, just follow these steps:
1. Move the “FUNCTION SLIDER” to “TIME/DATE”.
2. Using the “ADUSTMENT SELECTORS” set the correct details,
using the “NEXT” button you can cycle between, Hours, Minutes,
Day, Month, and Year.
3. Once completed please press the “HOME FUNCTION” button .
4. Return the “FUNCTION SLIDER” to the “AUTO” position.
Setting the backlight timeout is really easy to do, just follow these steps:
1. Move the “FUNCTION SLIDER” to “TIME/DATE”.
2. Press the “NEXT” button until the controller displays “LIGHT”
3. Using the “ADUSTMENT SELECTORS” set the time out between
5 and 15 seconds or o completely.
4. Once completed please press the “HOME FUNCTION” button .
5. Return the “FUNCTION SLIDER” to the “AUTO” position.
SETTING THE TIME & DATE
9
4
3
2
SETTING BACKLIGHT TIME OUT
9
3
4
2