20
- Connect the amplifier in stereo mode with 4Ω loads at 1 kHz.
- Drive single channel, Put the switch @ the rear into subwoofer mode
- Feed input to Left channel at rated sensitivity and Set output to 30V at 10Hz @ 4Ω loads using gain
control pot.
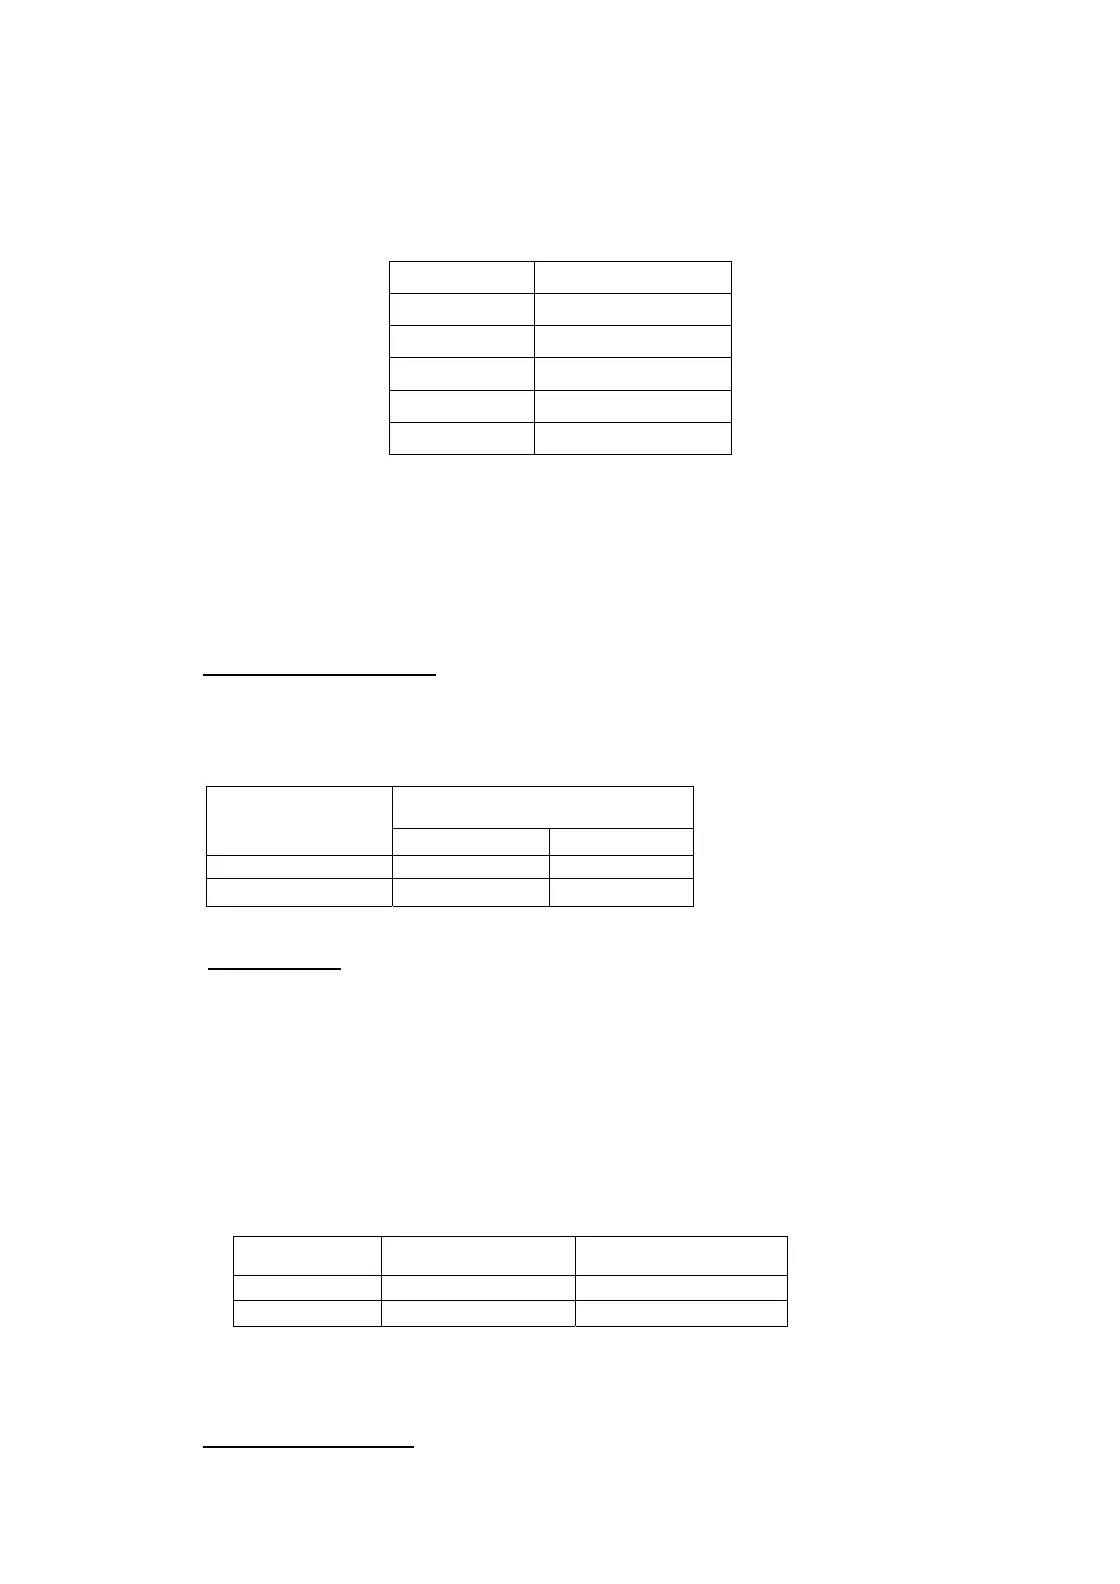
- Using the XO control at the rear set the required frequency. Following are the frequencies at which
output is 21V(+/-1V).
FREQ FREQ Variation
43Hz +/-5Hz
63Hz +/-5Hz
120Hz +/-10Hz
140Hz +/-10Hz
180Hz +/-25Hz
8)
EQ processing measurements:
- Connect the amplifier in stereo mode with 4Ω loads at 1 kHz.
- Feed input to Left channel to get output of 15V at 100Hz
- Turn the EQ Processing switch ON.
- Output boost to 30V (+/-1V)
9) X TALK MEASUREMENT:
- Connect the amplifier in stereo mode with 4Ω loads at 1 kHz.
- Connect input to both the channel feeding input of rated sensitivity. Set the gain pot of both the
channels to MAX position. Set output to 66V.
- Feed input to channel 1KHz and take readings of the both channel.
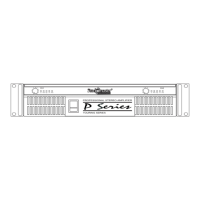
- Similarly feed input to Right channel and take readings of the both channel.
Output
Input Applied To
Channel 1 Output Channel 2 output
CH 1
66V
<1mV
CH 2
<1mV
66V
10) LED TESTING:
Power LED
It turns on when power switch turn ON.
PROTECT A
It glows in case of Thermal & DC protection of CH A.
PROTECT B
It glows in case of Thermal & DC protection of CH B.
Signal and clip LED
Channel CLIP LED Indication Signal LED Indication
Left Channel 0/P 66V ±3V 1V ±0.2V
Right Channel O/P 66V ±3V 1V ±0.2V
EQ Processing LED
It Glows when the EQ Processing Switch is Turned ON.
11) SHORT CIRCUIT TEST: