Component Removal
7-22
#7015817 - Revision A - January, 2010
INTEGRA
INTEGRA
TED
TED
(736 T
(736 T
all SWS #2970000)
all SWS #2970000)
SERIES
SERIES
Condenser Removal
The condenser is secured to the unit tray by four rivets
that pass up through the unit tray into the condenser
side brackets.
NOTE: Before attempting to remove the condenser,
evacuate the refrigerant from the sealed system(s).
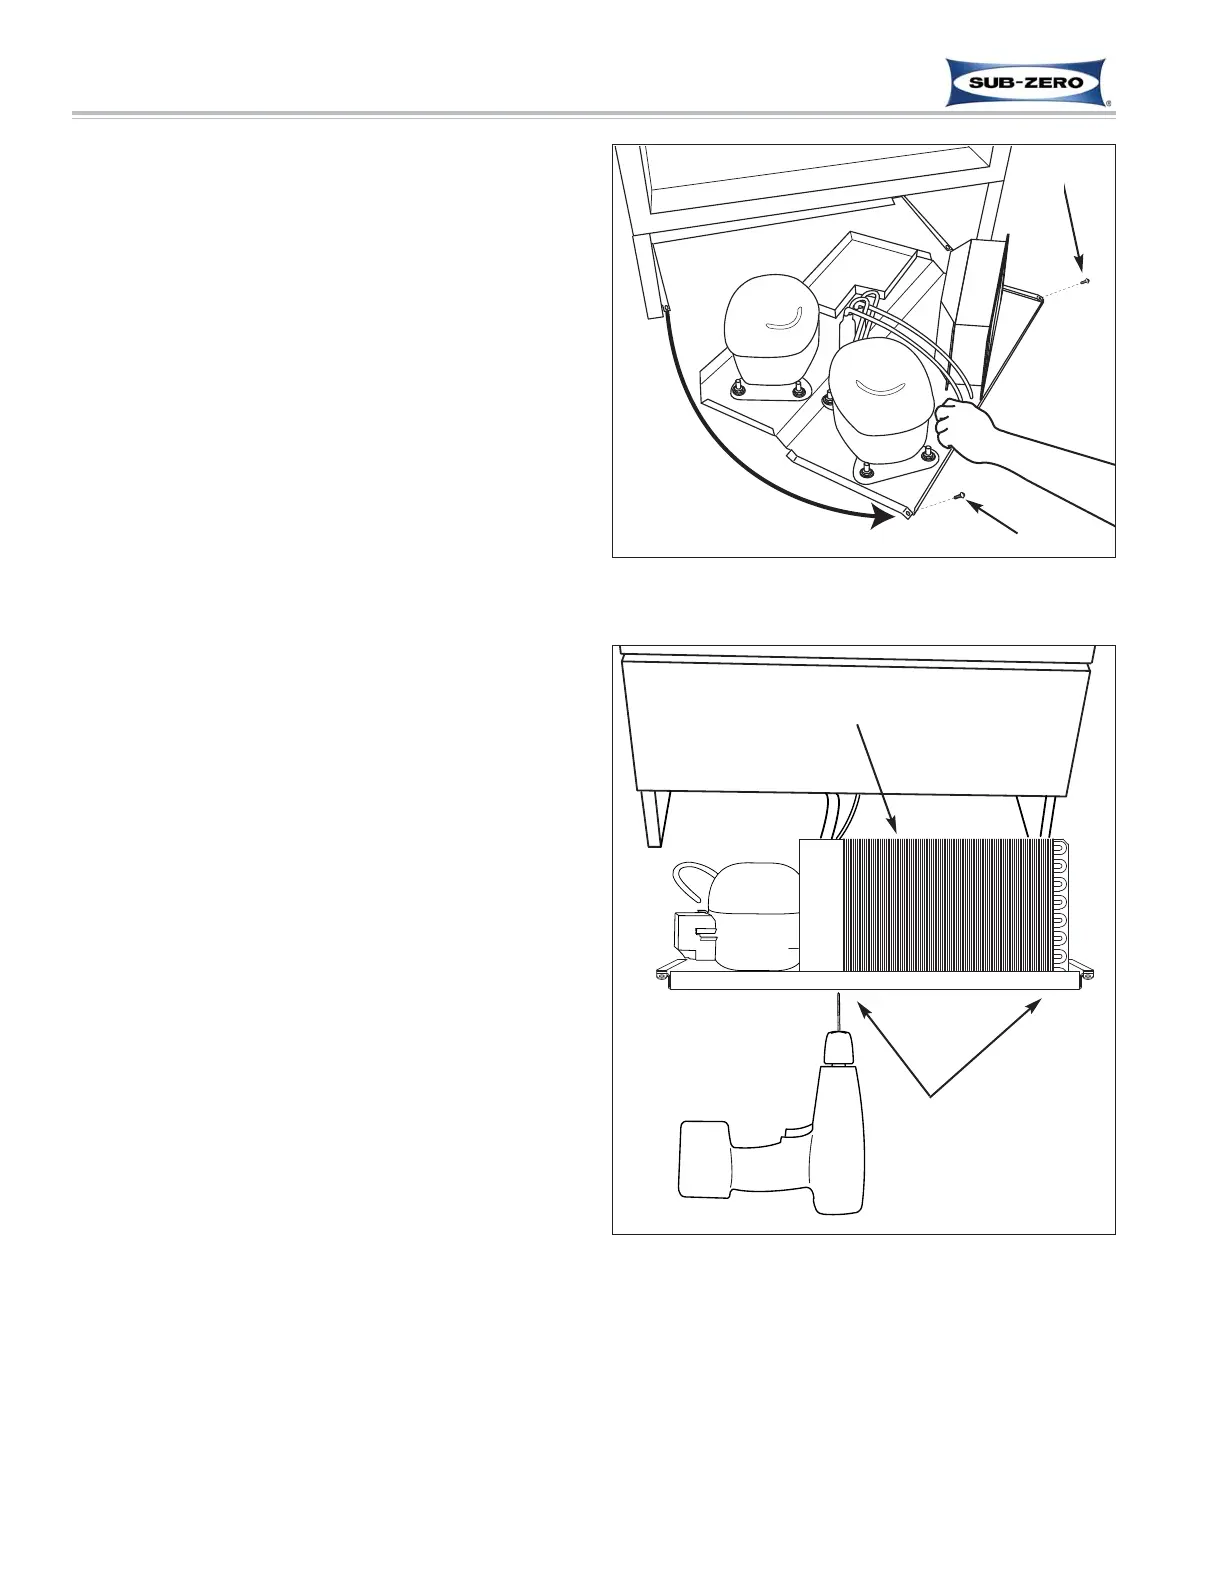
To access the condenser, the kickplate/grille will need
to be removed first and the unit tray will need to be slid
out. To slide the unit tray out, extract the two screws
that secure tray to the unit, located at the front right and
left corners. Grab the front flange of tray and pull for-
ward. (See Figure 7-50)
NOTE: It will be necessary to disconnect compressor
electrical leads in order to pull the tray out far enough to
remove the condenser.
1. Remove condenser by cutting the inlet and outlet
tubes to and from the condenser, approximately
one inch from the weld joints.
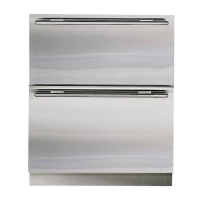
2. Prop front of the unit tray up and drill out the rivets
securing condenser to unit tray. (See Figure 7-51)
NOTE: Sweating the joints apart is not recommended
as this may induce moisture into the sealed system.
NOTE: The high-side filter-drier(s) must be replaced
whenever replacing the condenser.
NOTE: To reattach the condenser to the unit tray, use
#10-24 X 3/8” bolts (#6200020) passing up through the
unit tray and condenser brackets with #10-24 Hex nuts
(#6150030) tightened down on top.
NOTE: When installing the replacement condenser, be
sure to thoroughly clean the tubing before brazing.
Figure 7-51. Condenser Removal
Tilt front of unit tray up
and drill out the four rivets.
(2 each side)
Condenser
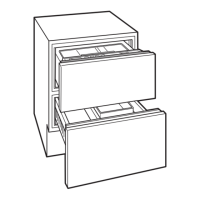
Figure 7-50. Sliding Unit Tray Out
Screw
Screw