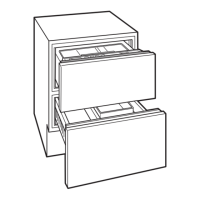
2
With the trim brackets loosely attached, hold the center
trim piece at about a 75° angle against the right-hand
side main frame.
3
Rotate the center trim piece toward the unit so the trim
brackets hook in behind the main frame.
4
Align the bottom of the center trim piece with the
bottom of the main frame.
5
Tighten the nuts.
Main
Frame
Center
T
rim
(Top View)
Main
Frame
Center
Trim
INSTALL THE UNIT INTO THE LEFT-HAND SIDE OF THE
ROUGH-IN OPENING
Install the unit into the left-hand side of the rough-in
opening as specified
in the installation guide.
INSTALL THE MAIN FRAME SHIM
Note: The shim assembly must be attached to the rear of
the left-hand side main frame of the right-hand unit.
1
Remove the left-side main frame from the right-hand
unit.
2
Remove the backing paper from the double-stick tape
that is attached to the main frame shim.
3
Align the shim to the main frame so the two holes in the
shim
are at the same height as the two middle main
frame mounting holes. Make sure the shim is tight to
the bend in the main frame, and the shim is in front of
the section of the main frame with the mounting holes.
4
Attach the shim to the main frame. Make sure the holes
in the shim are next to
but not over the main frame
mounting holes.
5
Reattach the left-side main frame to the right-hand unit.
Shim
Left Main Frame
Top View of
Main Frame
and Shim
Built-In Series Dual Installation Kit
subzero.com 800.222.7820
Page 2 of 4