ELEMENT REMOVAL
1. Clean the exterior of the air filter housing.
2. Remove the cover/element assembly by loosen-
ing the wingnut securing the cover/element
assembly.
3. Remove the cover/element assembly from the
housing by unscrewing the wingnut.
4. Clean the interior of the housing by using a damp
cloth. DO NOT blow out dirt with compressed air
as this may introduce dust downstream of the fil-
ter.
5. When it becomes necessary to remove the sec-
ondary element, pull the element out of the
housing.
6. Install the new secondary element over the rod.
7. With the secondary element in place, replace the
primary element.
ELEMENT INSPECTION
1. Place a bright light inside the element to inspect
for damage or leak holes. Concentrated light will
shine through the element and disclose any
holes.
2. Inspect all gaskets and gasket contact surfaces
of the housing. Should faulty gaskets be evident,
correct the condition immediately.
3. If the clean element is to be stored for later use,
it must be stored in a clean container.
4. After the element has been installed, inspect and
tighten all air inlet connections prior to resuming
operation.
PRIMARY ELEMENT REPLACEMENT
1. Place the element in position over the threaded
rod and tighten the wingnut.
2. Install the cover, replace the clamp and tighten
the wingscrew.
Section 5
MAINTENANCE
35
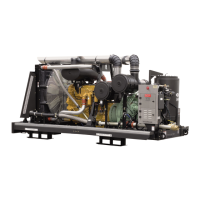
Figure 5-2 Air Filter (P/N 02250049-036 [engine] and P/N 02250053-402 [compressor])
*Primary Replacement Filter Element P/N 02250051-238
**Secondary Replacement Filter Element P/N 02250051-239
 Loading...