73
3m Calibration Procedure
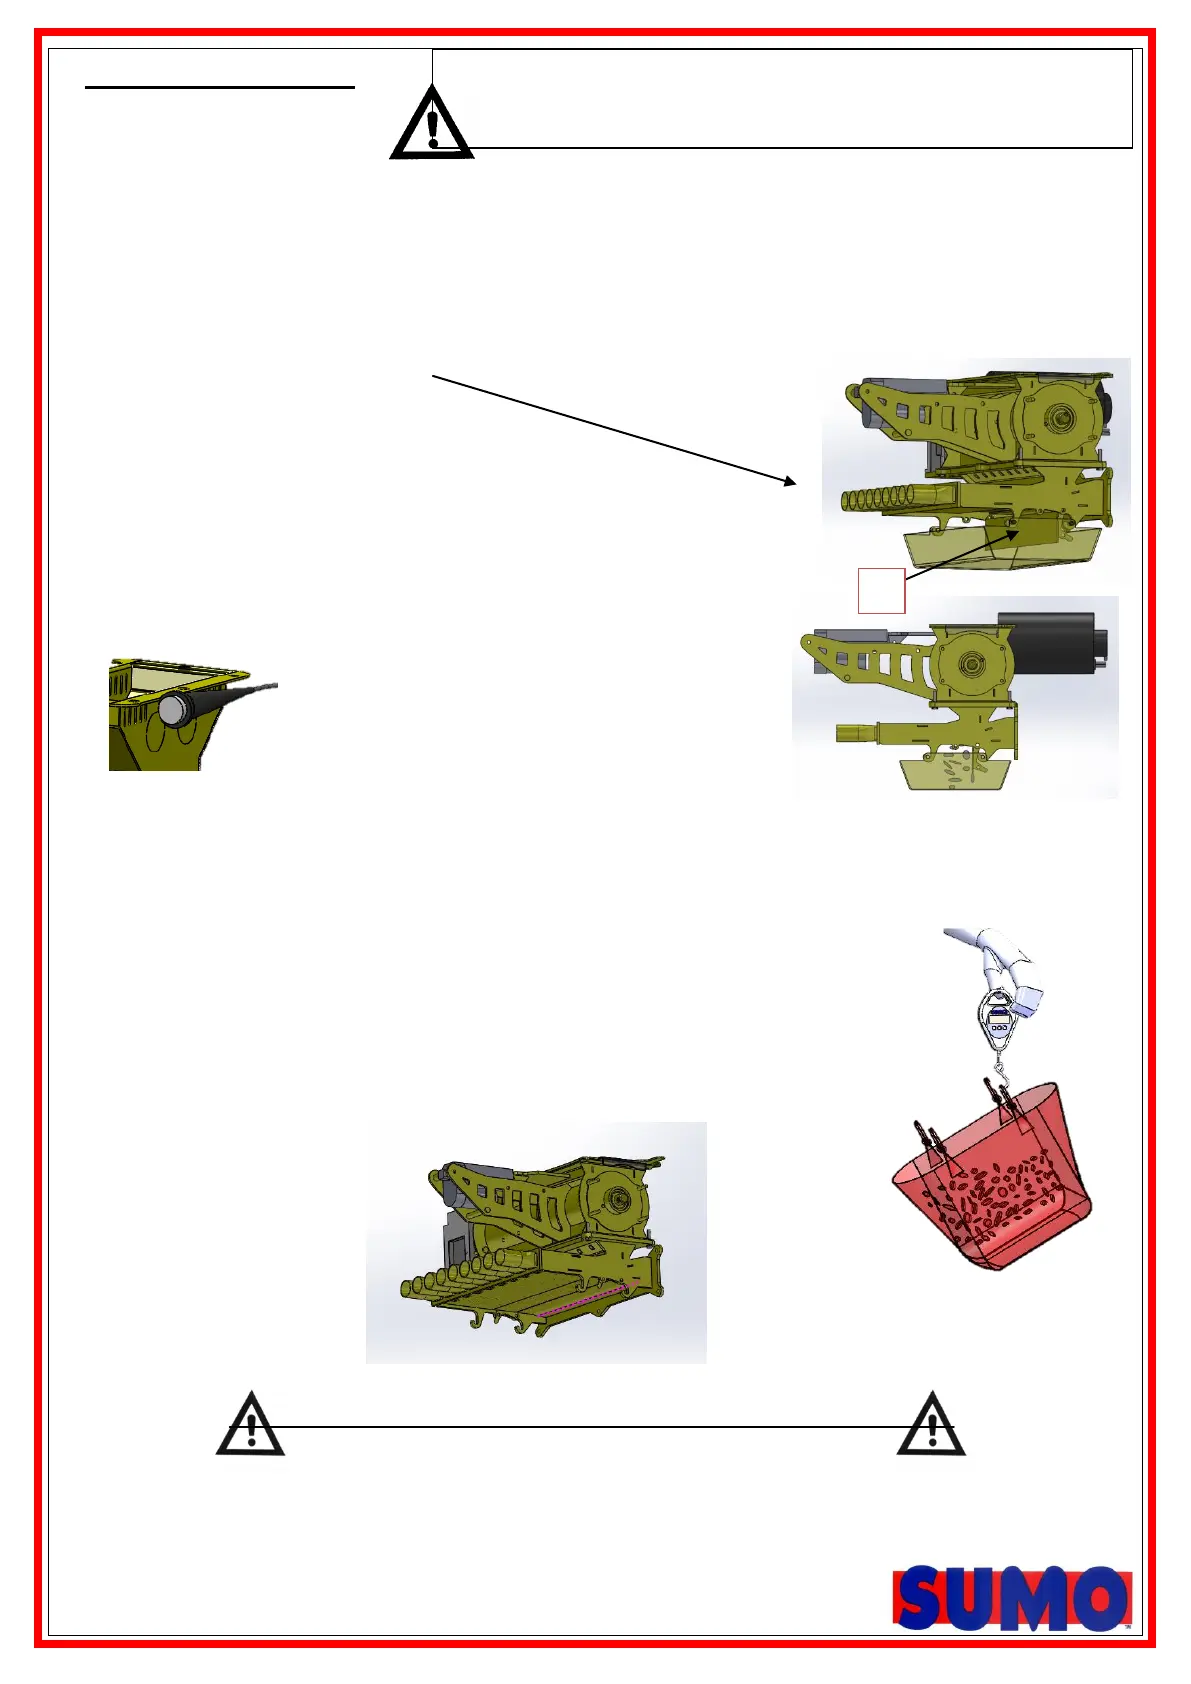
1. Open flap (1) to allow seed to flow out of the Venturi.
2. Switch the scales ON and check units (kg). Zero the scales with the weight of the
calibration bag
3. The calibration tray supplied with the DTS can then be hooked under the Venturi on the
hooks provided. (See below).
4. Press once the white prime button fastened near the
metering motor. This will put the control box in calibration
mode and start the motor turning and metering seed.
5. Press the white prime button once again to stop the motor once a suitable sample is
collected.
6. The seed dispensed out of the Venturi can be weighed using the
digital weigh scales supplied with the drill.
7. Close Venturi flap (1) after last calibration procedure, replace
both linch pins to ensure flap remains closed
Ensure Venturi flap is shut after the calibration procedure.
NOTE: If a priming switch is deployed for calibration the calibration routine will commence from fig. 13.
Caution! Check if you have correct seed rotor fitted
Seed rotor can still be changed when hopper has seed in by fitting
slide above metering unit, this will need metering out.