SunFounder GalaxyRVR Kit for Arduino, Release 1.0
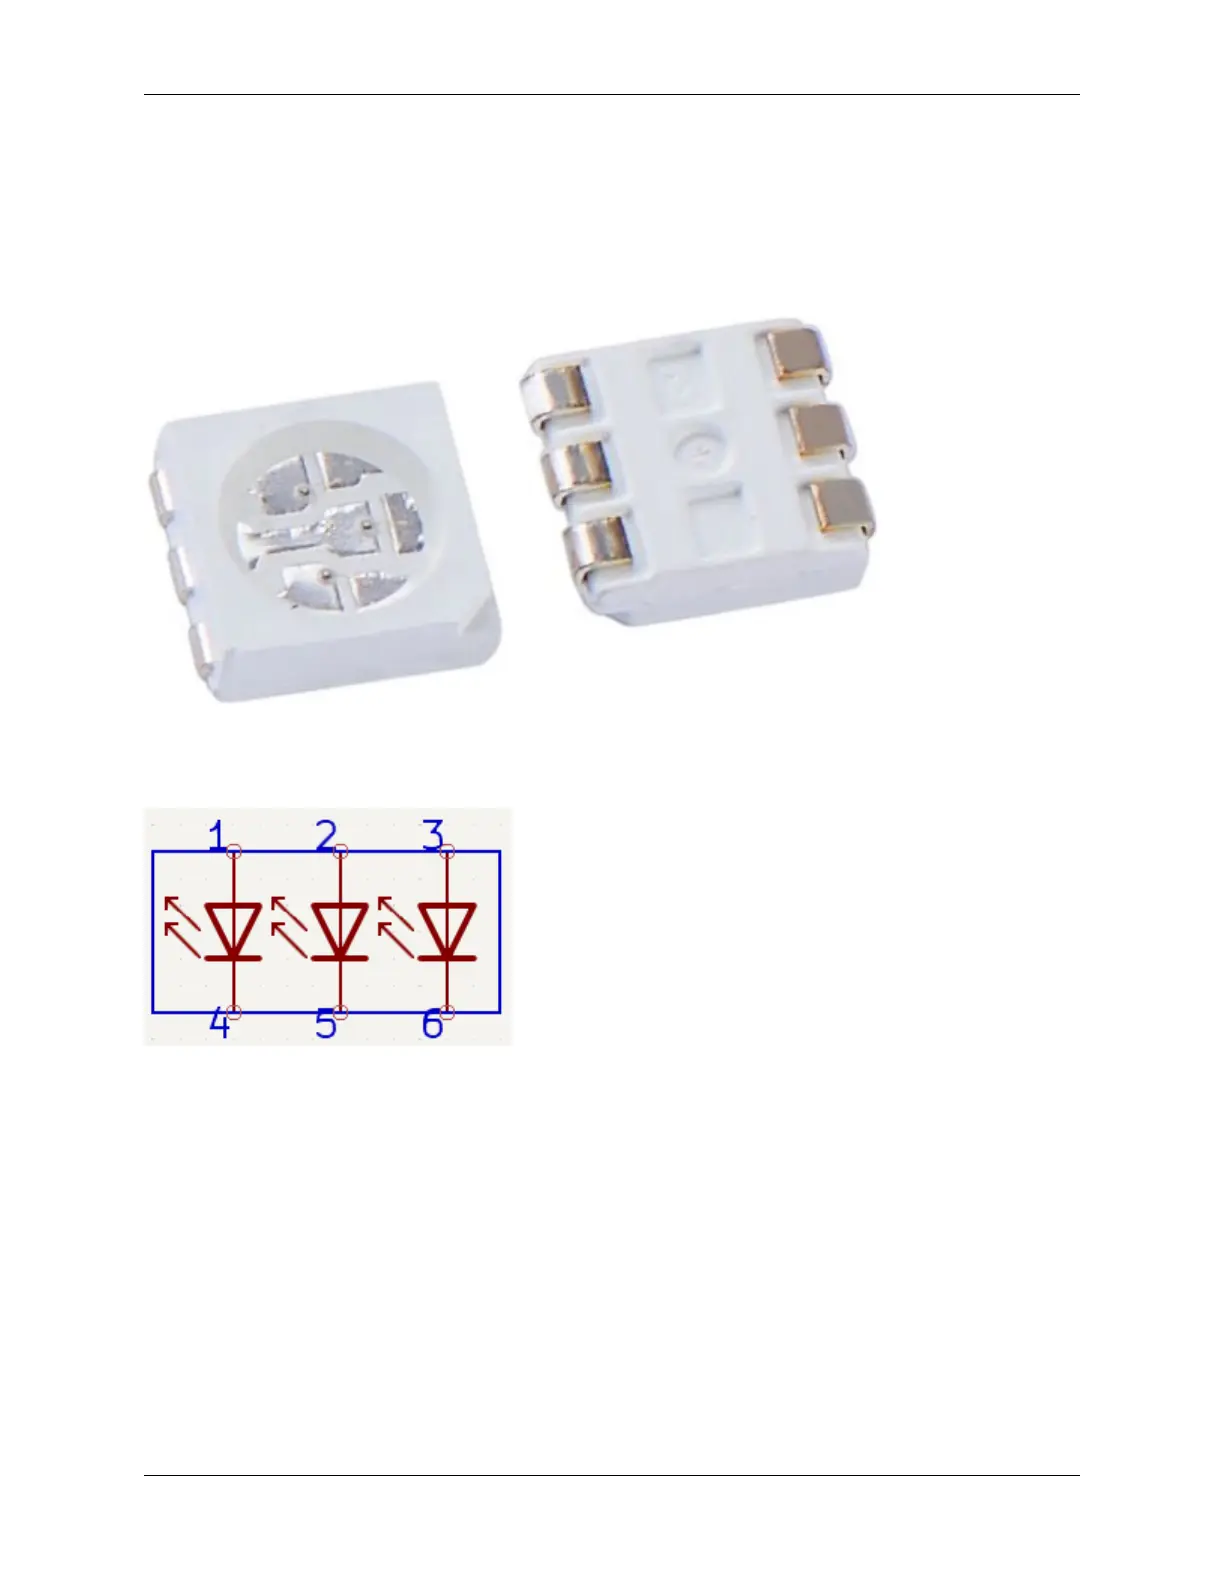
• +5V: This is the common “positive” end or the “anode” of the three tiny light bulbs (LEDs) inside our strip. It
needs to connect to DC 5V, a kind of electric juice that powers our tiny bulbs!
• B: This is the “negative” end or the “cathode” of the blue LED.
• R: This is the “cathode” of the red LED.
• G: This is the “cathode” of the green LED.
Do you remember the three primary colors - Red, Blue, and Green - that we learned in our art class? Just like an artist
mixes these colors on his palette to create new shades, our strip contains 4 “5050” LEDs that can mix these primary
colors to create virtually any color! Each “5050” LED is like a tiny art studio that houses these three colored bulbs.
These tiny art studios are then connected in a smart way on a flexible circuit board - kind of like a mini electric highway!
The “positive” ends of all LEDs (anodes) are connected together, while the “negative” ends (cathodes) are connected
to their corresponding color lanes (G to G, R to R, B to B).
72 Chapter 3. Course Mode