SunFounder PiPower
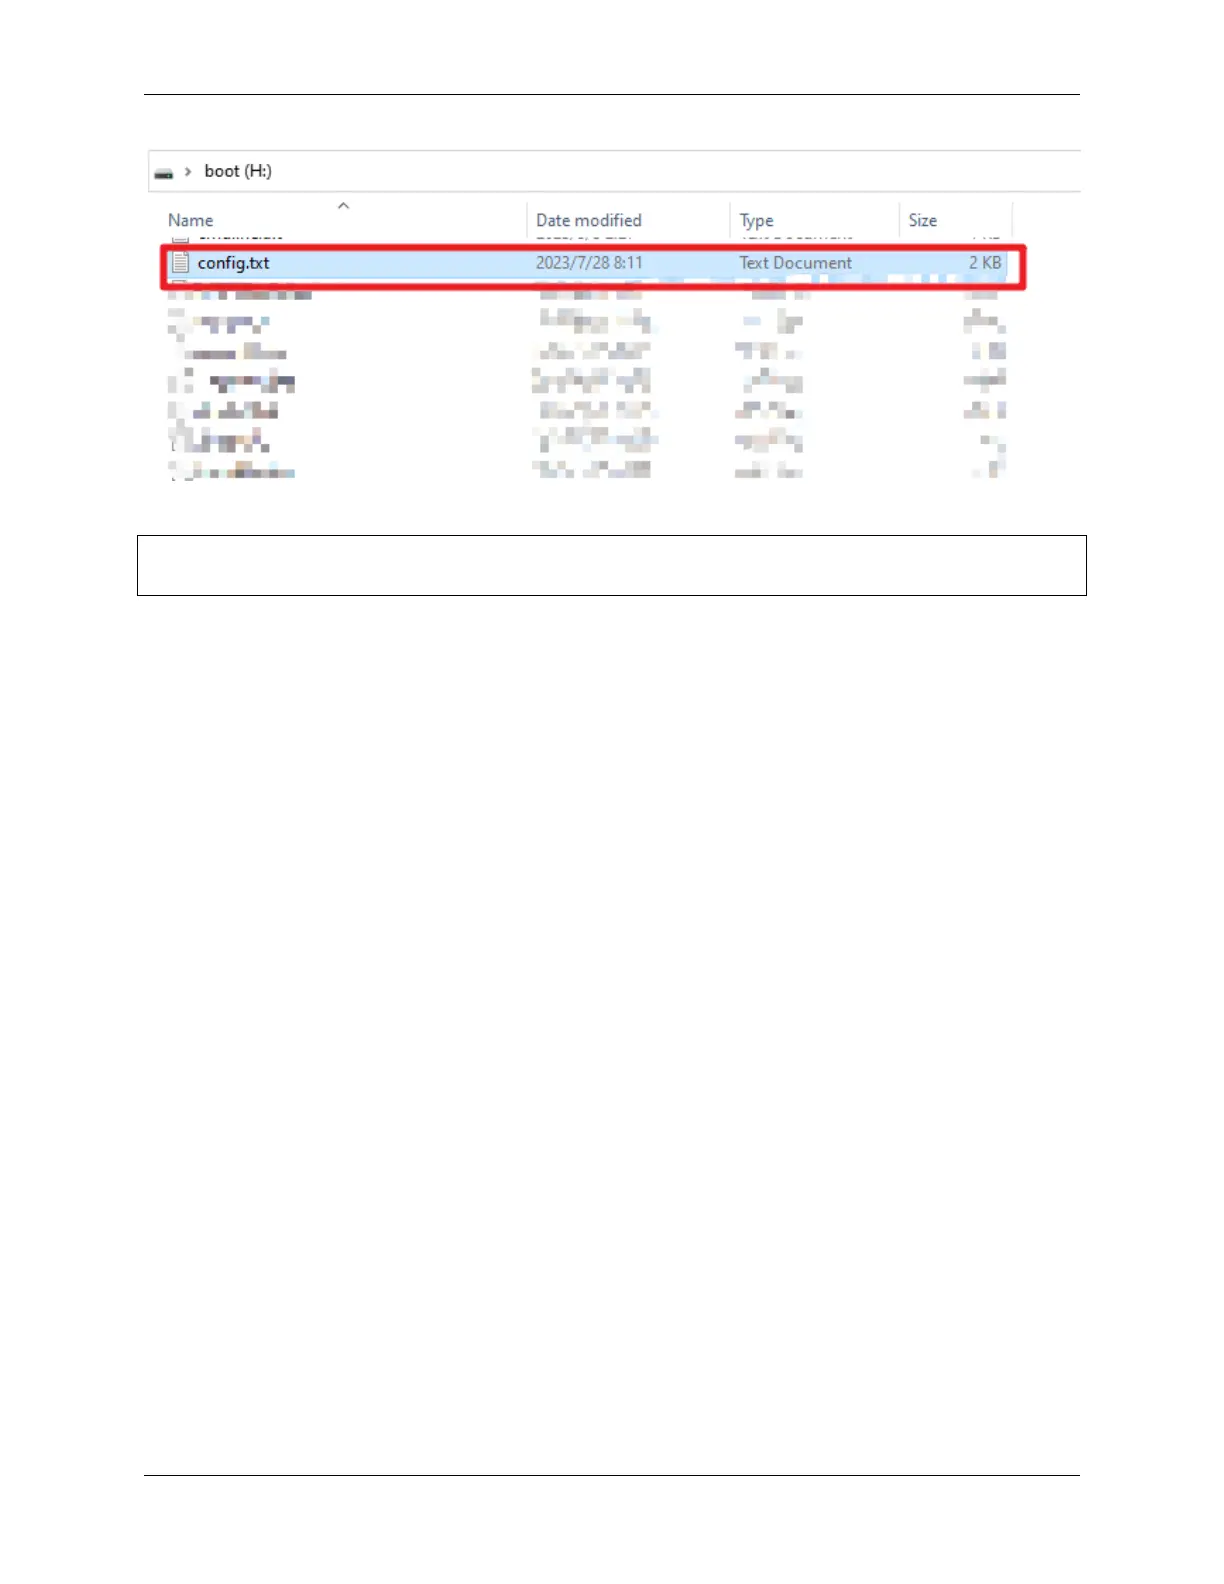
Open it and add the following two lines at the end under [all].
dtoverlay=gpio-poweroff,gpiopin=17
dtoverlay=gpio-shutdown,gpio_pin=18
• gpio-poweroff is the Raspberry Pi’s power on/off status. After successful configuration, the Raspberry Pi will
set this pin high when powered on and pull it low when powered off.
• gpio-shutdown controls the signal for shutting down the Raspberry Pi. After successful configuration, pulling
this pin low will trigger the Raspberry Pi to shut down.
Step 2
• Connect PiPower Pro’s pin 42 to the Raspberry Pi’s gpio-poweroff pin, here using pin 17.
• Connect PiPower Pro’s pin 41 to the Raspberry Pi’s gpio-shutdown pin, here using pin 18.
Step 3
Now test if the above two signals are working properly.
Add two entities to the Dashboard:
• binary_sensor.pipower_pro_sub_device_power_state
• switch.pipower_pro_sub_device_power
If you add the Settings Card (see Add Card by Code Editor for instructions on adding cards), these two entities will be
included, labeled as PiPower-Pro Sub Device Power State and PiPower-Pro Sub Device Power.
46 Chapter 4. Start to Play