SunFounder Pironman
4. A security message will appear on your first login. Enter yes to proceed.
The authenticity of host 'raspberrypi.local␣
˓→(2400:2410:2101:5800:635b:f0b6:2662:8cba)' can't be established.
ED25519 key fingerprint is SHA256:oo7x3ZSgAo032wD1tE8eW0fFM/
˓→kmewIvRwkBys6XRwg.
Are you sure you want to continue connecting (yes/no/[fingerprint])?
5. Enter the password you previously set. Note that the password characters won’t be displayed on the screen, which
is a standard security feature.
Note: The absence of visible characters when typing the password is normal. Ensure you input the
correct password.
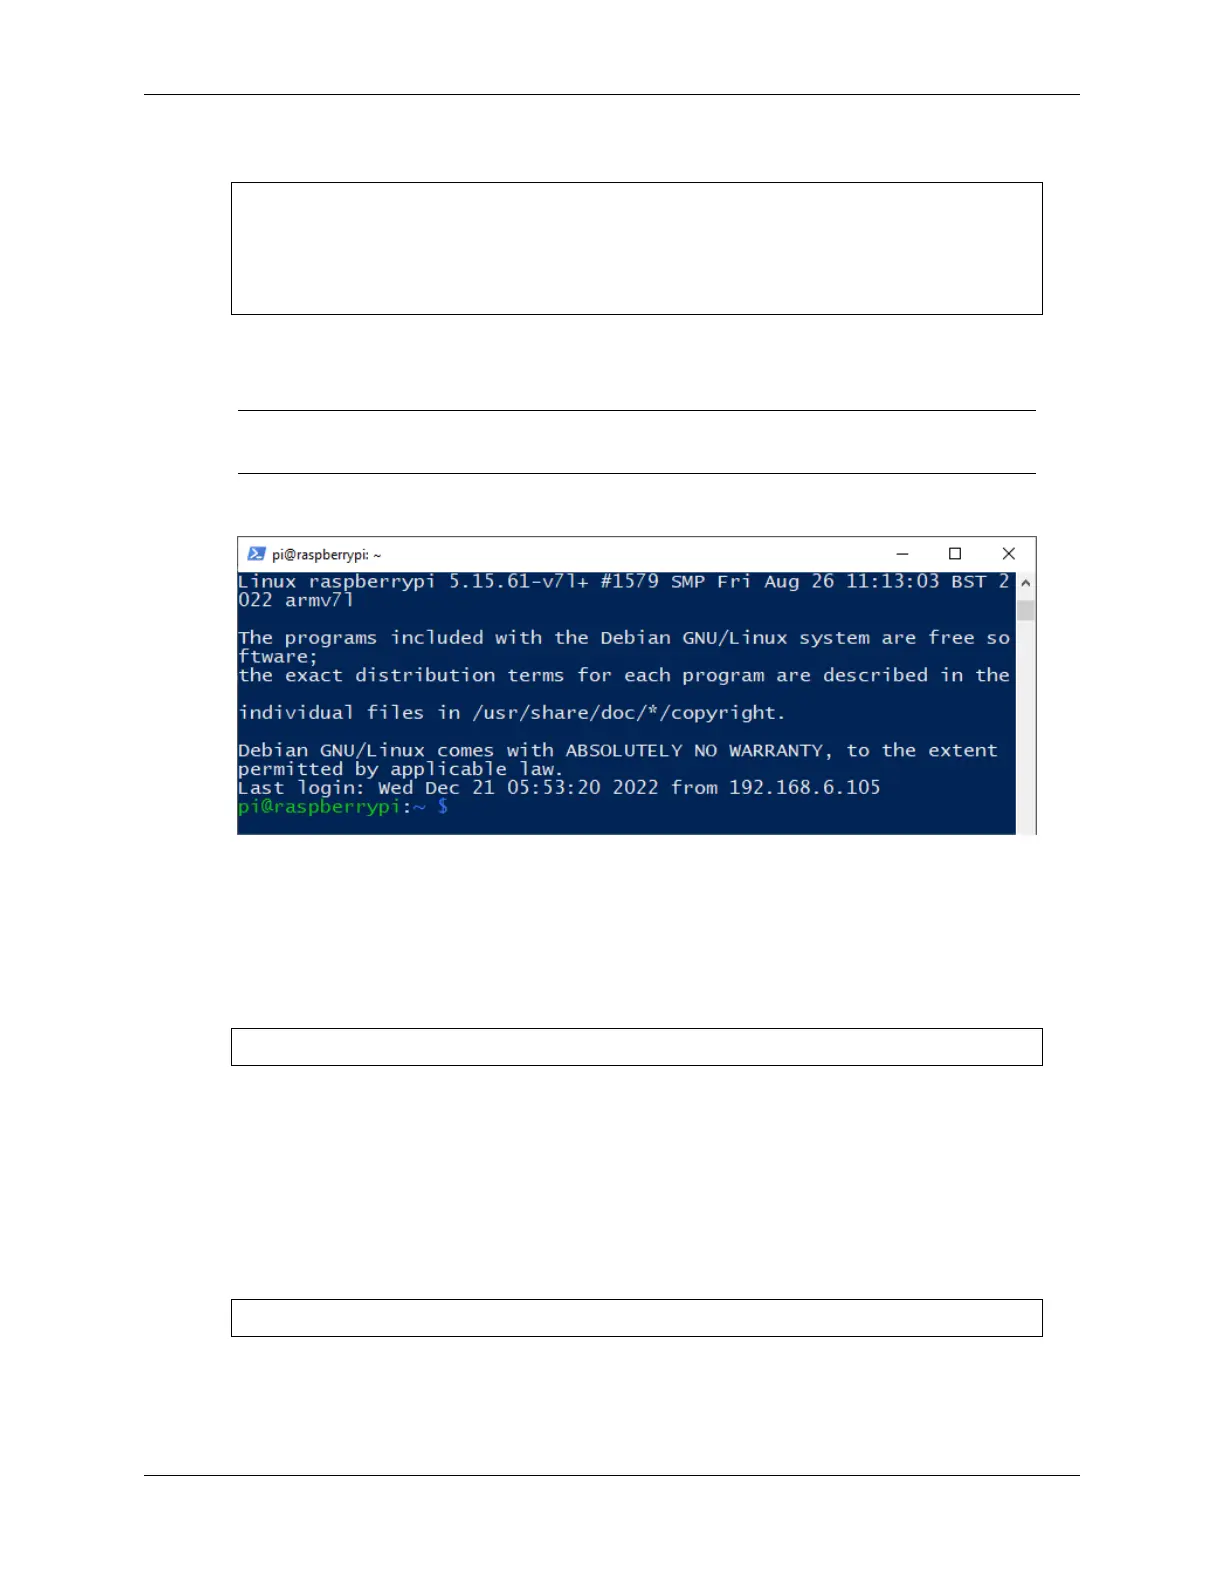
6. Once connected, your Raspberry Pi is ready for remote operations.
4.2.3 For Linux/Unix Users
1. Locate and open the Terminal on your Linux/Unix system.
2. Ensure your Raspberry Pi is connected to the same network. Verify this by typing ping <hostname>.local. For
example:
ping raspberrypi.local
You should see the Raspberry Pi’s IP address if it’s connected to the network.
• If the terminal shows a message like Ping request could not find host pi.local.
Please check the name and try again., double-check the hostname you’ve entered.
• If you’re unable to retrieve the IP address, inspect your network or WiFi settings on the Raspberry
Pi.
3. Initiate an SSH connection by typing ssh <username>@<hostname>.local or ssh <username>@<IP
address>. For instance:
ssh pi@raspberrypi.local
4. On your first login, you’ll encounter a security message. Type yes to proceed.
4.2. Setting Up Without a Screen 19
 Loading...