5
3.0 Required Tools
● Glass suction cups (optional)
● Phillips head long drill bit
● Drill or impact driver
● Clear silicone-based caulking (optional)
● Caulking gun (optional)
● Lifting straps (optional)
● Ladder (optional)
4.0 Installation Procedure
4.1 Frame and Heater Assembly
The following pictures are used for your reference. Don’t worry if your sauna is
slightly different from the pictures, just follow the steps.
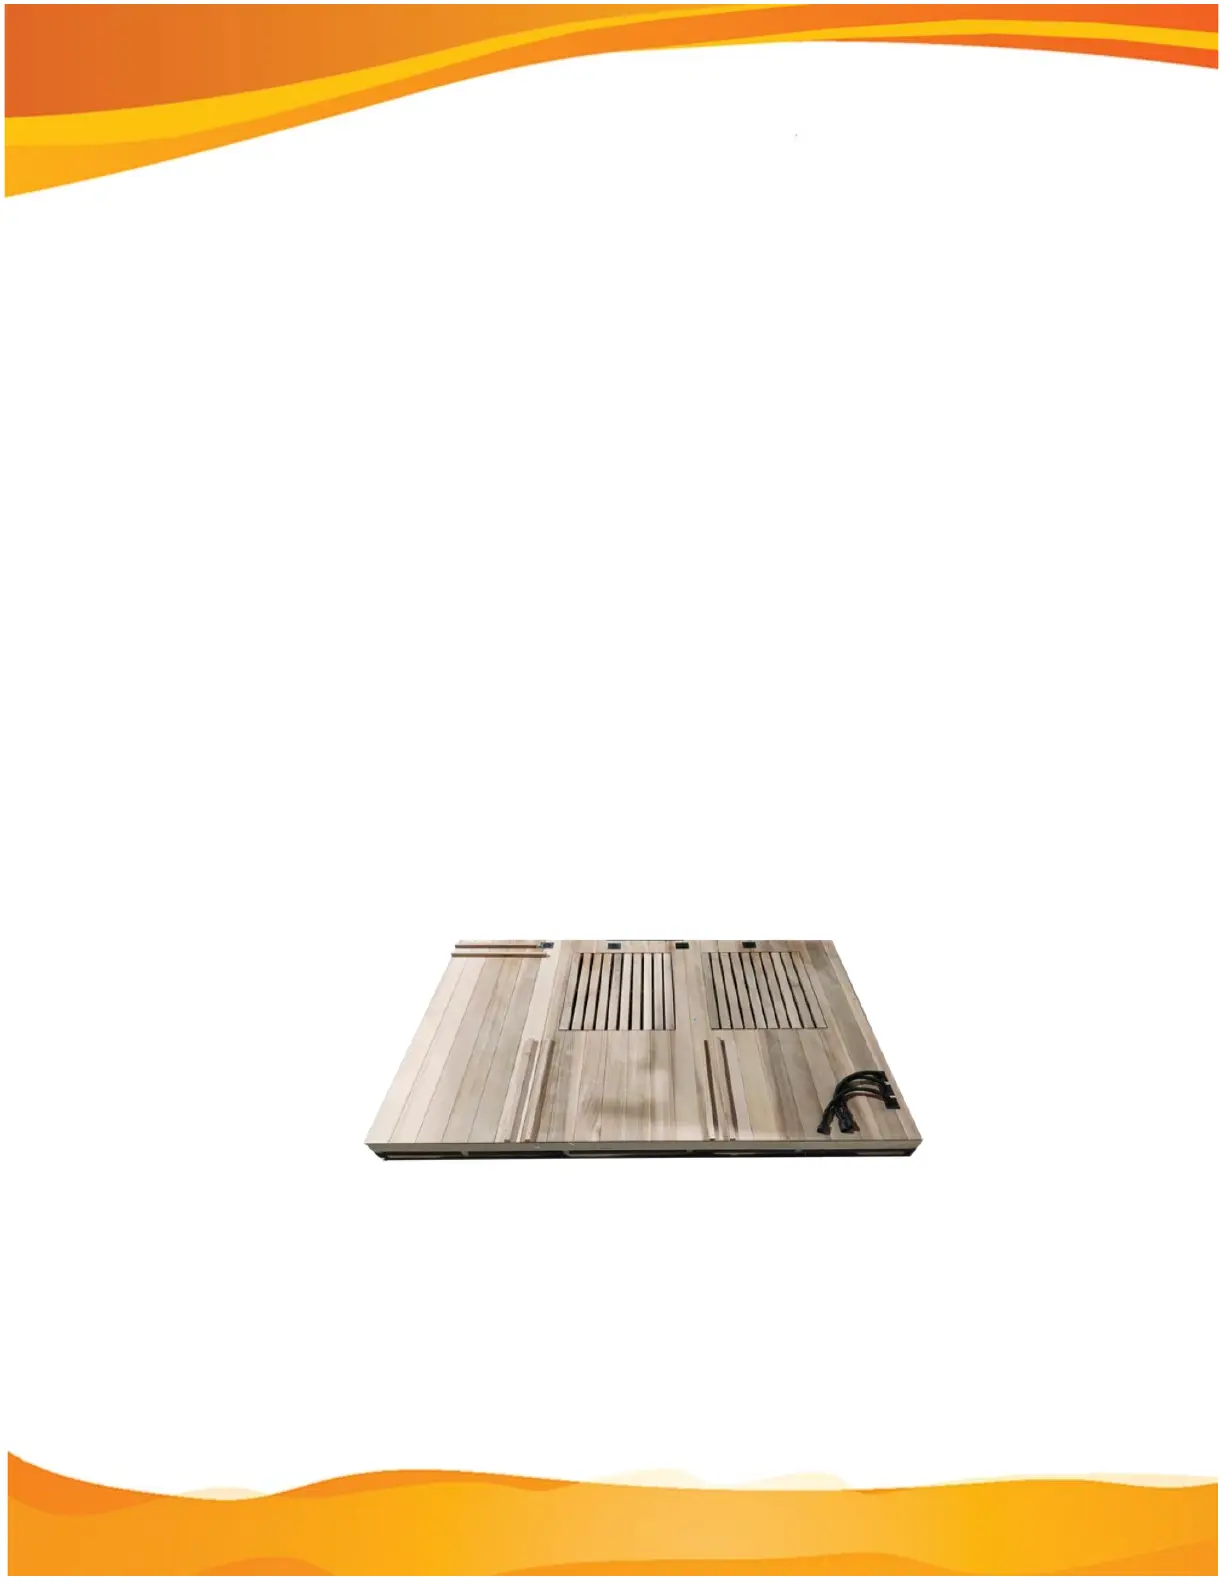
1. Open the sauna packages in a large area. Place the Floor Panel at the
desired location.
2. Raise the Side Panels.
3. Before assembling the panels, use silicone-based caulk and a caulking gun to
apply caulk to the seam on the vertical ends of panels from the top to the
bottom where the panels attach to each other. This weather-proofs the
sauna.