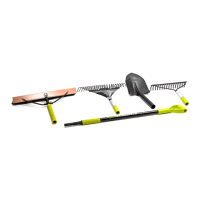
7
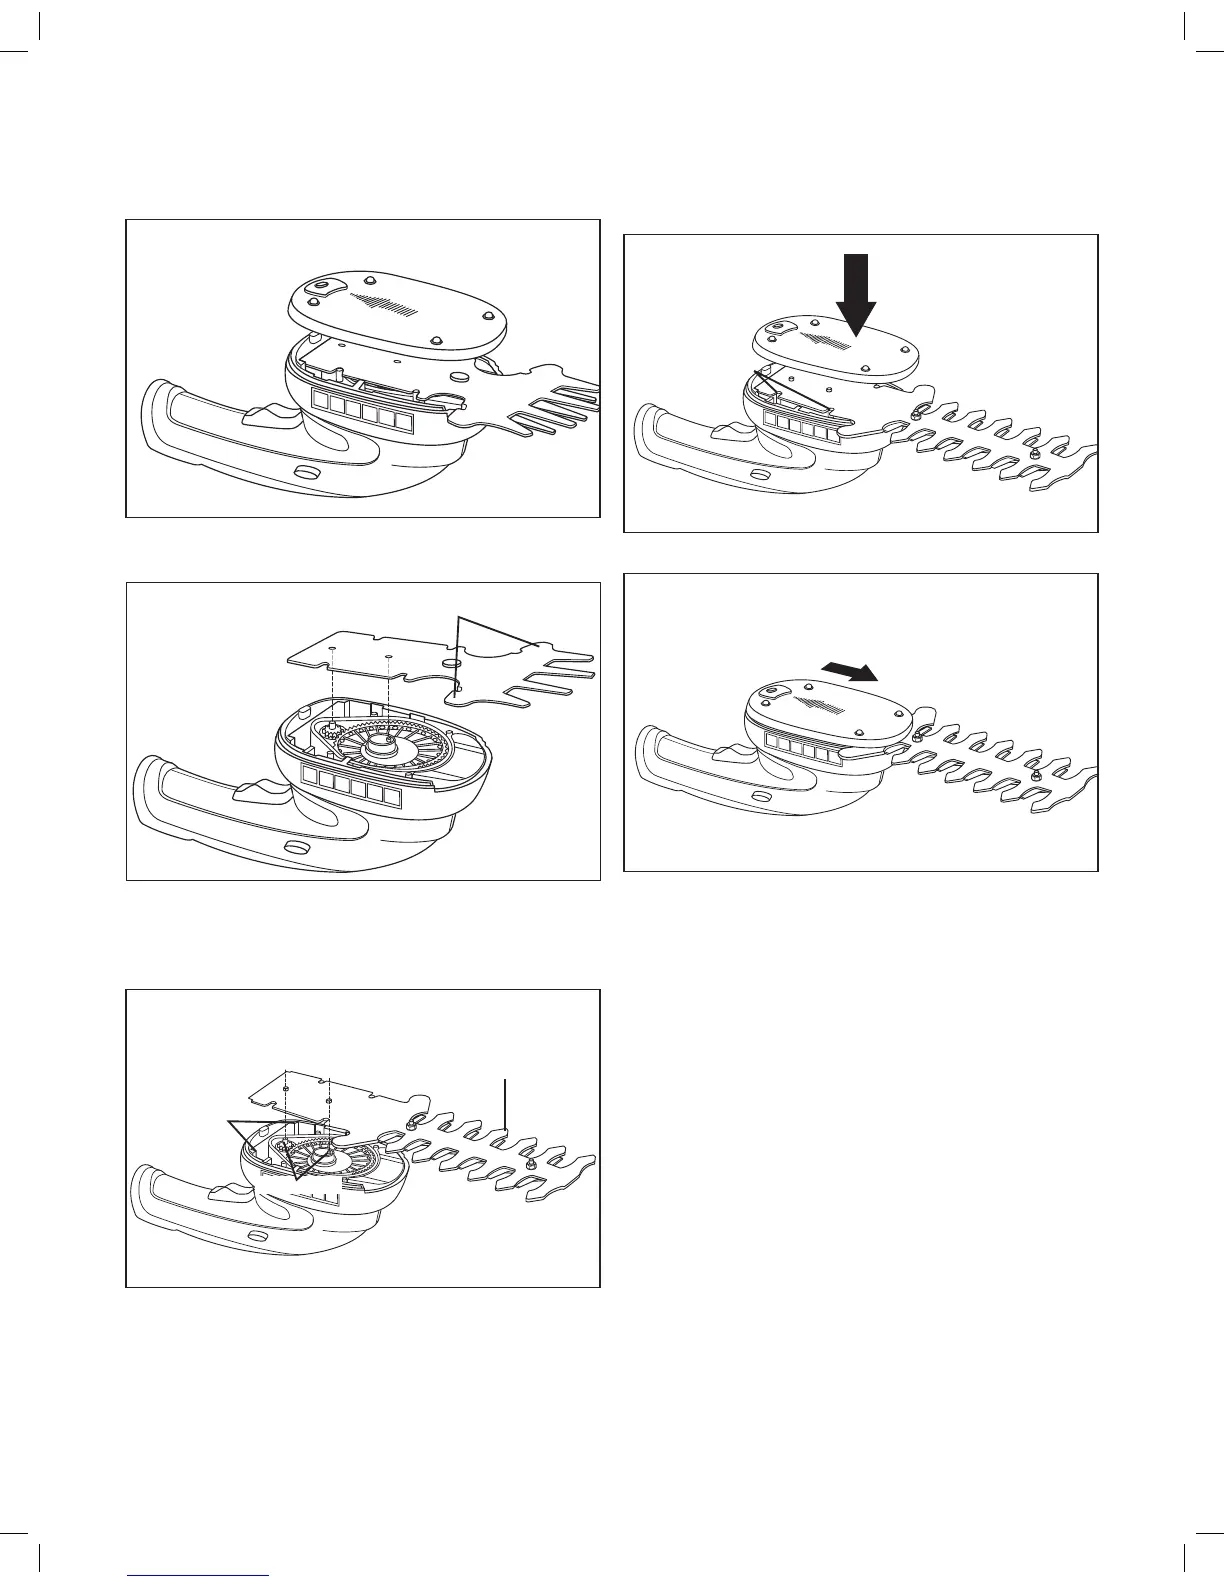
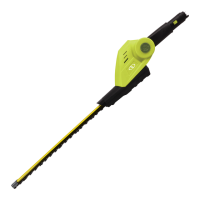
2. Lift the cover away from the unit (Fig. 4).
3. Gently lift the blade out by grabbing the safety tabs
(Fig. 5).
4. Position the shrubber blade as shown aligning the holes
in the blade onto the drive pins. Verify that the rear part of
the blade is tucked under the rear housing tabs. This will
ensure a perfect alignment (Fig. 6).
5. Retting the drive cover, ensure that all four location legs
are properly lined up with the blade (Fig. 7).
6. Slide the blade cover towards the blade to secure (Fig. 8).
NOTE: If you have any questions, please call the Snow Joe
®
+ Sun Joe
®
customer service department at 1-866-SNOWJOE
(1-866-766-9563) for assistance.
Before Using
Charging Procedure
The battery charger supplied matches the lithium-iON battery
installed in the tool. Do not use other battery chargers.
The lithium-iON battery is protected against deep discharging.
When the battery is empty, the machine will switch o and the
blade will no longer move.
Charge the battery up to 3 hours then use it until it runs down
(i.e. the tools starts to operate slowly). Recharge for up to 3
hours again before resuming operation.
mWARNING! Continued and excessive overuse of the
ON/OFF trigger switch can permanently damage the lithium-
iON battery.
mCAUTION! This charger does not automatically turn o
when the battery is fully charged. Please take care not to leave
the grass shear + shrubber plugged into the charger. Switch o
or unplug the charger at the mains when charging is complete.
Fig. 4
Fig. 5
Safety tabs
Fig. 6
Shrubber blade
Drive pins
Housing
tabs
Fig. 7
Location legs
Fig. 8