Do you have a question about the Sunny SF-B1002 and is the answer not in the manual?
Consult your doctor before starting any exercise program and be aware of your body's signals to prevent injury.
Use on a stable surface, keep children/pets away, wear appropriate clothing, and adhere to weight limits for safe operation.
Regularly check bolts, use equipment as indicated, and use proper technique when lifting or moving.
Unscrew shipping tubes (75, 76) using Allen wrench (77) and save for future transport if desired.
Secure front (6) and rear (7) stabilizers to the main frame (1) using screws (9) and washers (10).
Attach water bottle holder (21) and screw in pedals (41L/R) correctly to the cranks (36L/R).
Insert and secure saddle post (2) and seat slider (8) to the main frame (1), then attach the saddle (26).
Insert handlebar post (4) into the main frame (1), then secure the handlebar (3) using screws (19) and washers (20).
Unscrew the nut (48) counter-clockwise, rotate foot pad (15) to balance the bike, then tighten the nut (48) clockwise.
Rotate knob to adjust resistance. Push knob down to activate the emergency brake.
If the brake pad squeaks, spray silicon oil on its surface to reduce noise.
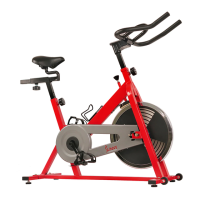
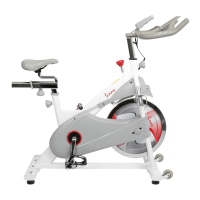
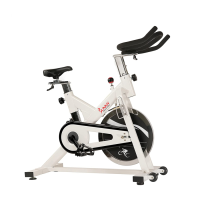
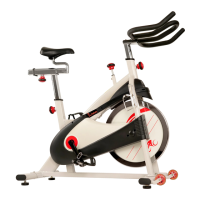
| Model | SF-B1002 |
|---|---|
| Category | Exercise Bike |
| Flywheel Weight | 49 lbs |
| Weight Capacity | 275 lbs |
| Resistance System | Friction |
| Resistance Levels | Adjustable |
| Drive System | Belt Drive |
| Seat | Padded |
| Handlebar | Multi-Grip |
| Pedals | Caged |
| Transport Wheels | Yes |
| Type | Indoor Cycling Bike |
| Display | LCD |
| Display Metrics | Time, Speed, Distance, Calories |
| Seat Adjustability | 4-Way Adjustable |
| Handlebar Adjustability | 2-Way (Up/Down) |