4
opposite the Gear Assembly
Figure 7
igure 8
Do not allow the Top Bracket Assembly to come out of the Horizontal Square Bar
Note: During the following step, your helpers will need to guide the Fabric so that it does not wrap around
the Roller Bar as you unroll the Fabric.
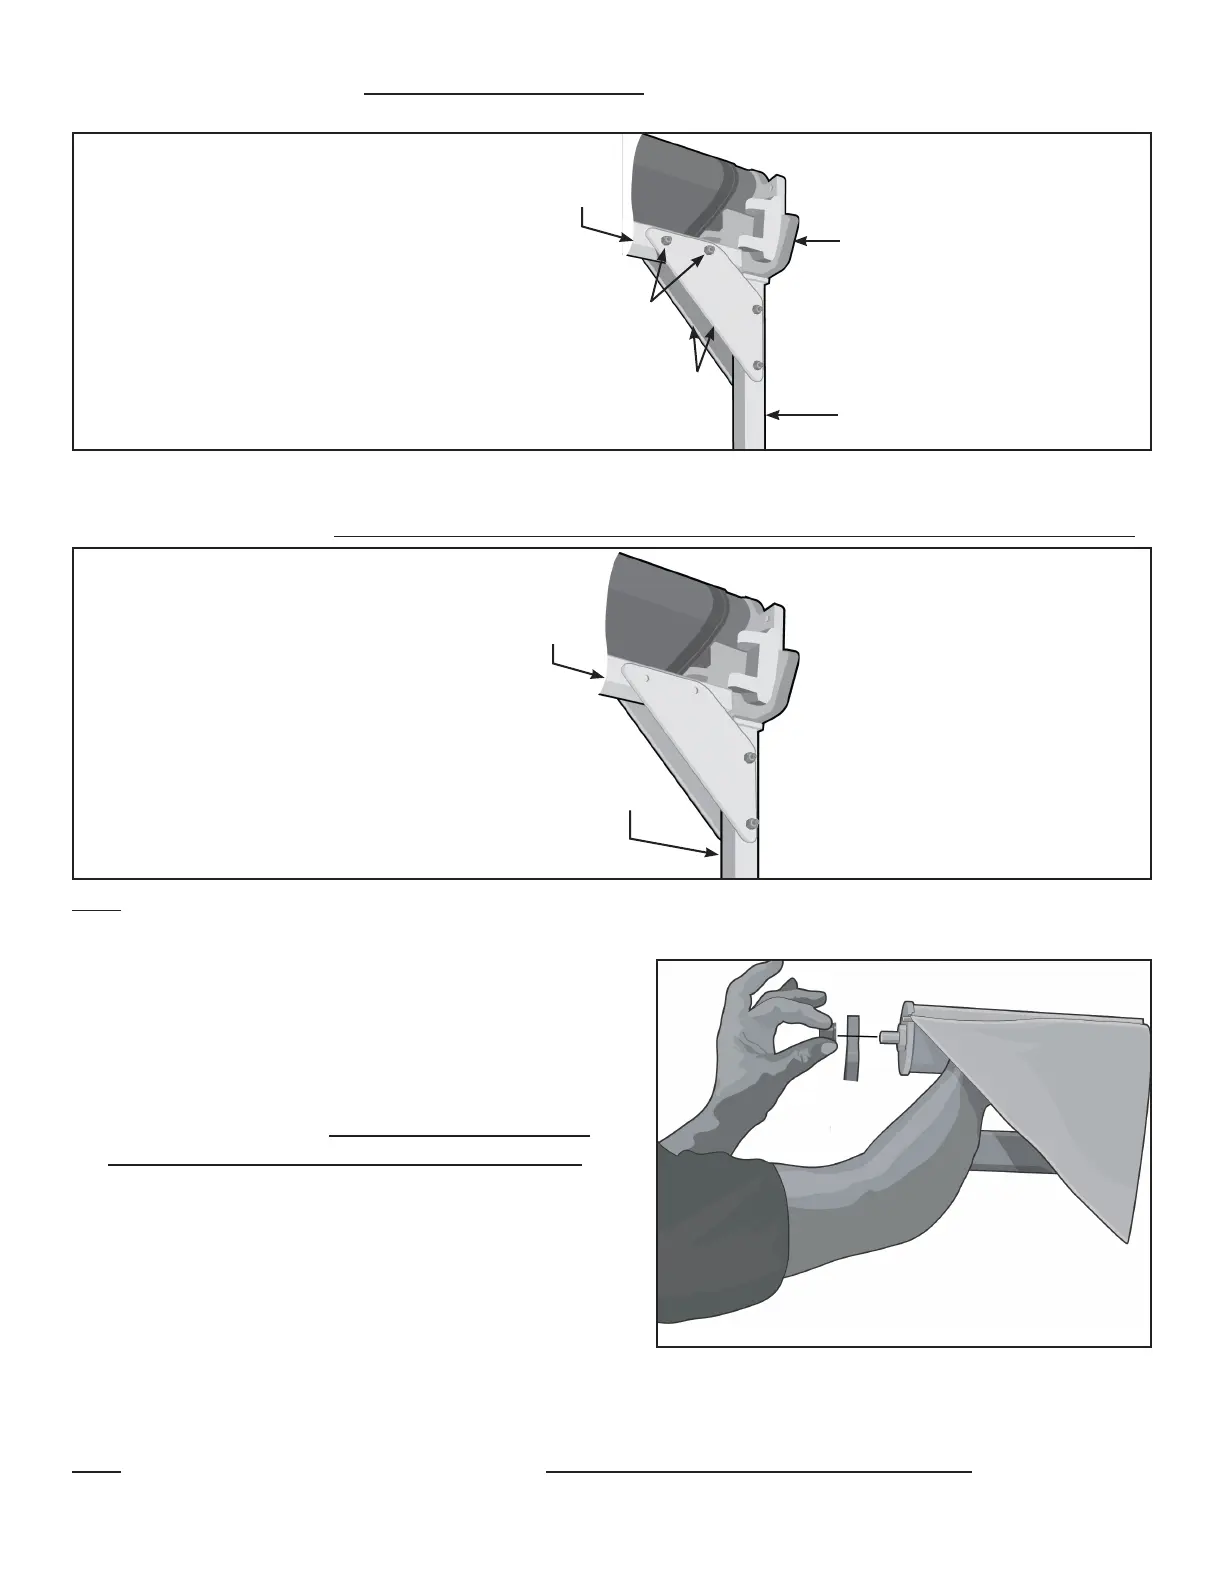
On the Roller Bar end that is opposite the Gear
Do not lose the Dark Gray
Bushing that is on the pin end of the Roller Cap.
See Figure 9
Roller Bar Insert with the Square Sha
Note: Orient the Replacement Roller Bar so the end of the Roller Bar with the Square Sha faces the end of
the Awning with the Gear Assembly.
Figure 9
Corner Braces
Figure 7
End opposite the Gear Assembly
Figure 8
Tap this edge, in Step 15
End opposite the Gear Assembly