SuperServer 5019A-12TN4 User's Manual
28
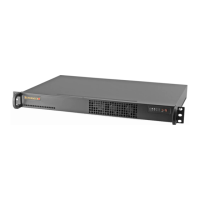
3.4 Chassis Components
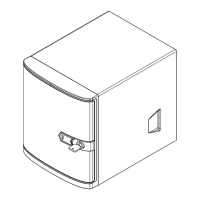
Front Bezel
If your system has an optional bezel attached to the front of the chassis, you will need to
remove it to gain access to the drive bays.
1. Unlock the front of the chassis and then press the release knob.
2. Carefully remove the bezel with both hands. A lter located within the bezel can be
removed for replacement/cleaning.
It is recommended that you keep a maintenance log to list lter cleaning/replacement dates,
since its condition aects the airow throughout the whole system.
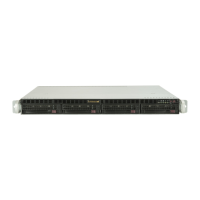
Hard Drives
Follow the instructions that follow to install either four 2.5" or two 3.5" hard drives. See Hard
Drive Conguration Options for details.
Installing 3.5" Hard Drives
1. Power down the server, disconnect the power cord from the power supply and remove
the cover.
2. Place the 3.5" hard drive into the chassis.
3. Secure the hard drive to the chassis oor by inserting four screws up through the
underside of the chassis.
4. Connect the hard drive wiring, reinstall the chassis cover and power cord, then power up
the server.
Installing 2.5" Hard Drives
2.5" hard drives may be installed in several dierent congurations. Review the supported
section "Hard Drive Conguration Options" for details.
1. Power down the server, disconnect the power cord from the power supply and remove
the cover.
2. Install up to four 2.5" hard drive(s) into the hard drive bracket(s) and secure them to the
bracket with the screws provided.
3. Place the hard drive and bracket into the chassis. If up to four 2.5" hard drives are
desired, rotate the hard drive brackets ninety degrees and place them side by side
before attaching them to the chassis.
4. Secure the hard drive bracket(s) to the chassis oor by inserting the screws up through
the underside of the chassis.
 Loading...