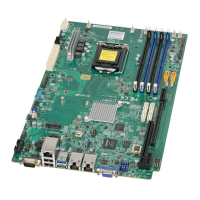
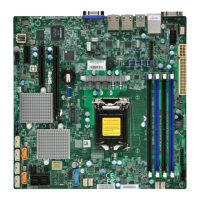
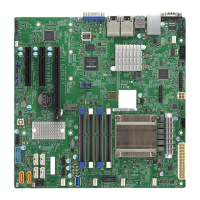
35
Chapter 2: Installation
Power Butt
OH/Fan Fail LED
1
NIC1 Activity LED
Reset Button
2
HDD LED
Power LED
Reset
PWR
3.3V Stby
3.3V
3.3V Stby
3.3V
Ground
Ground
X
X
LED
3.3V Stby
1516
SINGLE-LINK
m-PCIE(F/H)
M.2
HD
AUDIO
CPU SLOT1 PCI-E 3.0 X16
PWR
LED
NICHDD
LED
NIC
21
OH/FF
USB11/12
USB7/8
RSTX
PWR
JF1
ON
(3.0)
USB5/6
USB9
COM1/2
DVI-I
DIMMA1
DIMMB1
UNB NON-ECC DDR4 DIMM REQUIRED
LAN2
USB3/4(3.0)
REV:
X11SSV-Q
1.01
USB1/2(3.0)
LAN1
CPU
DESIGNED IN USA
DP
HDMI
MAC CODE
BAR CODE
BIOS
LICENSE
A
C
1
JGPIO1
JI2C1
JI2C2
JWD1
JVR1
JPAC1
JPME2
JPUSB1
JSMB1
JD1
JL1
JSD1
JSD2
JTPM1
SRW6
SRW5
I-SATA0
I-SATA1
I-SATA4
I-SATA3
I-SATA2
SRW2
SRW1
JBT1
LED1
JF1
BT1
JPW1
JPW2
JP1
FAN4
FAN2
FAN3
FAN1
J3
Figure 2-3. JF1 Header Pins
2.6 Front Control Panel
JF1 contains header pins for various buttons and indicators that are normally located on a
control panel at the front of the chassis. These connectors are designed specically for use
with Supermicro chassis. See the gure below for the descriptions of the front control panel
buttons and LED indicators.

 Loading...
