Chapter 2: Installation
2-3
2-3 Explanation and
Diagram of Jumper/
Connector
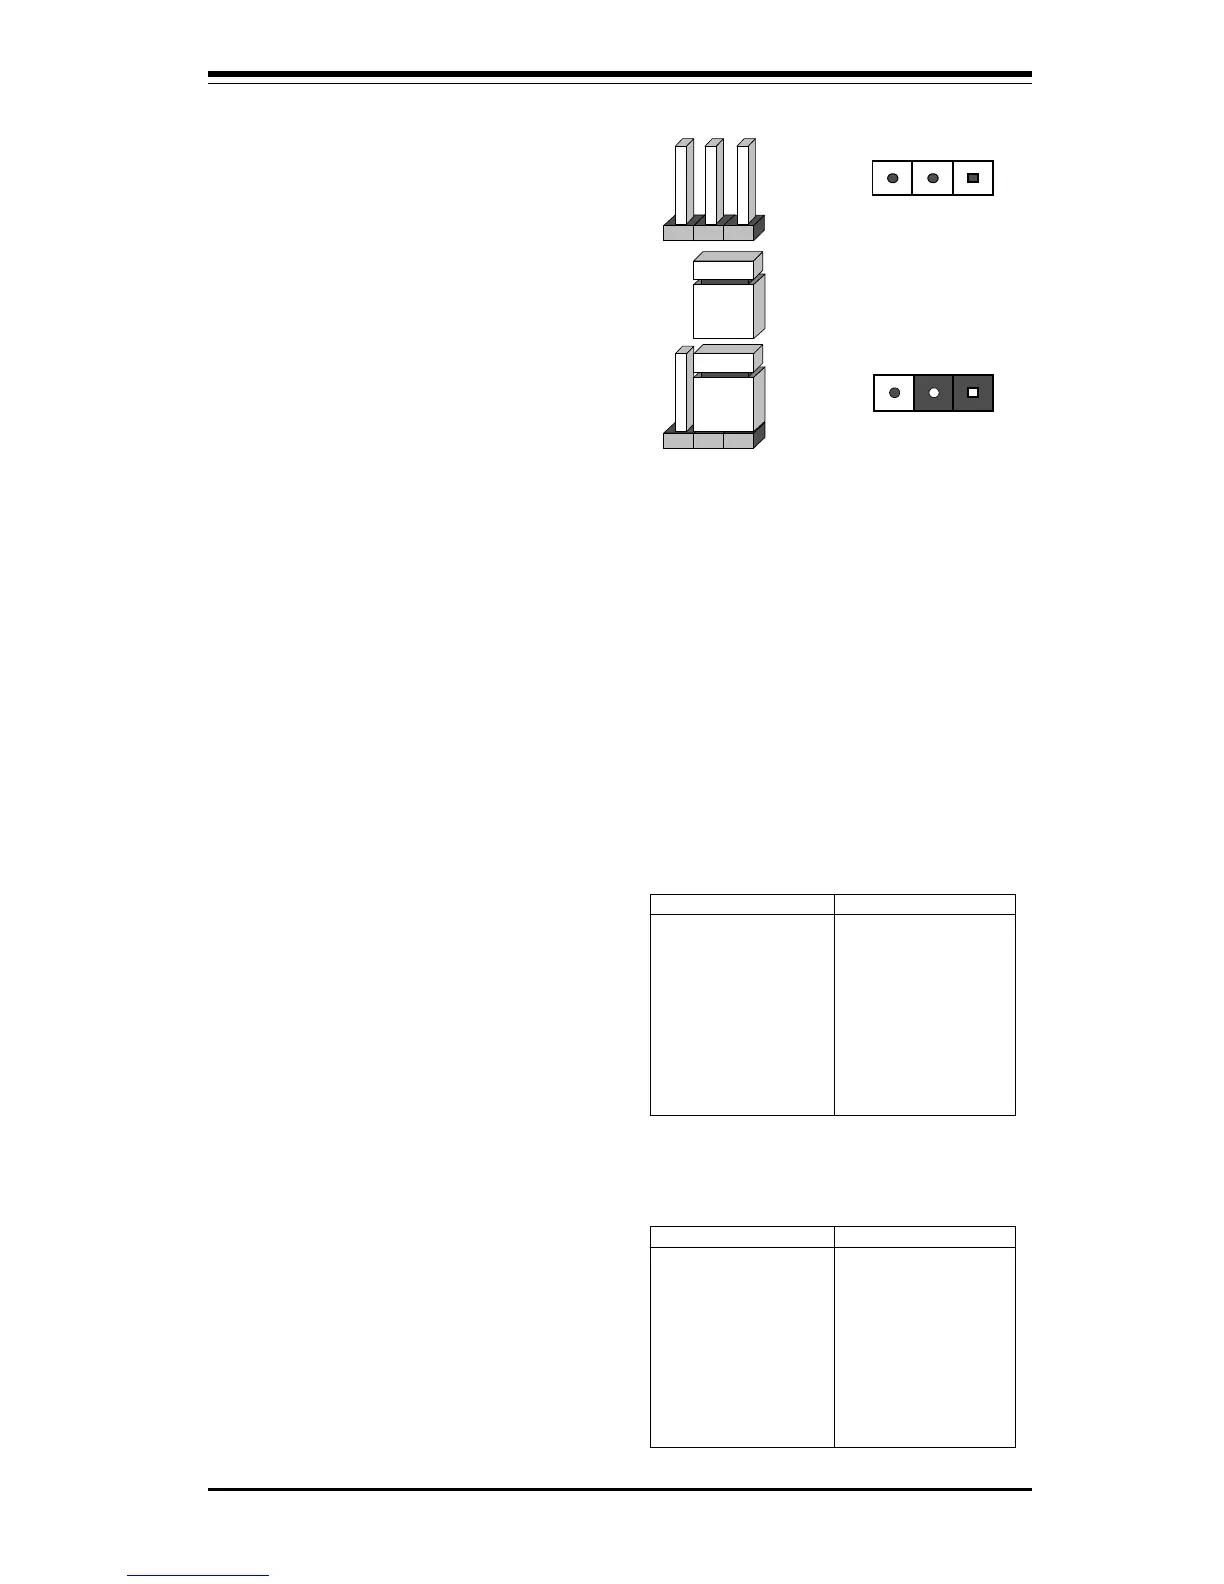
To modify the operation of the
motherboard, jumpers can be used
to choose settings. Jumpers cre-
ate shorts between two pins and
change the function of the connec-
tor. Pin 1 is identified with a
square.
3 2 1
Connector
Pins
Jumper
Cap
Setting
Pin 1-2 short
2-4 Mounting the Motherboard in the Chassis
All the motherboards have standard mounting holes to fit different types of
chassis. Chassis may come with a variety of mounting fasteners, made of
metal or plastic. Although a chassis may have both metal and plastic fasten-
ers, metal fasteners are the most highly recommended because they ground
the system board to the chassis. Therefore, use as many metal fasteners as
possible for better grounding.
2-5 Connecting Cables
ATX Power Supply
Connector
After you have securely mounted
the motherboard to the chassis,
you are ready to connect the
cables. Attach power supply cables
to J32 for an ATX power supply.
See Table 2-1 for pin definitions of
an ATX power supply.
Table 2-1
ATX Power Supply Connector
Pin Definitions for J32
Pin Number Definition
1 3.3V
2 3.3V
3 Ground
4 5V
5 Ground
6 5V
7 Ground
8 PW-OK
9 5VSB
10 12V
Pin Number Definition
11 3.3V
12 -12V
13 Ground
14 PS-ON
15 Ground
16 Ground
17 Ground
18 -5V
19 5V
20 5V
If installing a 370SBM or 370SLM
microATX motherboard, the recom-
mended power supply is a SFX
power supply (though an ATX
power supply also works with a
microATX motherboard). Attach
power supply cables to J32 for a
SFX power supply. See Table 2-2
for pin definitions of a SFX power
supply.
Table 2-2
SFX Power Supply Connector
Pin Definitions for J32
Pin Number Definition
1 3.3V
2 3.3V
3 Ground
4 5V
5 Ground
6 5V
7 Ground
8 PW-OK
9 5VSB
10 12V
Pin Number Definition
11 3.3V/sense
12 -12V
13 Ground
14 PS-ON
15 Ground
16 Ground
17 Ground
18 Reserved
19 5V
20 5V