AS-EQ1 Operator Manual
© 2009 SV Sound, LLC
•
6420 Belmont Avenue, Girard, OHIO
•
703.845.1472
•
www.svsound.com
SV Sound, LLC
Once you have the AS-EQ1 connected to your AVR or Pre/Pro and subwoofer(s), you are ready to step through
the calibration tasks to set up your room EQ. Although the AS-EQ1 Calibration process is very straightforward,
you should allow yourself an hour or so to comfortably complete the activity for the first time.
Connect your PC to the AS-EQ1 using the supplied USB cable, power on the AS-EQ1 using the on/off switch
on the back panel, allow your PC to recognize the AS-EQ1, then start the Sub EQ GUI (note that if you start
the Sub EQ GUI before connecting the AS-EQ1 via USB, Sub EQ will not recognize the AS-EQ1 is attached.
Terminate and restart Sub EQ to force device recognition).
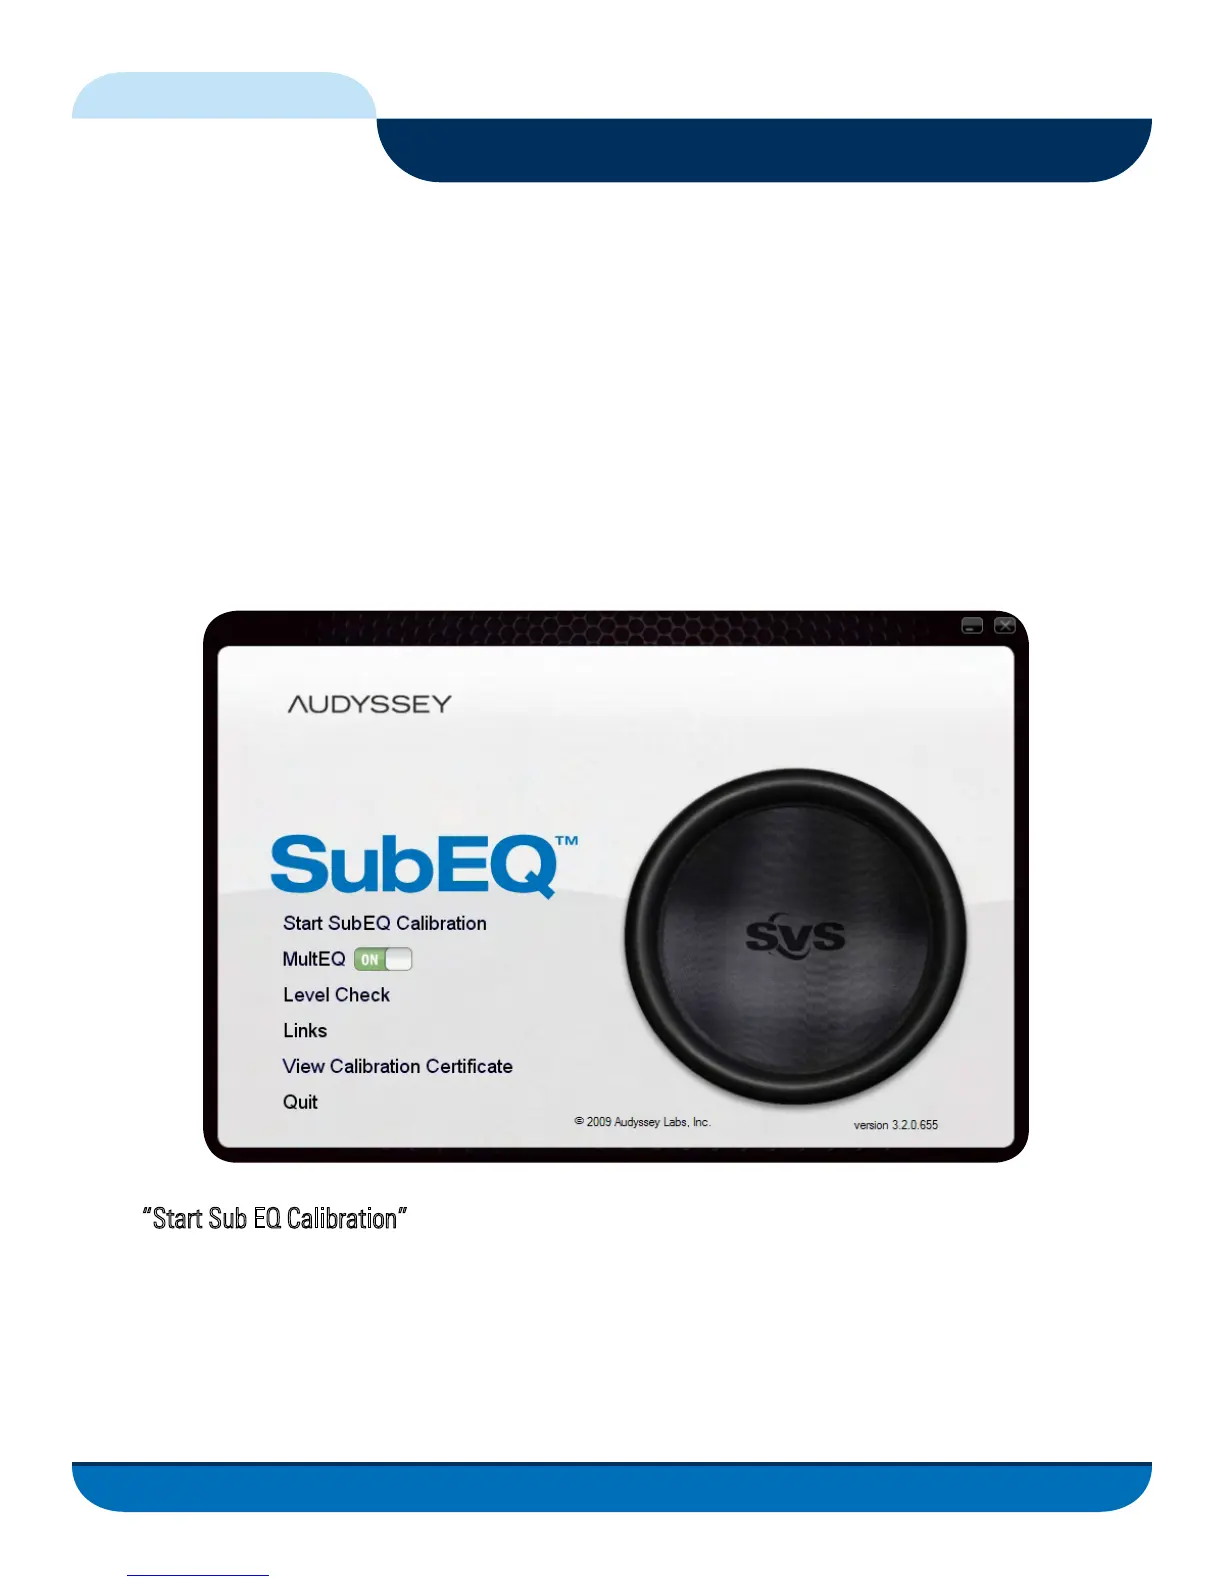
You should see the following Screen on your display:
Select
“Start Sub EQ Calibration” to begin stepping through the tasks that will lead to a calibrated AS-EQ1.
The following pages will detail each task and what you should expect to see after successfully completing
the task. In addition, you will find an abbreviated set of workflow steps located in the left sidebar of the Sub
EQ GUI to help you with step-by-step activities when calibrating your subwoofer(s).
13
Calibrating the AS-EQ1 in Your Listening Environment
FIG. 9