◊
◊
8
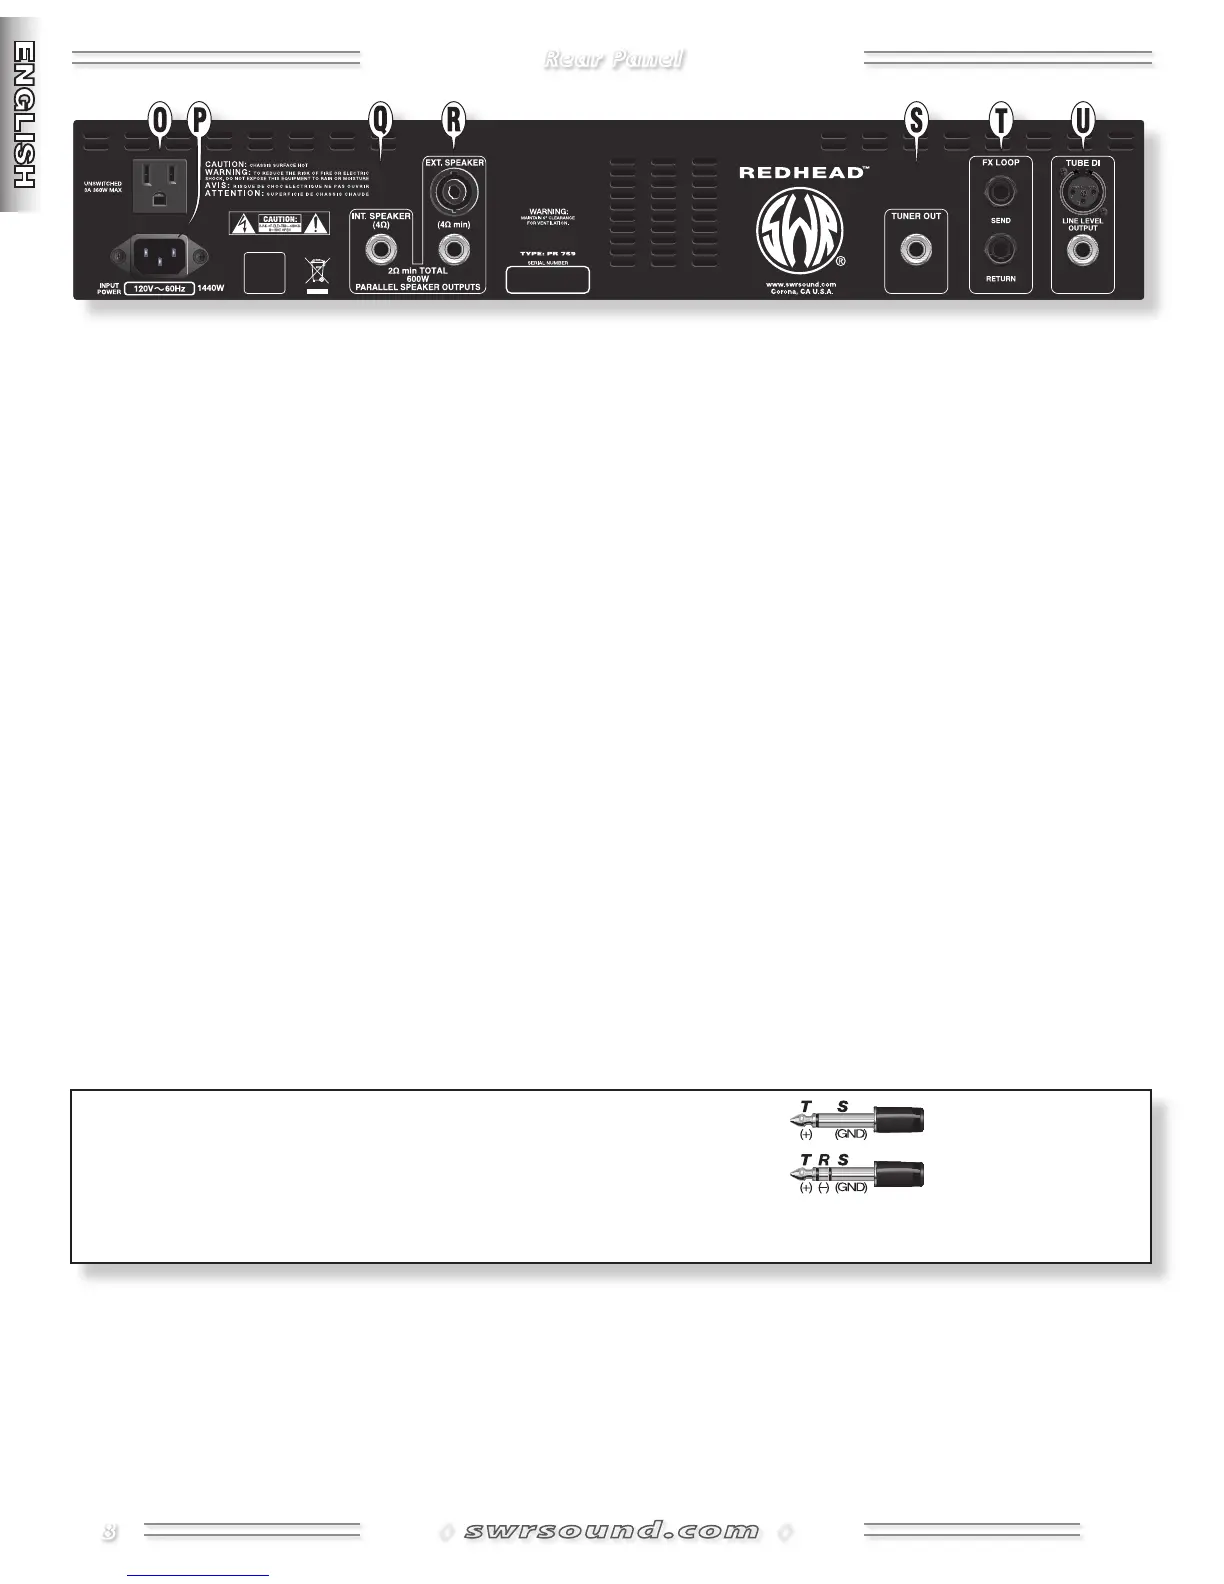
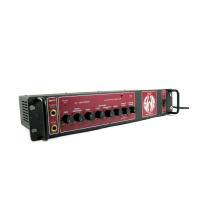
Rear Panel
O. A/C POWER OUTLET(V models only) This outlet
is convenient for plugging in a rack mounted device
that you may have installed in the Redhead Rack Space
{W}. The power requirement for this outlet must not
exceed A, W. NOTE: Power is always ON at this
outlet whenever the Redhead is plugged in even if the
Redhead is switched OFF.
P. IEC POWER CORD SOCKETConnect the included
power cord to a grounded AC electrical outlet in
accordance with the voltage and frequency ratings
specified on the rear panel of your amplifier.
Q. INTERNAL SPEAKERConnection for the internal
speaker. This output is controlled by the Internal Speaker
Switch {M} on the front panel. Read Speaker Guidelines
on page before changing speaker connections.
R. EXTERNAL SPEAKERConnect an external speaker
cabinet here using either the Speakon® or /" phone
jacks. The speaker must be minimum and capable of
handling watts. Read Speaker Guidelines on page
before making speaker connections.
S. TUNER OUTPUT*
Plug your tuner in here for convenient
instrument tune-ups. Use the Mute {A/J} switches to
disable audio output while tuning.
T. EFFECTS LOOP*
Connect Send to your effects device
input and Return to the effects output. NOTE: Any
effects device with a "WET/DRY" control should be set
to the fully WET position to prevent phasing problems
and any "INPUT LEVEL" should be set as close to dB as
possible.
The Send output includes onboard tone shaping. Send
level is primarily controlled by Gain {C}. The Return input
is a line level signal that can be blended in any ratio with
the onboard preamp signal using Effects Blend {L}.
The Effects Loop circuit is on a “side chain” of the main
circuit (as in studio recording consoles) to provide the
full sound of your instrument AND the diversity of your
effects units. This also reduces noise from effects units
by being located after gain in the signal path.
U. TUBE DI*Tube driven, transformer coupled outputs
suitable for connection to studio and “front-of-house”
(live) mixing consoles. These true electronically balanced
jacks are line level outputs in order to maximize the
signal to noise ratio. To avoid clipping (especially with
the XLR output) make sure to set the console input level
to "LINE LEVEL" or reduce the Tube DI output level using
the Pad {J} control.
* NOTE: The rear panel 1/4" jacks {S, T and U} are balanced TRS (Tip/Ring/Sleeve) types:
Tip=positive (+)
Ring=negative (–)
Sleeve=ground.
While standard shielded TS (Tip/Sleeve) "mono" guitar cables may certainly be used, the use of "stereo" TRS cables may improve
signal-to-noise ratio and/or reduce hum, especially when longer connections are required.