You may need/Usted puede necesitar/
Aticles dont vous pouvez avoir besion
CAUTION-TIPS FOR REMOVAL
OF OLD FAUCET:
Always turn off water supply before
removing existing faucet or replacing any
part of the faucet. Open the faucet handle
to relieve water pressure and ensure that
water is completely shut off.
CARE INSTRUCTIONS:
To preserve the finish of your faucet, apply
non-abrasive wax. Any cleaners should be
rinsed off immediately. Do not use abrasive
cleaner
s on the faucet.
PRECAUCIÓN-CO
NSEJOS PARA
CAMBIAR LA LLAVE MEZCLADORA.
Siempre CIERRE la toma de agua antes
de quitar la llave existente o desmontar la
v
álavula. Abra la llave para liberar la presión,
yasegúrese de que esté bien cerrada
el agua.
INSTRUCCIONES DE CUIDADO
Para conservar el acabado que cubre
las partes metálicas de su llave mezcladora,
aplique cera que no sea abras
ive,como una
cera para autos. Si usa alg
ún tipo de
limpiador,deberá enjuagarlo inmediatamente.
Los abrasivos suaves son aceptables en
acabados platinum y LifeShine.
ATTENTION-SUGGESTIONS POUR
ENLEVER L'ANCIEN ROBIENT:
Toujours couper l'alimentation en
eau avant d'enlever ou de d
émonter
le robinet.Ouvrir le robinet pour lib
érer
la pression d'eau et pour s'assurer que
l'alimentation en eau a bien t coup e.
DIRECTIVES
D'ENTRETINE
Pour pr server le fini des pièces
m talliques du robinet,appliquer une
cire non abrasive comme une cire à
votiure.Rincer imm diatement le robinet
apr s l'avoir nettoy avec un agent
nettoyant. Les finis platinum et LifeShine
peuvent être nettoy
s à l'aide de produits
abrasifs doux.
English
Español
Français
HELP LINE
Si necesita ayuda para la instalación,
piezas de repuesto o tiene alguna
pregunta relacionada con nuestra
garatí
a,por favor llame a nuestros
asesores de producto al:
(800)796-6667,(781)848
-2250
LĺNEA DE AYUDA
Pour obtenir de l'aide pour l'installation,
le replacement de pièces ou pour toute
question concemant notre garantie,
appeler un de nos spécialistes
des produits:
(800)796-6667,(781)848-2250
SERVICE À LA CLIENTÈLE
Document #ZV-1066
Rev:E
Need Help?
Symmons customer service:
(800) 796-6667, (781) 848-2250
customerservice@symmons.com
Mon - Fri 7:30 am - 7:00 pm EST
www.symmons.com/service for
Technical help, product information,
and warranty policy
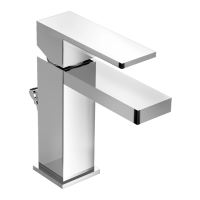
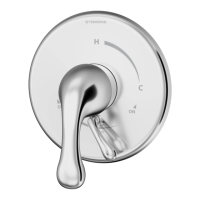
Model SLS-5512 Serie
SINGLE HANDLE LAVATORY FAUCET
Model SLS-5512 Series
MEZCLADORA MONOMANDO PARA LAVABO
ROBINET DE LAVABO À POIGN ÉE UNIQUE
Model SLS-5512 Série
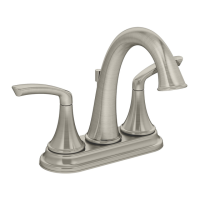
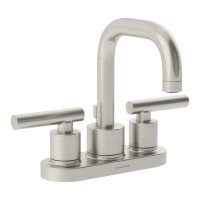
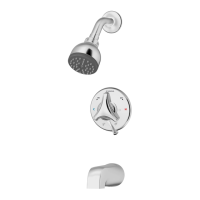
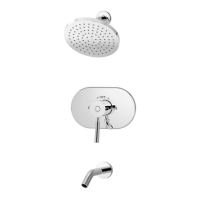
Model SLS-5510 Series
Model SLS-5510 Serie
Model SLS-5510 Série
Wrench
Llave
Clé ajustable
Goggles
Anteojos Protectores
Lunettes de sécurité
(2) 1/2 in Supply Lines
2 Líneas de Suministro
(2) Tuyaux d'alimentation
Sealant Tape
Cinta Selladora
Ruban d'étanchéité
Basin Wrench
Llave para Instalar Grifos
Clé pour lavabo
Plumber's Putty
Masilla para Tuberías
Mastic de plombier
Allen Wrench 3/32"
Llave Allen 3/32"
Clé Allen 3/32 po
é é é
é
é
é
é é
é