14 Chapter 3: Install DSM
Install from Mac OS X
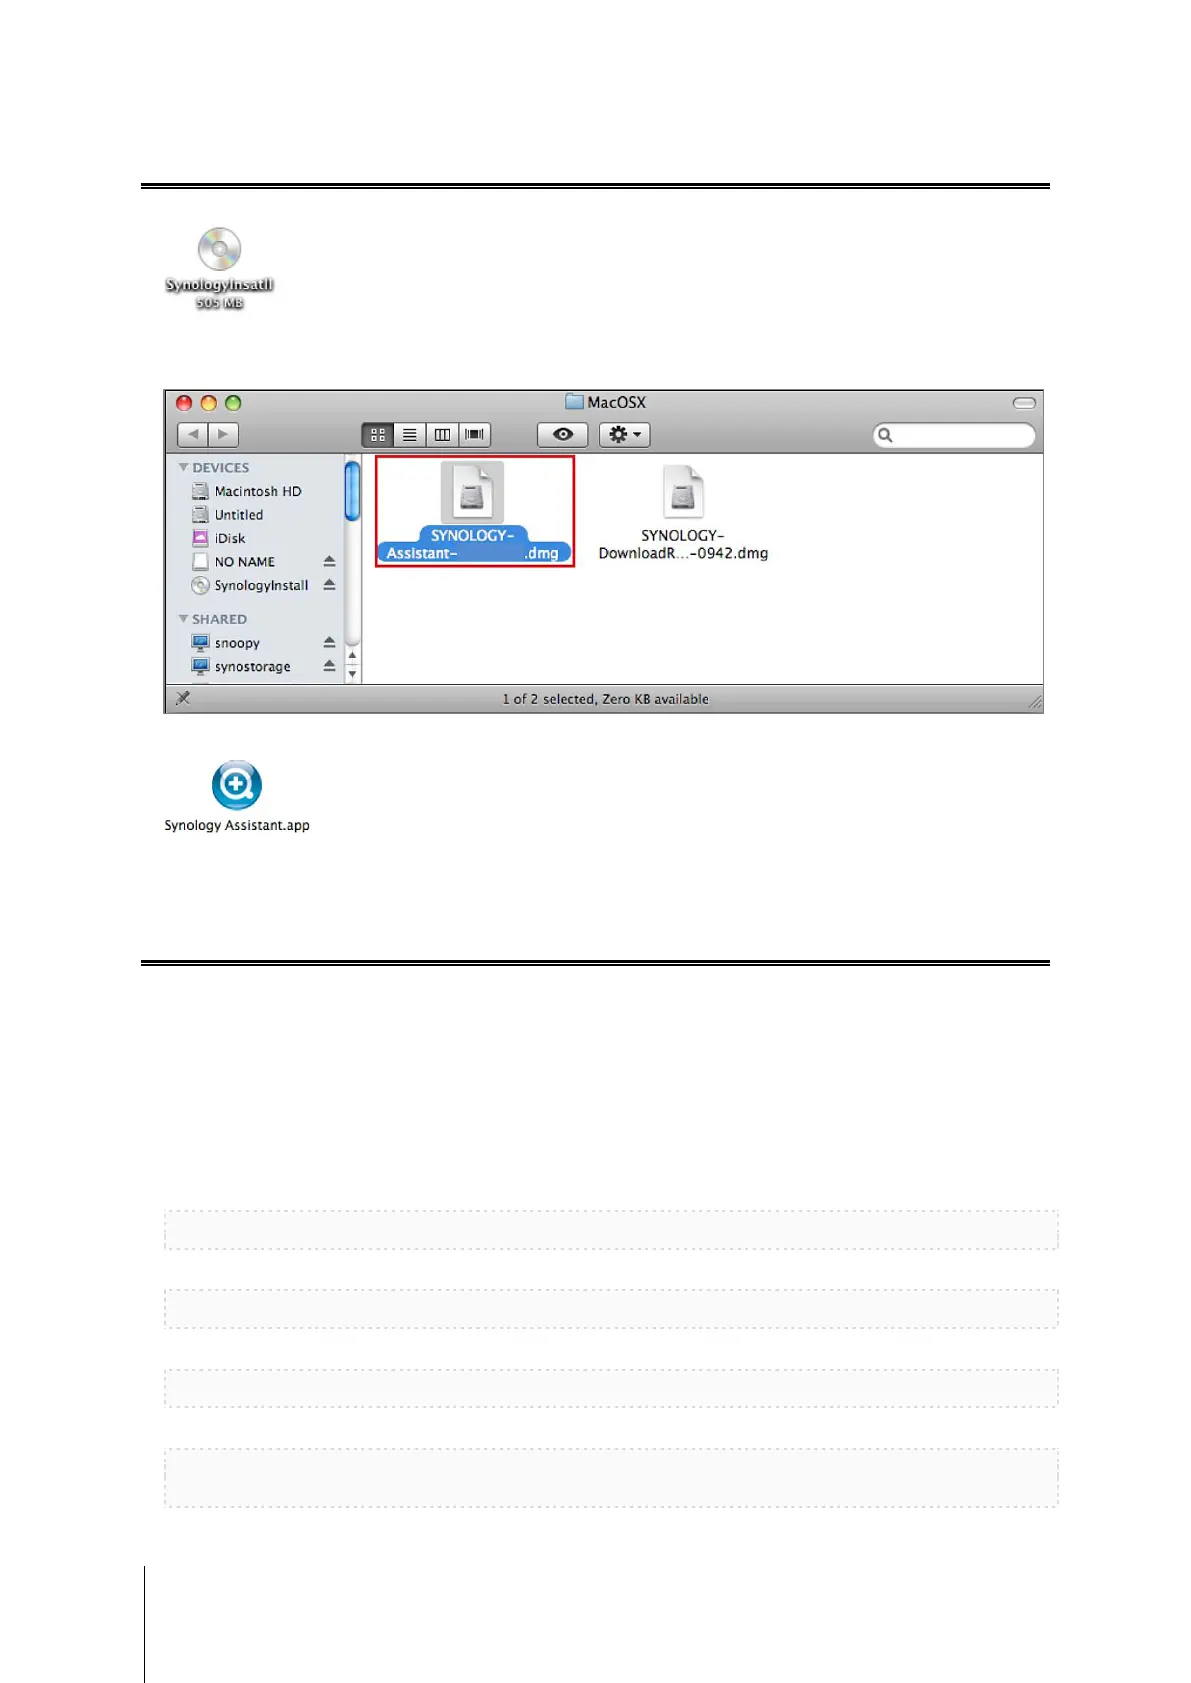
1 Insert the installation disc into your computer, and then double-click the SynologyInstall icon on the desktop.
2 In the window that appears, double-click the MacOSX folder, and then double-click Synology Assistant-
[number].dmg.
3 Double-click the Synology Assistant.app in the window that appears.
4 Follow step 2 to 4 of the “Install from Windows” section to finish setup.
Install from Linux
The Linux version is optimized for Ubuntu distribution version 8 and 9. You can still try installation on other Linux
distributions (for evaluation purpose only).
Install and Run Synology Assistant
You can install and run Synology Assistant using the command lines or the GUI.
If you want to install using the command lines:
Run the script install.sh in the Linux folder of the installation disc, which will guide you through the steps below.
1 Remove the beta version of Synology Assistant (if any).
sudo rm -rf /usr/local/Synology /usr/local/bin/SynologyAssistant
2 Extract SynologyAssistant-[number].tar.gz to the directory you want, such as “/usr/local” or “.”
tar -C ./ -zxvf SynologyAssistant-[number].tar.gz
3 If you are using 64bit Ubuntu, install the 32bit libraries.
sudo apt-get install ia32-libs
4 Create the shortcut to /usr/local/bin.
sudo ln -sf /path/install/SynologyAssistant/SynologyAssistant \
/usr/local/bin/SynologyAssistant