DISPLAY AND PROCESSING OF ANALYSIS RESULTS
Sysmex KX-21 Operator’s Manual -- Revised October 1998 3-13
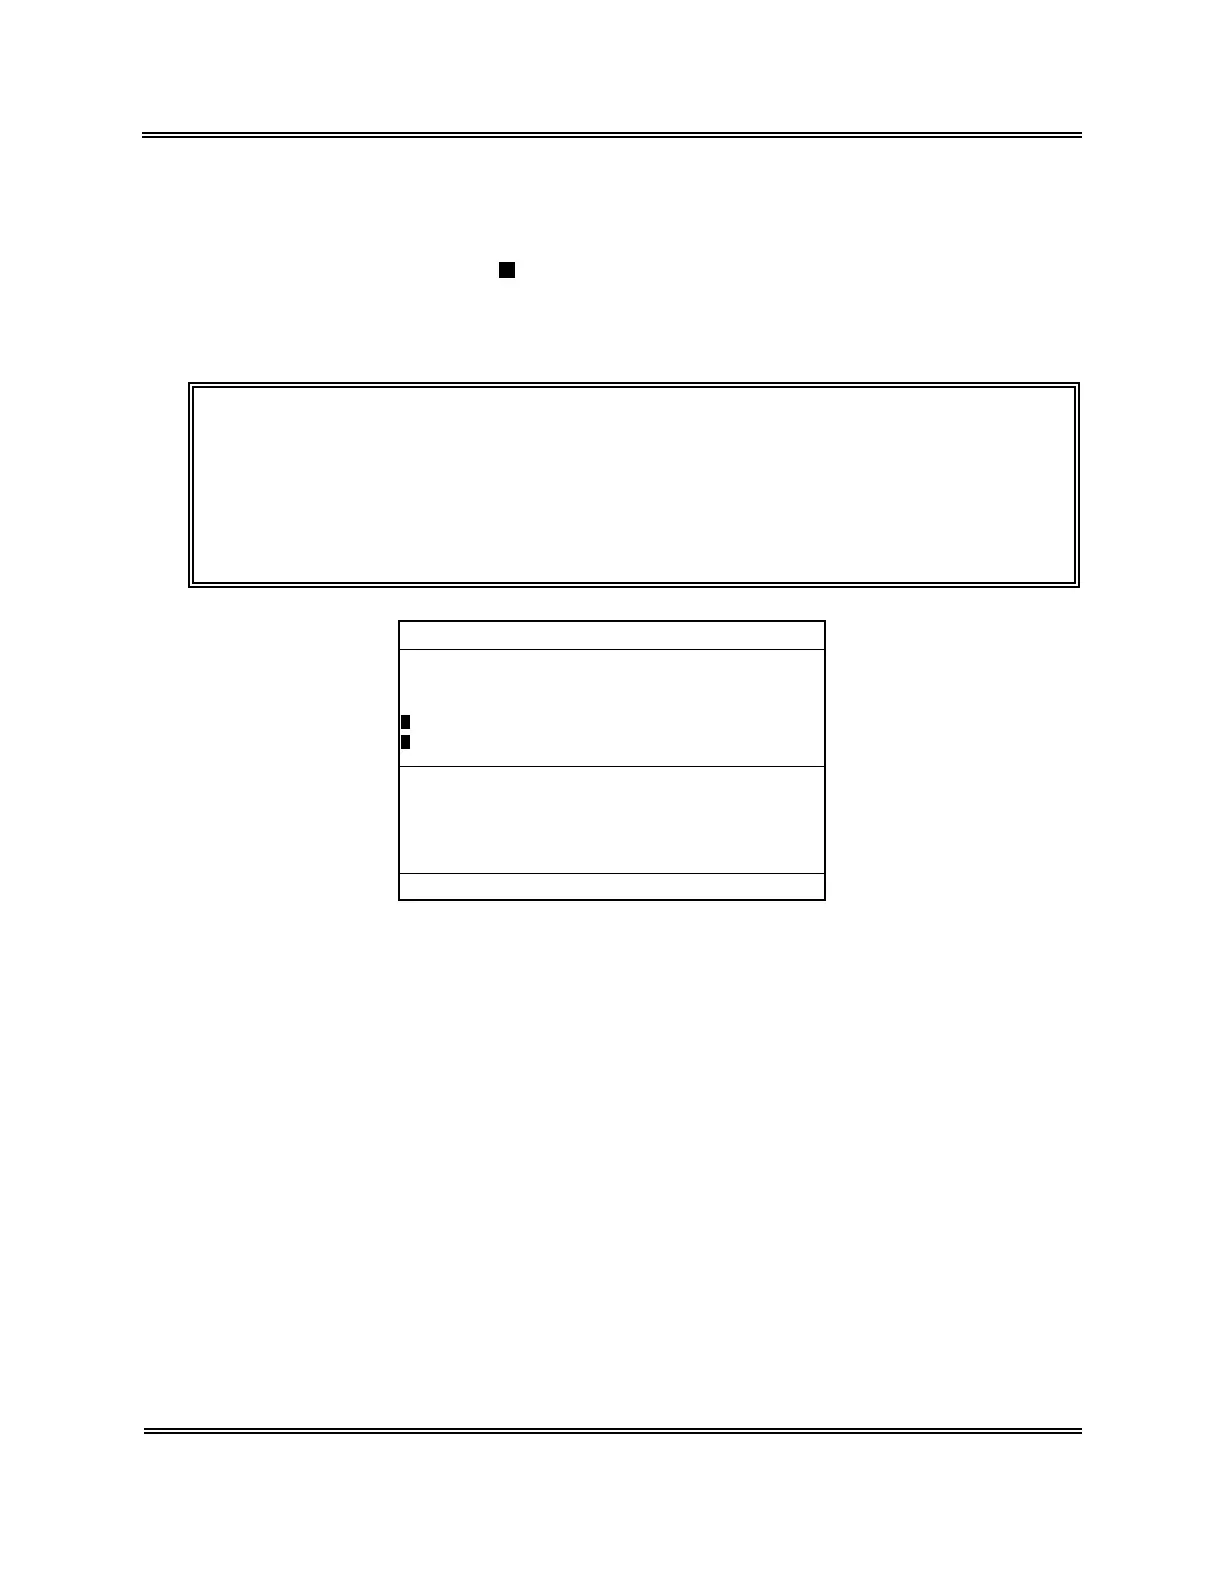
Marking
To mark the analysis data, specify an analysis data using the underline cursor and press
[ENTER] key.
The marked analysis data has a
added to its left end and the underline cursor moves to the
next analysis data. When an analysis data is marked, the Menu Display Area displays: "1:
Deletion," "2: Print," "3: HC Output." When the mark is already attached, press [ENTER]
key to delete it.
NOTE: • When you keep pressing [ENTER] key, the marking is made
continuously.
• When you return to the Analysis screen, all the marks on analysis data
are deleted.
• "3. HC Output" on the Menu is displayed only when the optional Serial
Interface is incorporated.
No.
123451*
QC01
123453
123454 PD
123455* PD
123456 PD
123457
123451*
Date 31/12/97 12:41
[1/5]
WBC
7.7+
7.5
7.5+
7.1
7.2
5.5-
7.0
7.6+
RBC
3.97
4.51
3.85
4.30+
3.91
3.90
4.05
3.98
HGB
14.7
14.1
13.8
12.2
14.3
15.1
18.5
15.0
HCT
32.8
34.7
30.5
29.5-
32.0
40.2+
31.4
35.1
*
Stored Data
*
1:Delete 2:Print 3:HC Output
Figure 3-3-4: Marking the Data
Display Contents of Stored Data Screen
1) Sample No.
The sample No. of stored data is displayed.
Identical sample Nos. processed on an identical analysis date are marked with * at the
ends of the Nos. QC data are displayed in the format of "QC + File No."
2) Mode Indication
The analysis mode for stored data is displayed.
"PD" is indicated for the pre-diluted mode while no indication is given for the whole
blood mode.