P/N: 60400601
REV: 02/04
7
Remove strapping, stretch wrap, and packing material from unit.
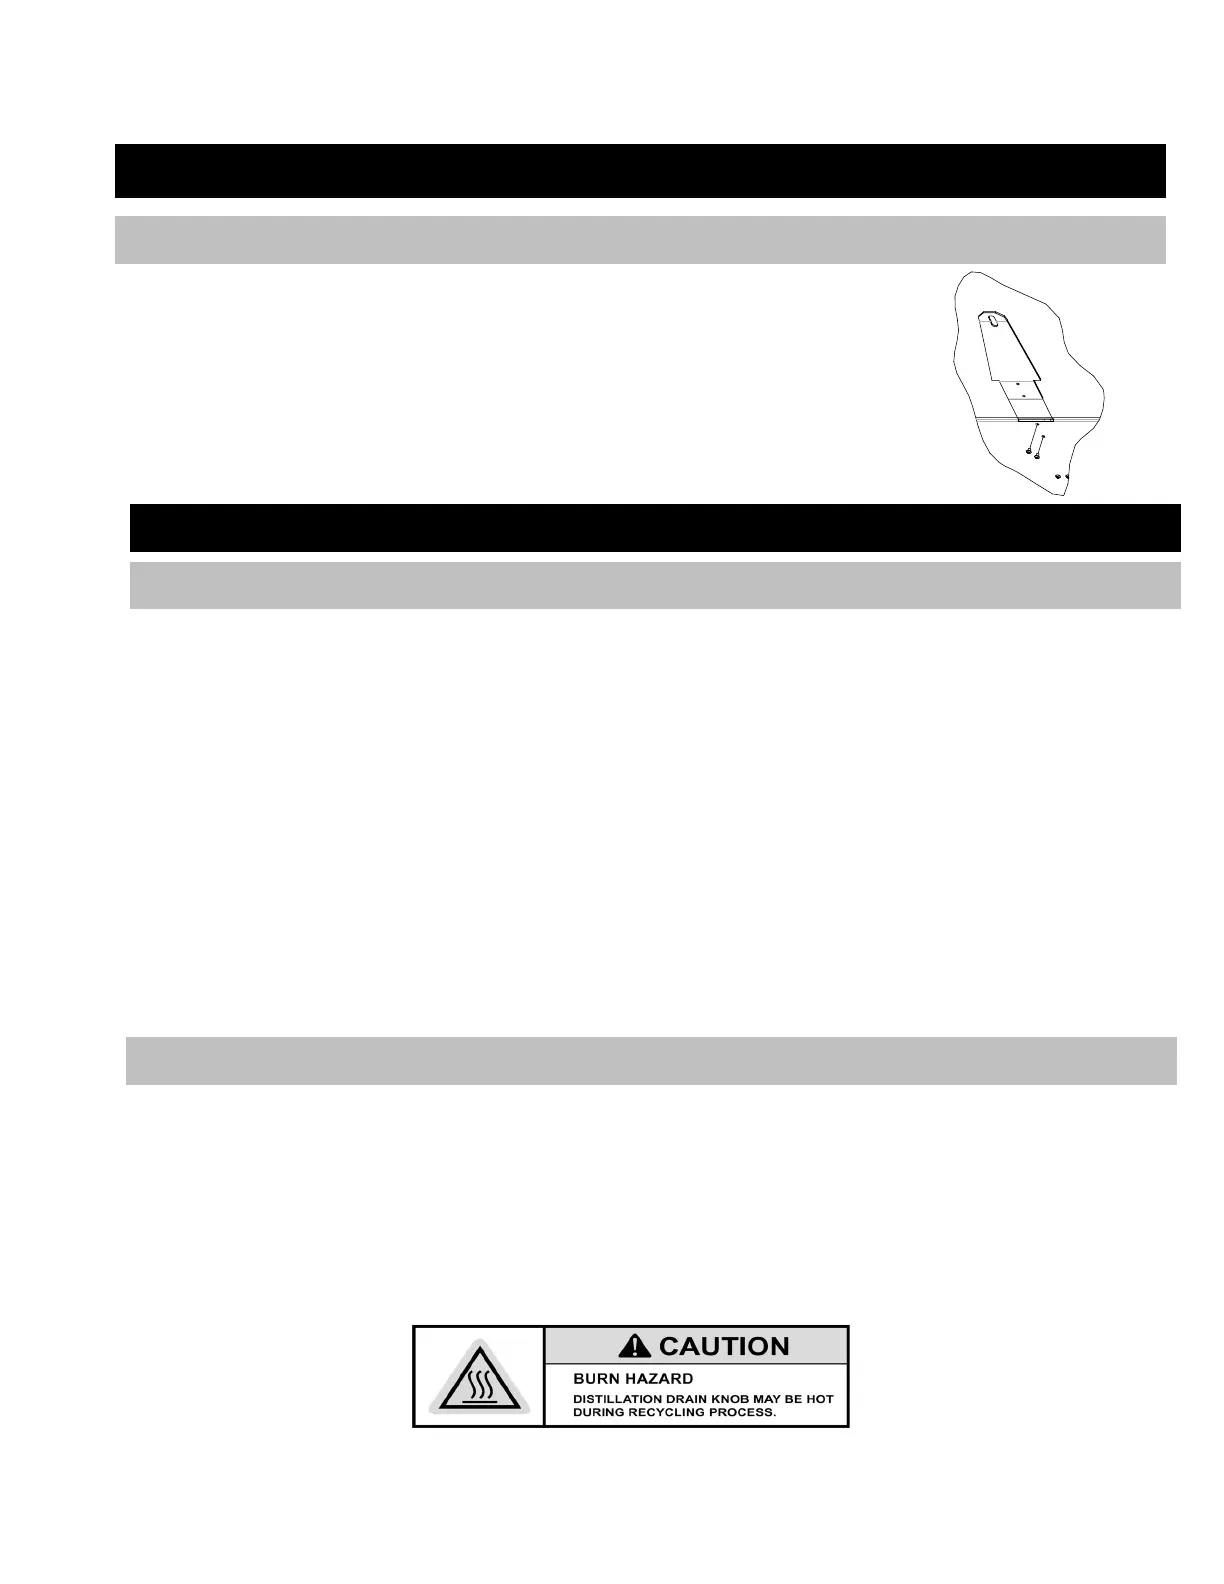
1. Attach fire lid bracket to unit as shown in Figure 3.
2. Connect unit to a dedicated 15 ampere branch circuit. Use of an extension cord
is not permitted.
o CAUTION- To provide continued protection against risk of electrical
shock, fire, and explosion, connect to properly grounded outlets only.
3. Fill Reservoir: Remove fill plug and add solvent. Use a dip stick to monitor fluid
level when filling. MAXIMUM 20 GALLONS.
1. Ensure the machine is plugged into a grounded 3-prong outlet before pressing the on/off button.
2. Put on protective eyewear, gloves, clothing, and shoes before operating unit.
3. Lift lid. Be sure latch catches so lid is held in the open position.
4. Wipe off loose or excess dirt from part or assembly, and drain all excess fluids before placing parts
into the wash basin.
5. Adjust nozzle so that it is centered inside the wash basin.
6. Push the on/off button to start solvent flow through spigot and flow-through brush. Solvent flow
will stop after 15 minutes or when the on/off button is pressed again. If solvent does not flow
when the on/off button is pressed, additional solvent may be transferred to the wash basin. Press
and hold the on/off button for twenty seconds. Repeat procedure if necessary.
7. Clean all parts in the wash basin. Avoid splashing outside of the wash basin. Use a stiff brush to
remove heavy deposits. When not in use, place the brush in the wash basin. Do not set brush
down outside of the wash basin.
8. Drain clean parts in the wash basin for approximately 15 seconds or until dripping ceases.
9. Close lid when not in use.
1. Push recycle button once to transfer dirty solvent into the distillation tank and return clean fluid
to the wash basin. The clean fluid transfer takes about 4 minutes, at which time the operator
may then resume use of the machine.
2. Although the recycling process may run for several hours, it will stop automatically once the cycle
is complete. There is a 1 hour lockout period where another recycle process cannot be started.
Do not unplug the unit during this process.
3. For periodic draining of residue, wait until the machine cools down and the temperature indicator
turns green. Unscrew the drain knob and allow the residue to drain into a container. Reinstall the
drain knob and dispose of the residue according to local regulations.
Wash Operation
Recycling Operation
OPERATING INSTRUCTIONS
INSTALLATION AND SETUP
Unpacking and Setup
Figure 3