All of Thelio’s thumbscrews are the same size, so don’t worry about mixing them up. And while
a screwdriver is recommended for this procedure, it is not required. Once you have removed all
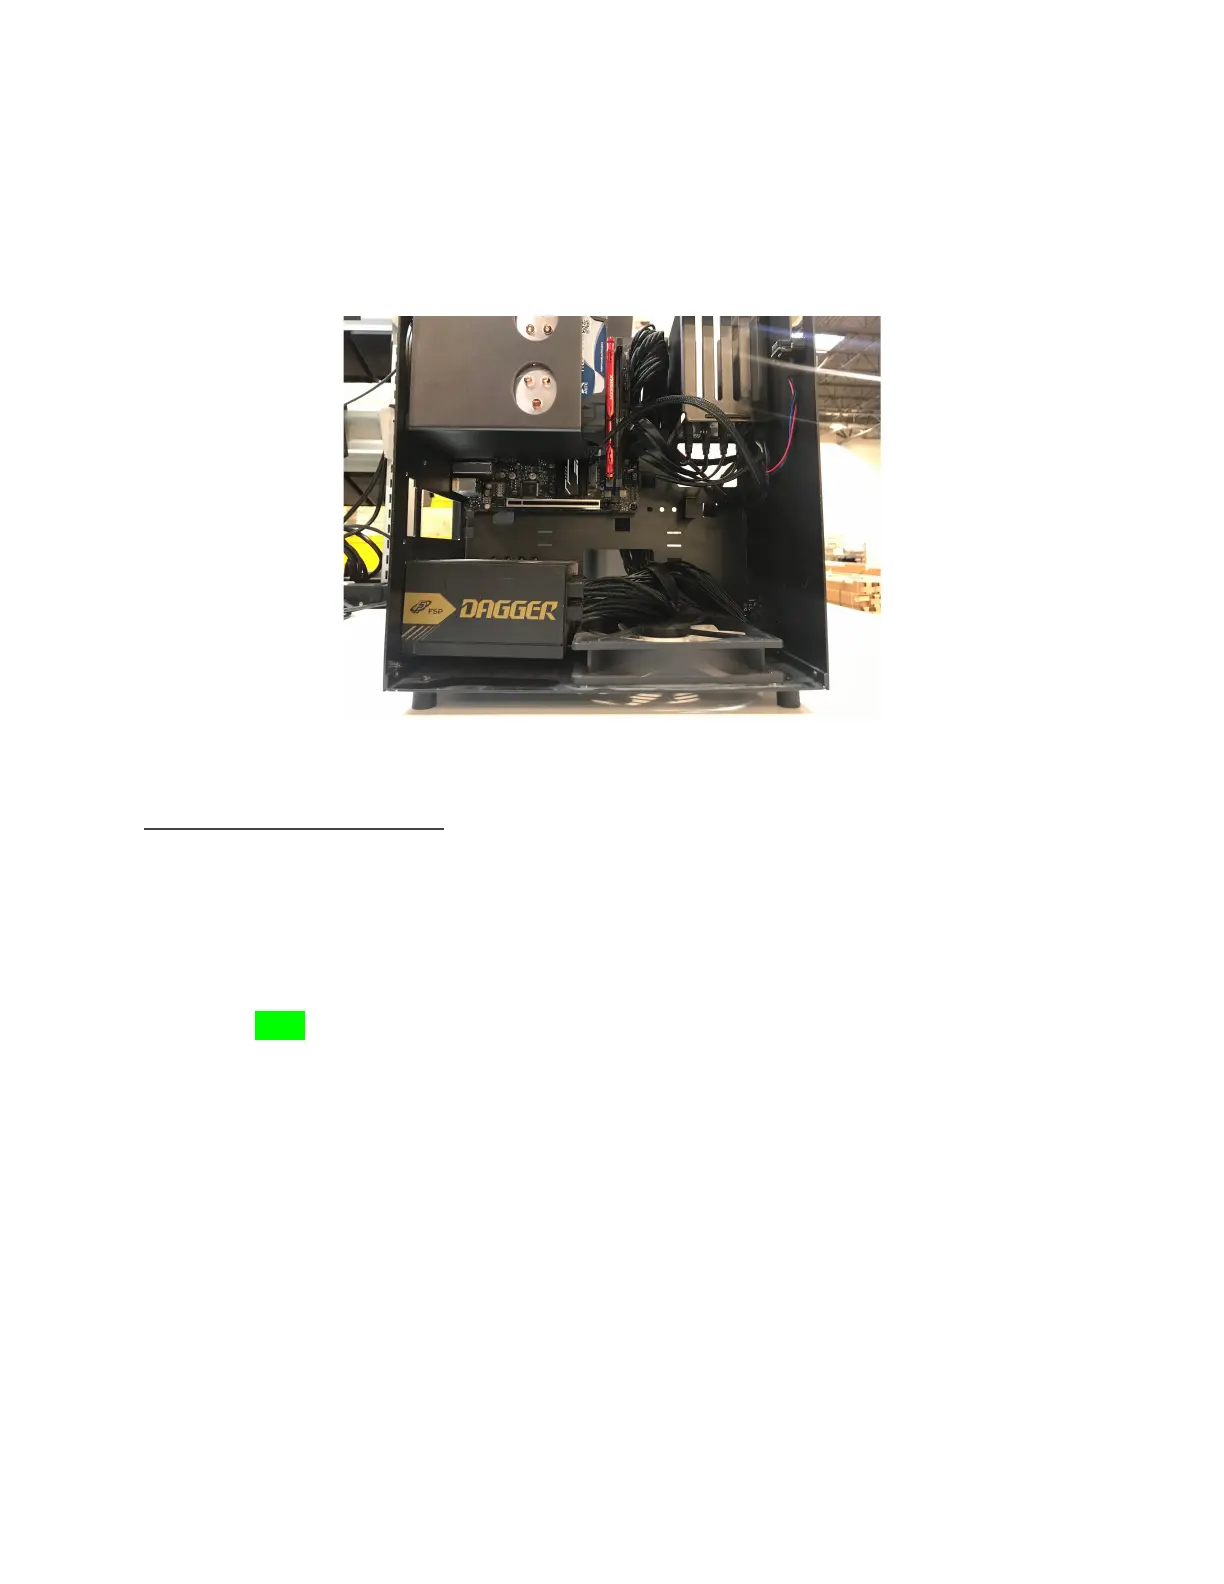
4 thumb-screws from the back of the lid, lift the lid up and off of the chassis. Now you can
proceed with servicing your machine.
Fig. 10: Thelio internals with Top Case completely removed.
Replacing the Top Case
Top Case replacement is simple and requires, at most, a cross-head (Phillips)
screwdriver.
Tools required: Fingers or Cross-head (Phillips) screwdriver
Time estimate: 2 minutes
Difficulty: Easy
Screws: 4 total
- 4 Thumbscrews (Phillips/Crosshead).
This guide explains how to easily replace the Thelio’s Top Case after performing maintenance.
1. Align the grooves inside the case with the front of the Thelio frame (the side where the
power-button is located).
2. Once aligned, the case should easily slide down over the chassis.
3. Press down on the Top Case to make sure it is firmly seated, and the power button is
connected internally.
4. To ensure the case is seated correctly, plug the Thelio back into power, turn on the
power-supply switch and examine the front of the unit: the power button LED should light
up if you press it, and the system fans should spin to life.
System76 Thelio (thelio-b1)
11