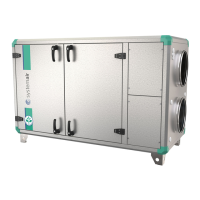
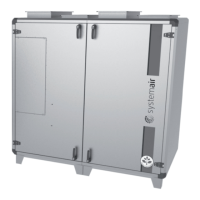
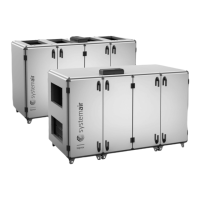
Topvex FR800, FR1600, FR3800
Operation and Maintenance Instructions
Systemair Inc.
24
5
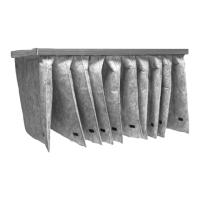
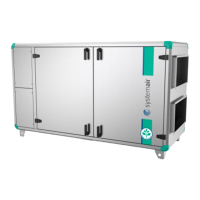
Insertthenewlterandfastenitagainsttheinletsealwiththeltersupportbars.
Makesurethelteristtedtightallaroundtheframe.
2
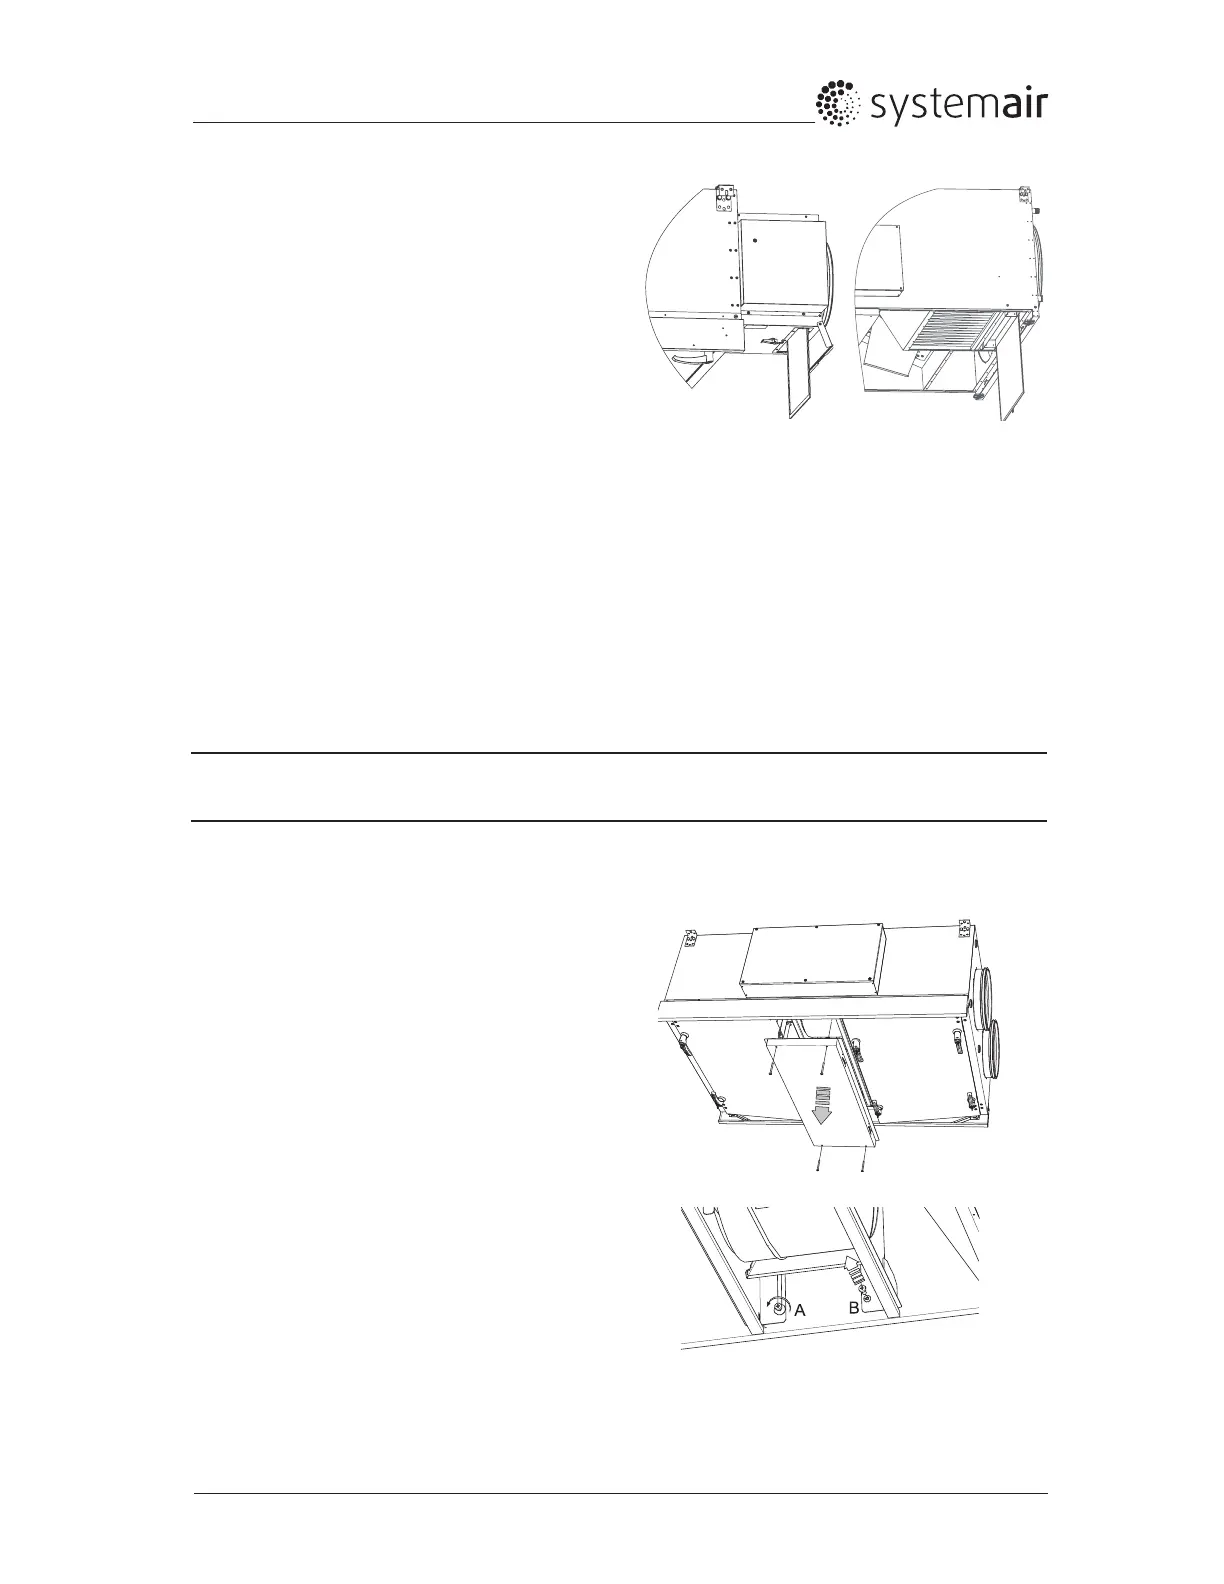
There are 4 screws (2 on each side) holding
the heat exchanger block (FR3800 model has
8 screws, 4 on each side). When removing the
heat exchanger start with checking that the screw
marked“A”istightenedproperly.Removethe
screwmarked“B”completelyasshowninthe
gureafterwhichthescrewmarked“A”isloosened
carefully, just enough to allow the exchanger frame
to slide in the tracks
4
Changingpre-lter(onlywhenpre-heateris
installed
A - EL Pre-Heater
B - HW Pre-Heater
Afteralongtimeofusedustmaybuiltupintheexchanger(pos.5,gure1)andblocktheairow.Itis
importanttocleantheexchangerregularlytomaintainhighefciency.Thetotalheatexchangerinthe
Topvex FR800-3800 can be taken out of the unit. Wash in hot soapy water or use pressurized air. Do not
use detergent containing ammonia.
5.3.2 Checking the Heat Exchanger
Note:
Make sure that the rotor motor is not exposed to moisture
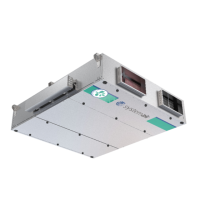
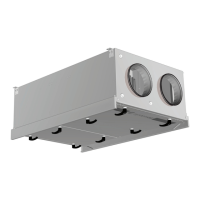
5.3.2.1 Dismounting the Heat Exchanger Block on Ceiling Mounted Units
1
Remove the exchanger cover plate in the centre of
the unit by unscrewing the 4 screws in the corners
of the plates.
Removing the plate is only possible after opening
both inspection doors.
A
B
 Loading...