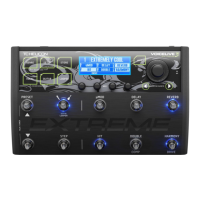
10 VOICELIVE 3 EXTREME Quick Start Guide 11
Making connections
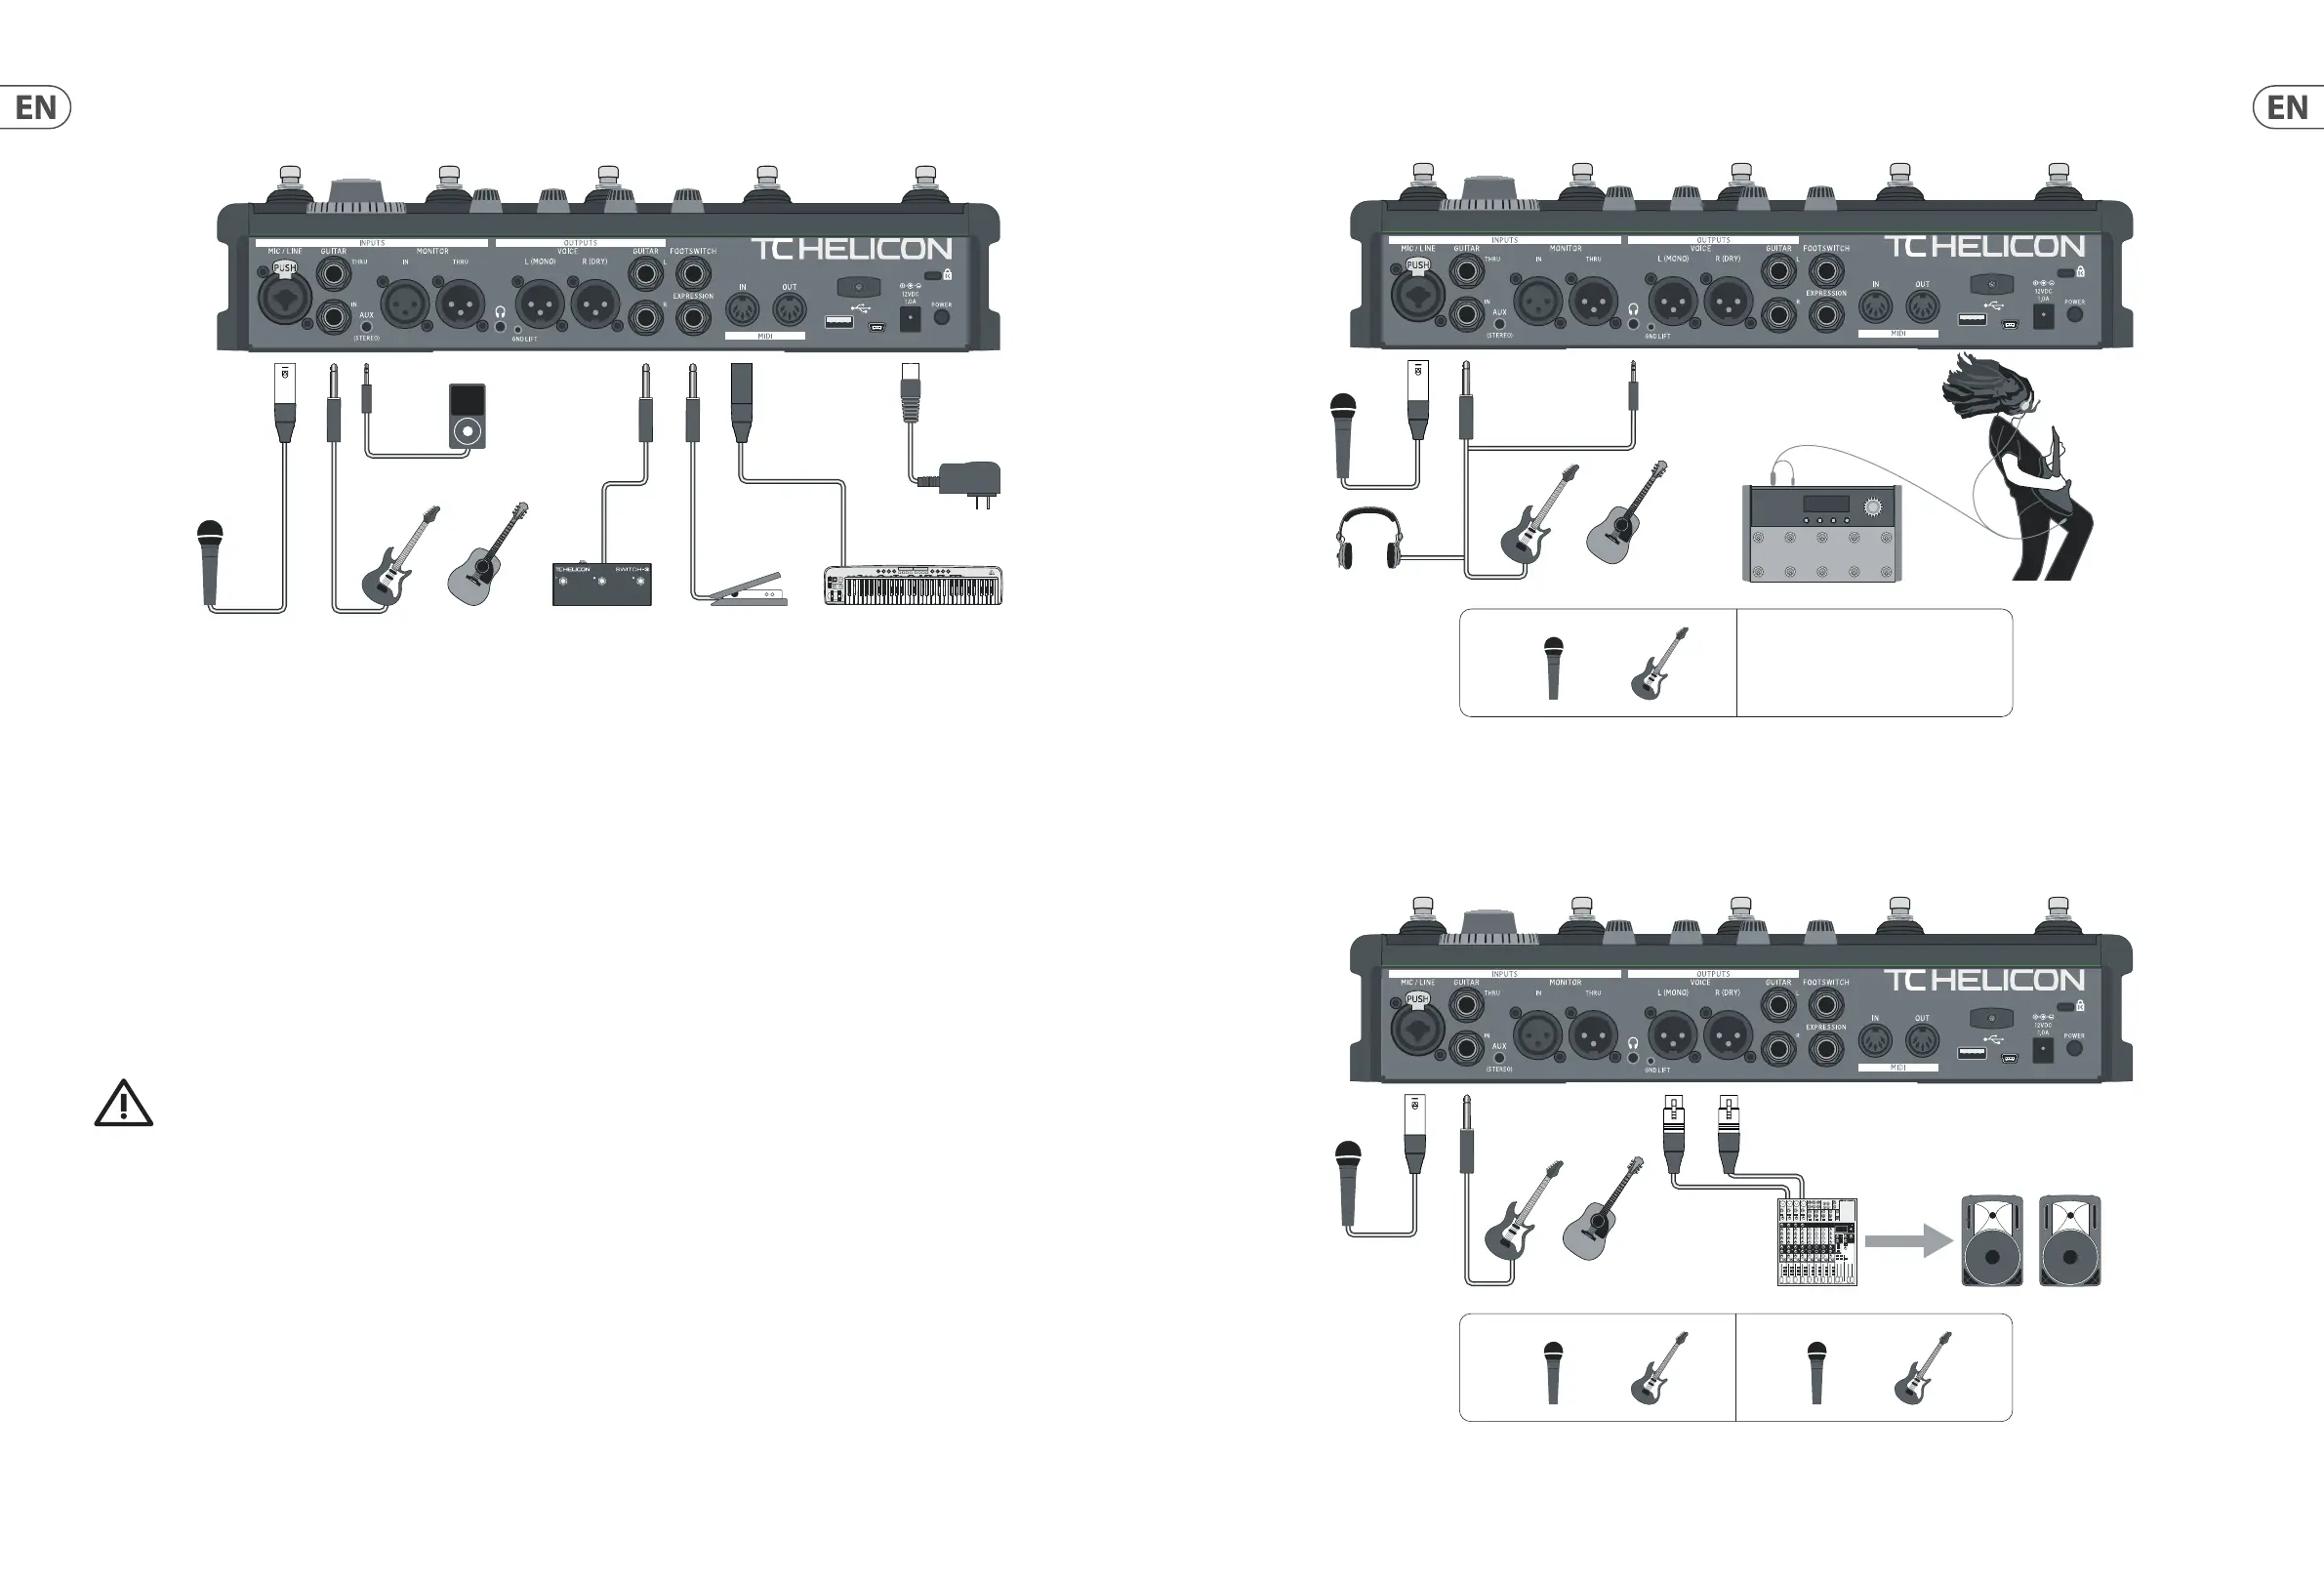
1. Vocals and guitar using guitar/headphone cable
2. Stereo vocal and stereo guitar (2 channels)
Inputs
(1) Connect the supplied power adapter to the 12 V DC jack of your
VoiceLive 3 and plug the adapter into a wall outlet.
Do not power up your VoiceLive 3 yet.
(2) Plug your microphone into the MIC / LINE jack using an XLR cable.
(3) Connect your guitar to the GUITAR IN jack us ing a ¼" Tip Sleeve (TS) cable
(i.e., a regular guitar cable).
(4) Connect your MP3 player or smartphone to the AUX jack using a ⁄" cable.
(5) Connect your MIDI master keyboard or syn thesizer to the MIDI IN jack using
a MIDI cable.
(6) Plug your Switch-3 into the FOOTSWITCH jack using a ¼" Tip Ring Sleeve
(TRS) cable (the cable that came with the Switch-3).
(7) Plug your Expression pedal into the EXPRES SION jack.
Do you have a condenser, MP-75 or e835FX microphone? When the
unit is powered up (there’s a few more steps before that hap pens),
you’ll need to enable Phantom Power. To enable Phantom Power, press SETUP
and navigate to the INPUT tab using the < and > buttons below the large
control knob. Find the Mic Type parameter and change it to Con denser.
Press SETUP to exit. These instruc tions are also printed on the bottom of your
VoiceLive 3.
Outputs
Depending on what kind of ampli cation system you are using,
there are lots of options. We cover a few common setups on the following pages.
In the reference manual, we’ll show many more connection options,
including incoming monitor mixes.
This setup utilizes the included guitar/headphone cable, which is perfect for personal monitoring in any setup. You will see that the two smaller ends of the cable are
di erent. One end has a male headphone jack beside the guitar jack. Connect these to the GUITAR IN and HEADPHONE jacks. The other end plugs into your guitar and
has a fe male jack for your headphones/in-ear monitors.
This is a very common setup for both live per formances with a stereo PA (double-check that the venue PA system is actually in stereo!) or for basic 2 channel recording.
 Loading...